Référence produit: ADSA-1S6
Catégorie: Boîtiers 2.5" , Accessoires pour disques , Adaptateurs pour disques , Tous les produits

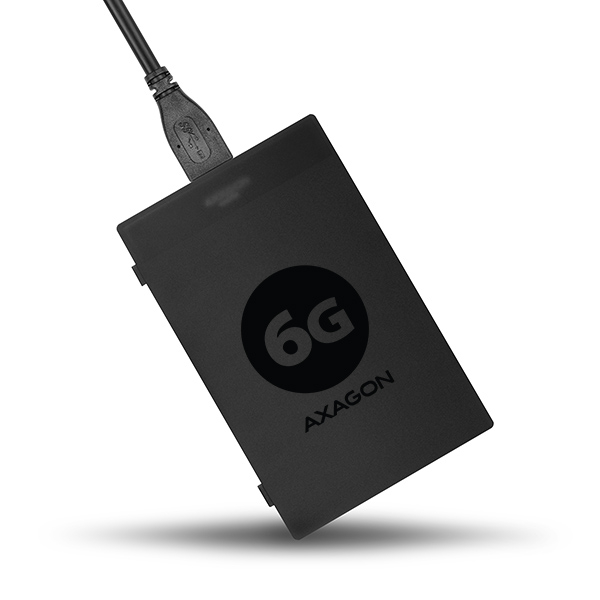
Adaptateur USB 3.0 compact avec boîtier est conçu pour tous les SSD et disques durs SATA 2,5" d'une hauteur maximale de 9,5 mm.
Il prend en charge tous les disques SATA, SATA II et SATA III 2,5" sans limitation de capacité maximale.
L'interface USB 3.0 garantit une connexion haute vitesse sans problème avec tous les ordinateurs actuels.
USB 3.0 • ANY 7 & 9,5 mm 2,5" HDD/SSD • ANY CAPACITY
Interface SATA III/6G actuelle avec prise en charge de l'UASP permet de profiter de la vitesse des SSD modernes.
La prise en charge de l'UASP augmente considérablement les vitesses de transfert, notamment lors du traitement de petits fichiers en file d'attente.
Prise en charge de la fonction TRIM pour réduire la dégradation progressive des performances du SSD dans le temps.
SATA 6G • UASP • TRIM
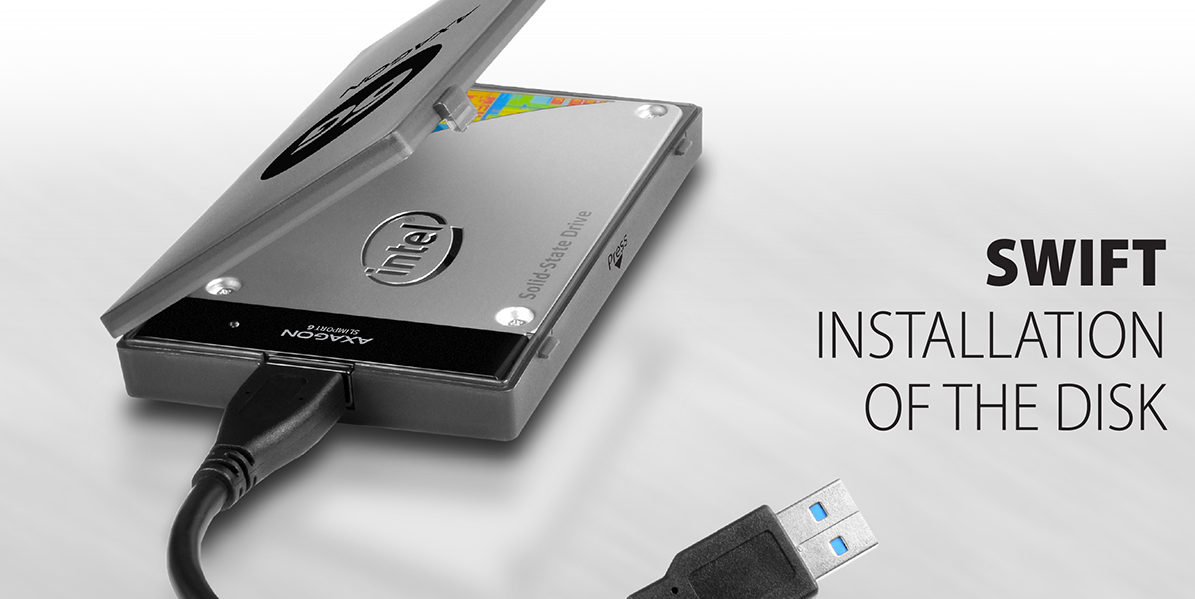
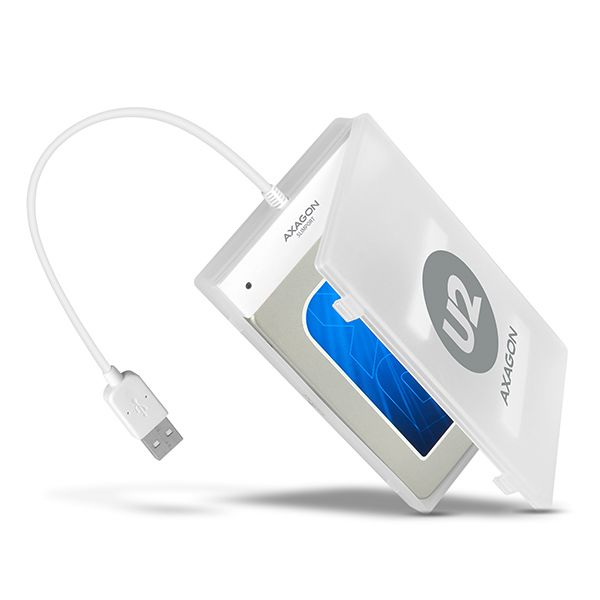
Le montage du disque est réellement une affaire de quelques secondes.
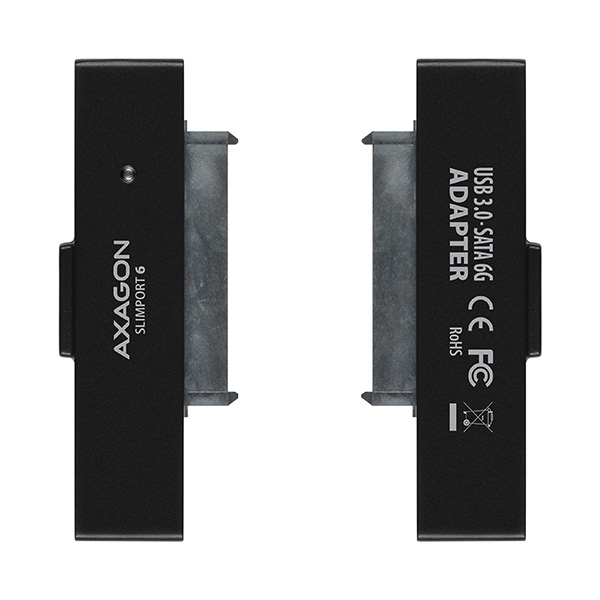
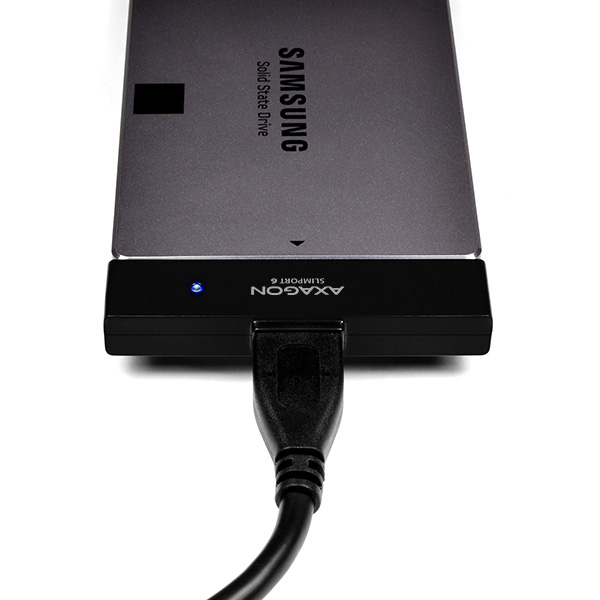
Le disque s’insère simplement directement dans le connecteur SATA de l’adaptateur.
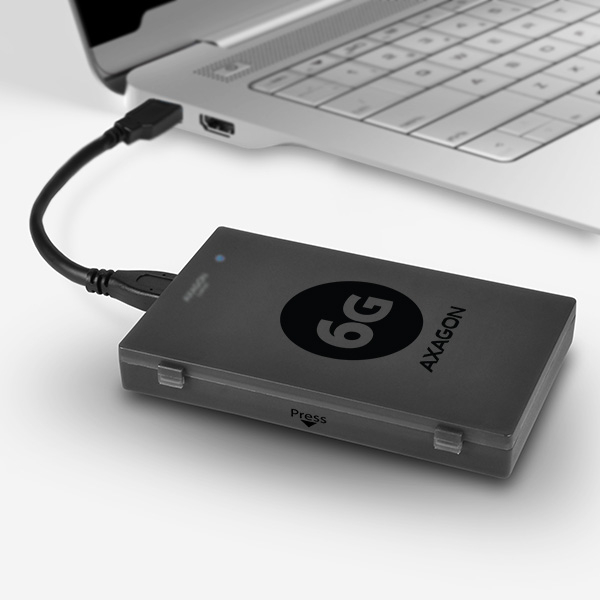
L’ensemble peut être immédiatement connecté au PC ou inséré dans le boîtier protecteur avant.
Pas de vis, juste quelques manipulations simples.
THE FASTEST & EASIEST ASSEMBLY • SCREWLESS
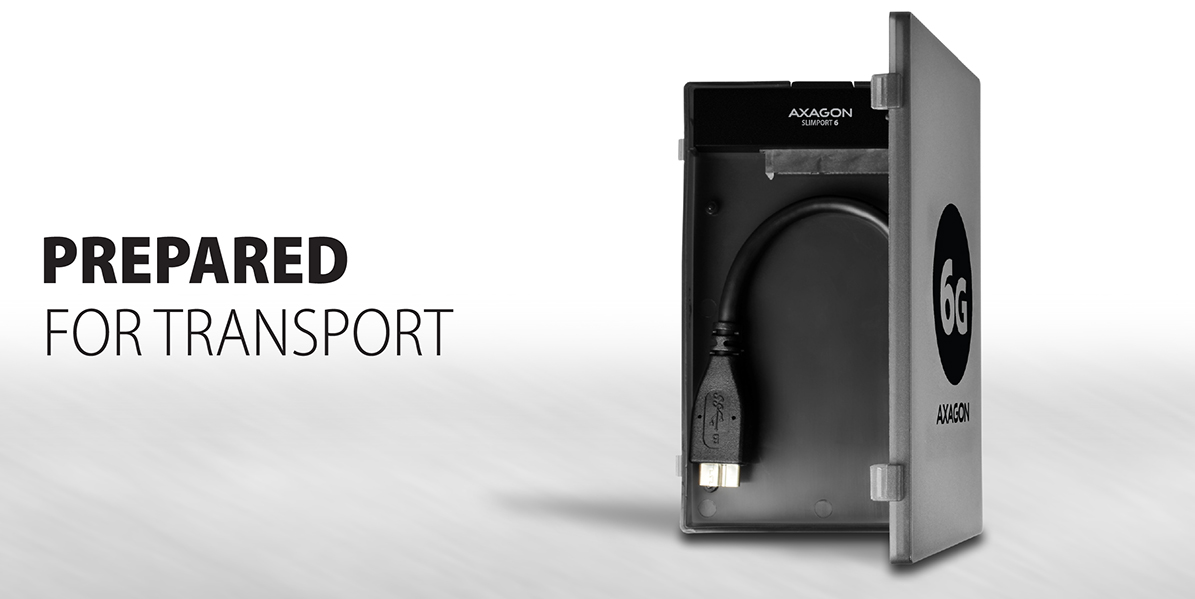
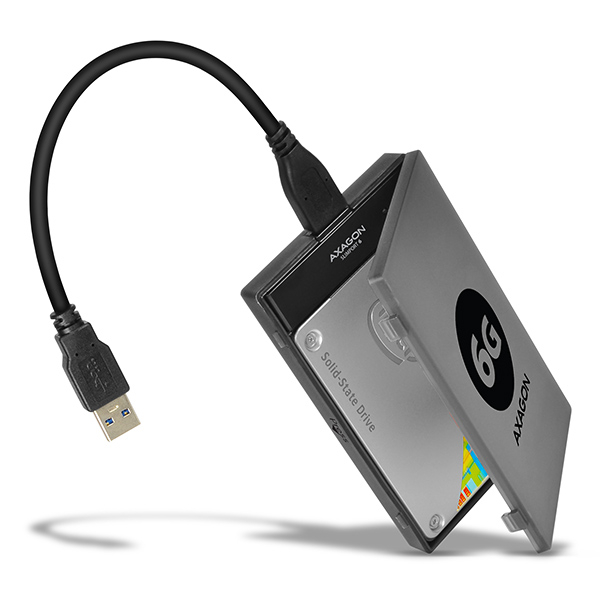
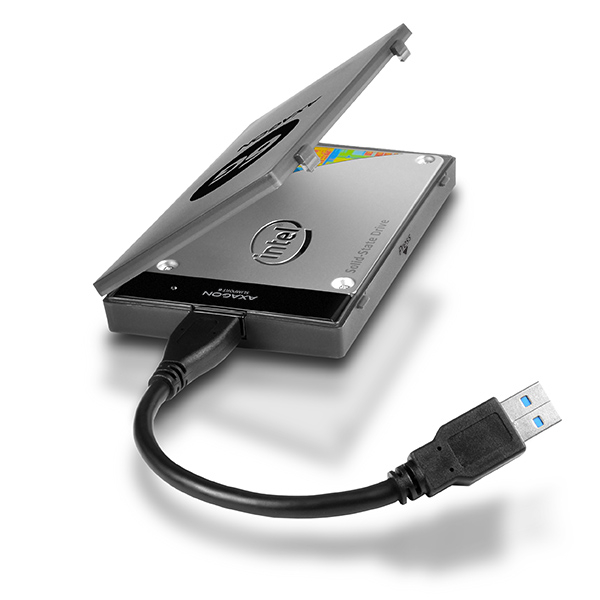
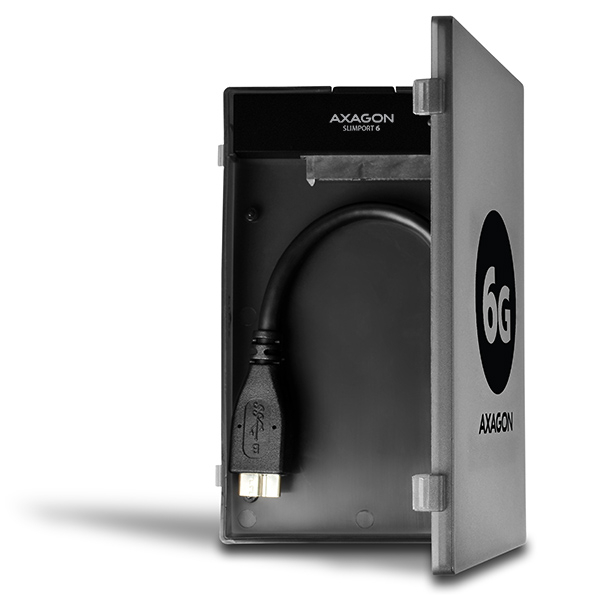
Le boîtier accueille un disque standard 2,5" avec l’adaptateur USB connecté.
Il sert également pour le transport ou le rangement de l’adaptateur seul sans disque avec le câble à l’intérieur du boîtier.
Les dimensions et poids minimalistes rendent le produit adapté aussi pour une utilisation mobile occasionnelle.
PRACTICAL CASE • MINI & LIGHTWEIGHT • MOBILE
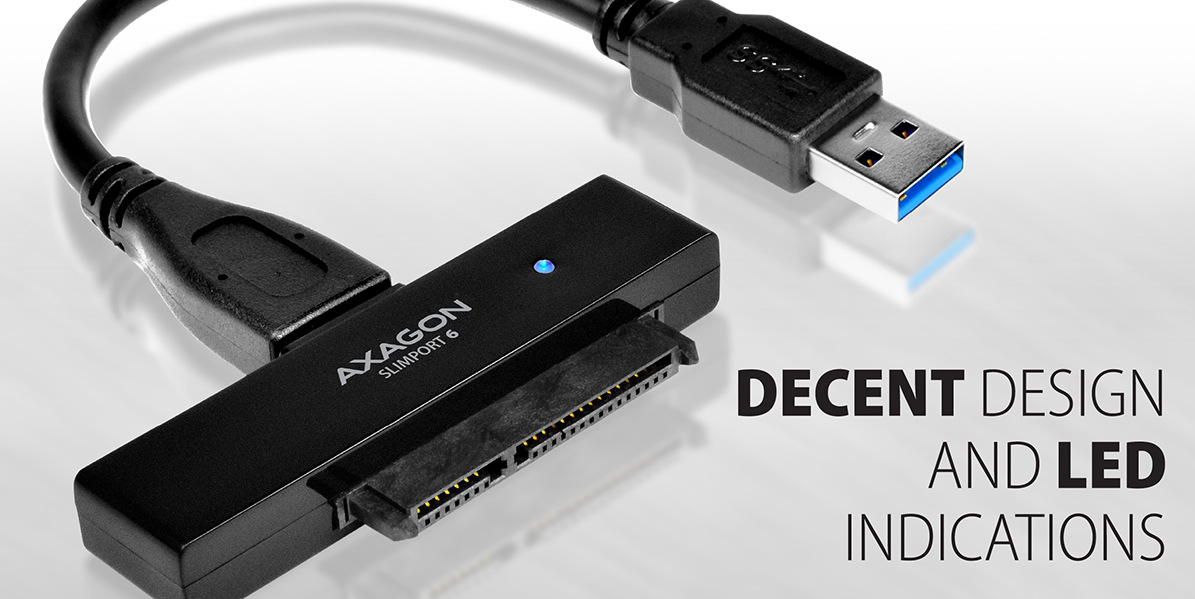
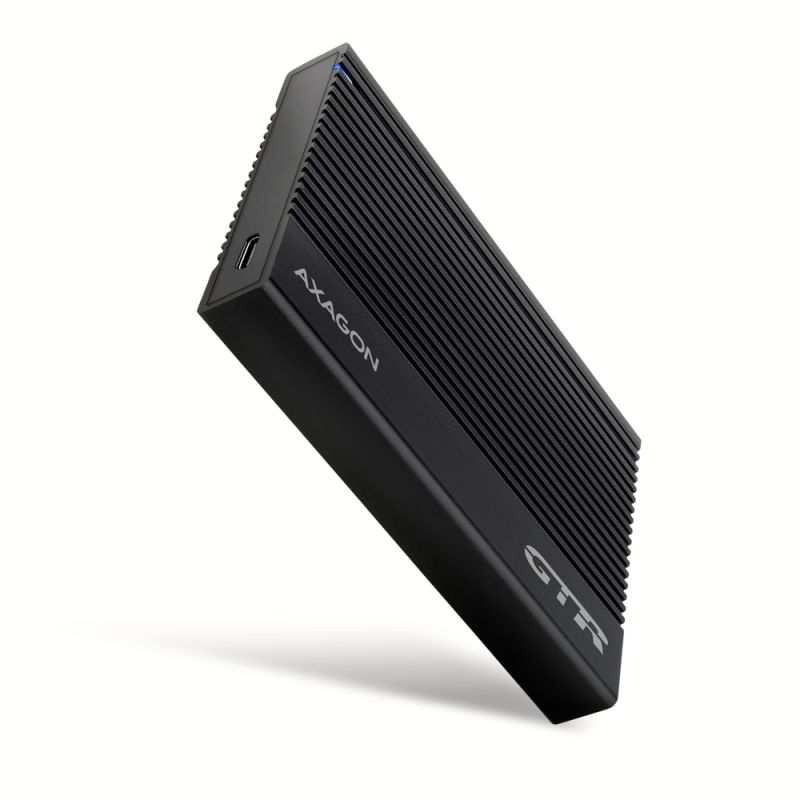
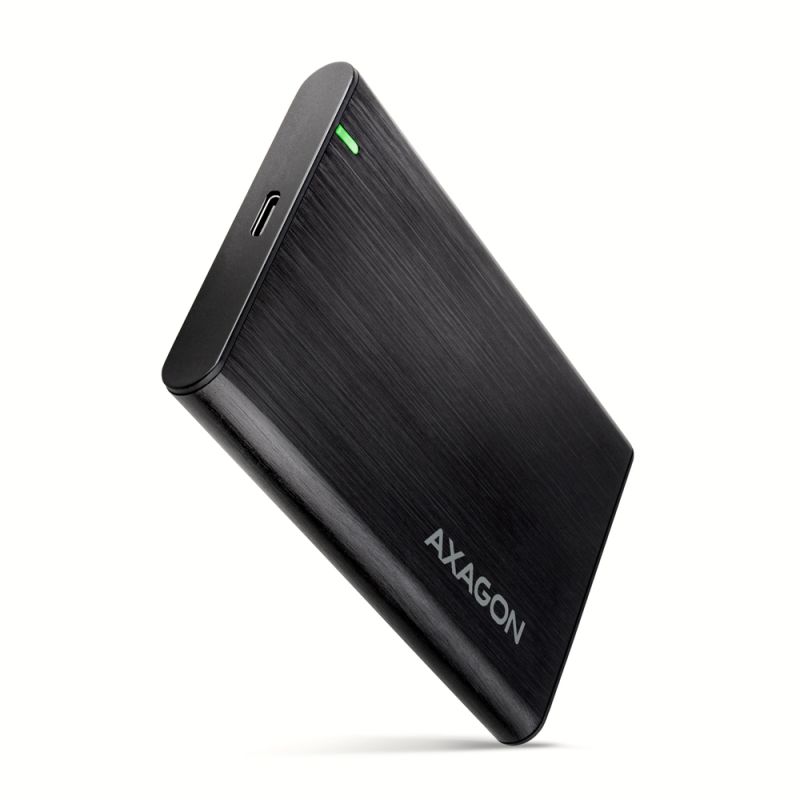
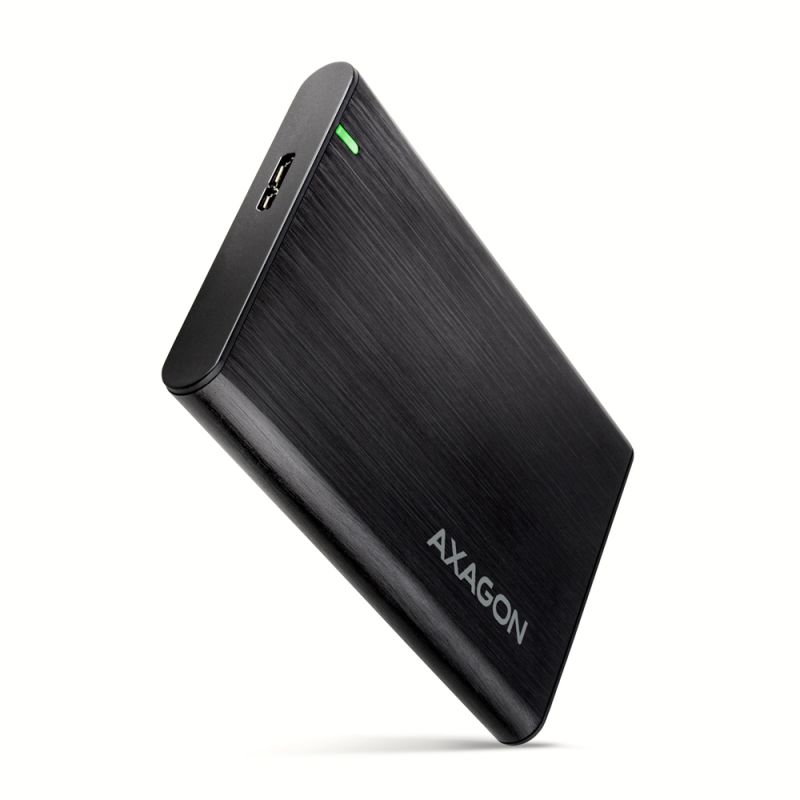
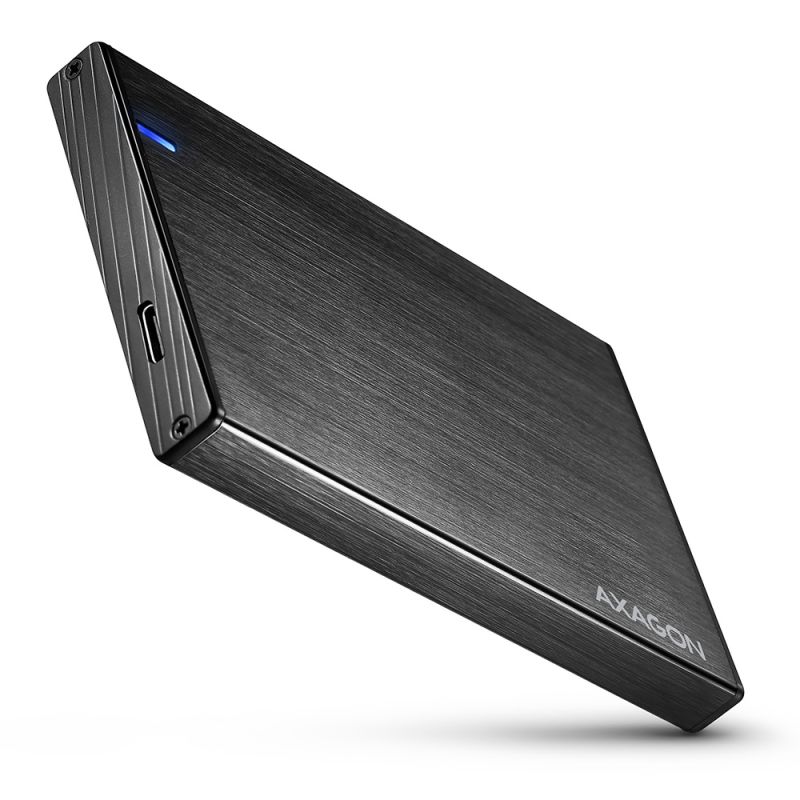
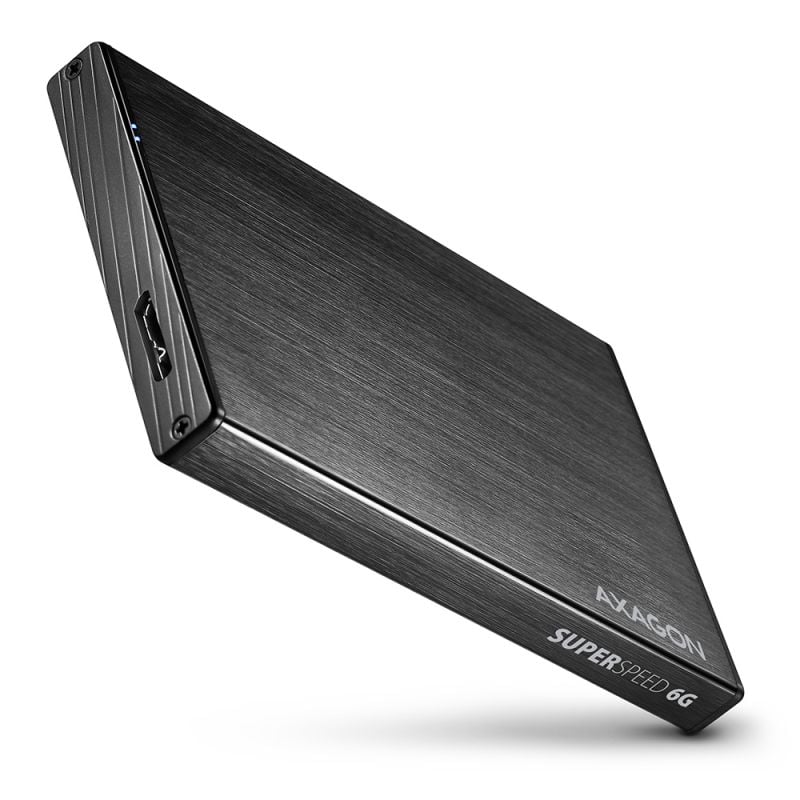
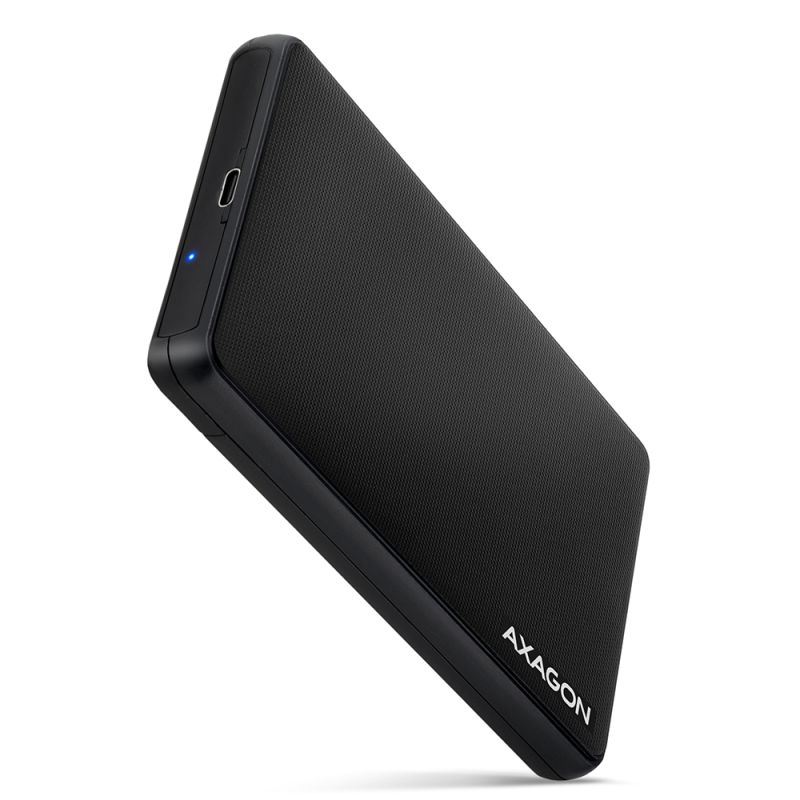
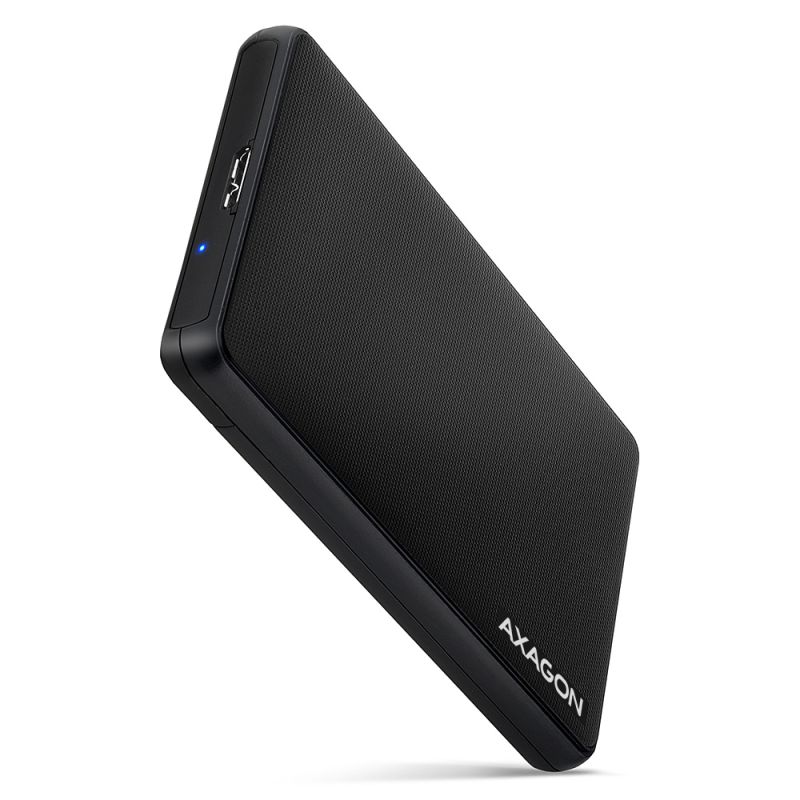
Design minimaliste épuré pour un boîtier fin et léger.
Surface agréablement mate.
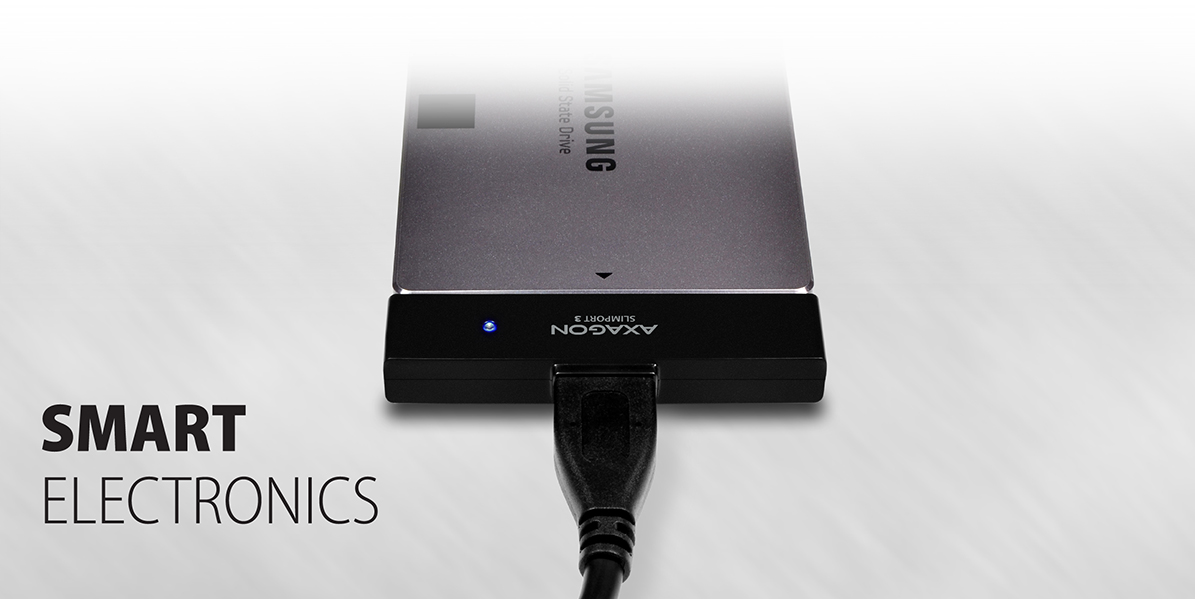
Une LED bleue discrète indique l’alimentation et le transfert de données.
PURE DESIGN • SLIM CASE • MATTE FINISH • DELICATE BLUE LED
Lecture des informations S.M.A.R.T. surveillant l’état du disque externe.
Prise en charge de l’arrêt du disque après débranchement du périphérique ou lors de la mise en veille du PC.
Possibilité de "boot" de l’ordinateur depuis un SSD ou disque dur dans un boîtier externe.
HDD S.M.A.R.T. INFO • HDD TURN OFF • BOOT SUPPORT
AXAGON SLIMport 6 est un petit assistant très rapide et astucieux, utilisable de nombreuses façons telles que la conservation et le partage de données, la sauvegarde, le test des disques et plus encore.
C’est un outil idéal pour la migration de données lors du remplacement d’un disque dur par un SSD dans un ordinateur portable.
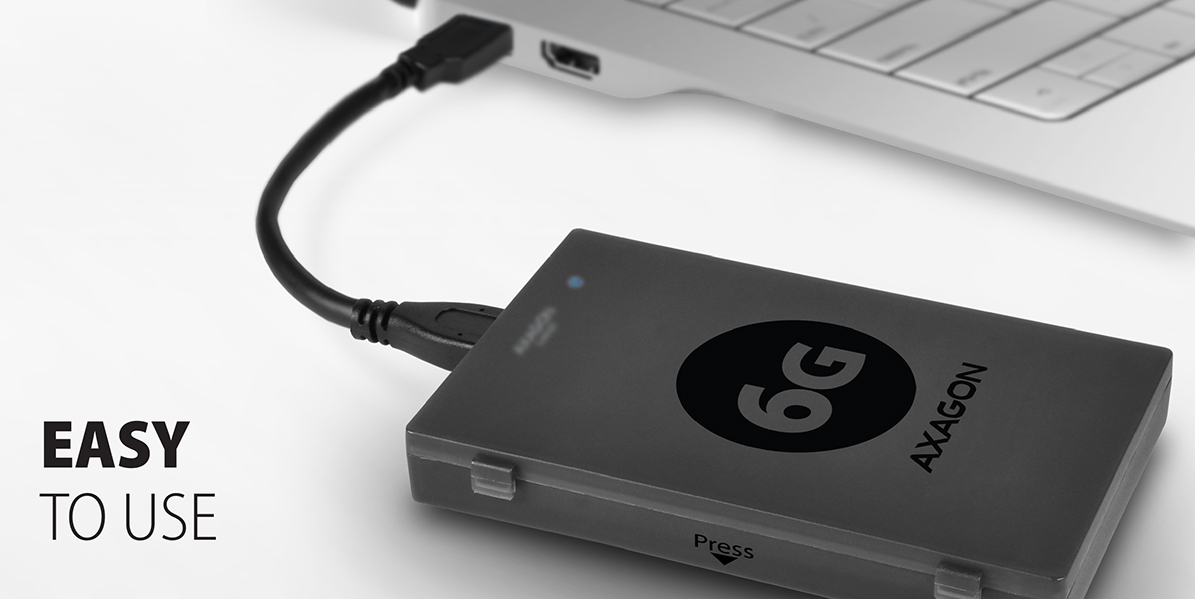
De plus, son installation est accessible même à un débutant – le disque se connecte à l’adaptateur et l’adaptateur au port USB de l’ordinateur, le reste se fait automatiquement.
HANDY TOOL • DATA MIGRATION • AUTO INSTALL
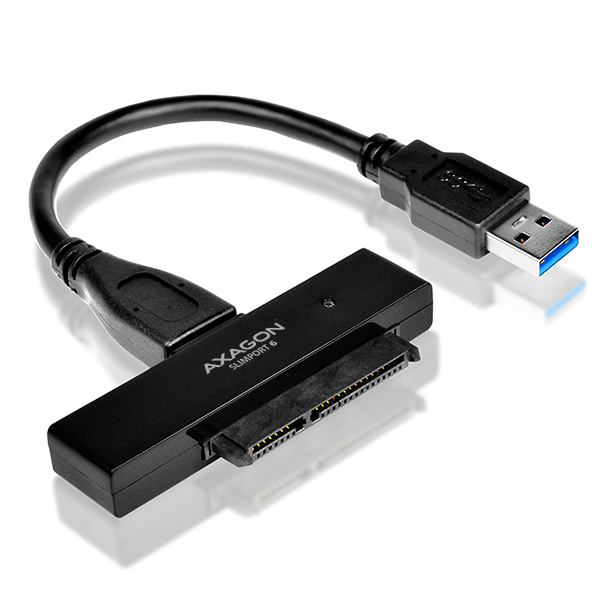
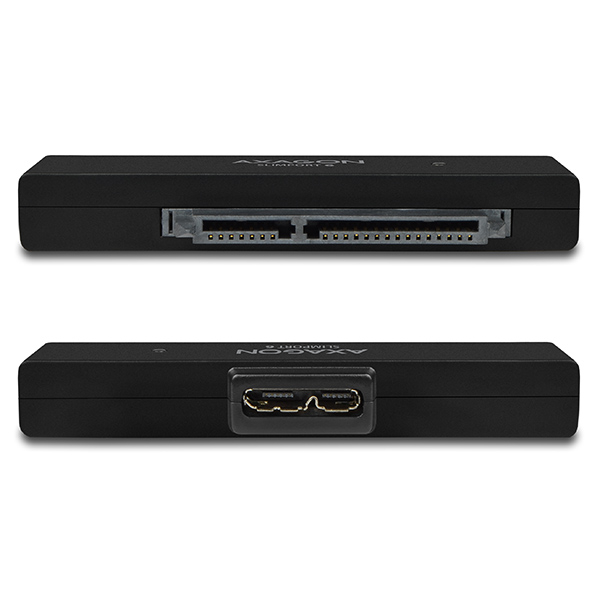
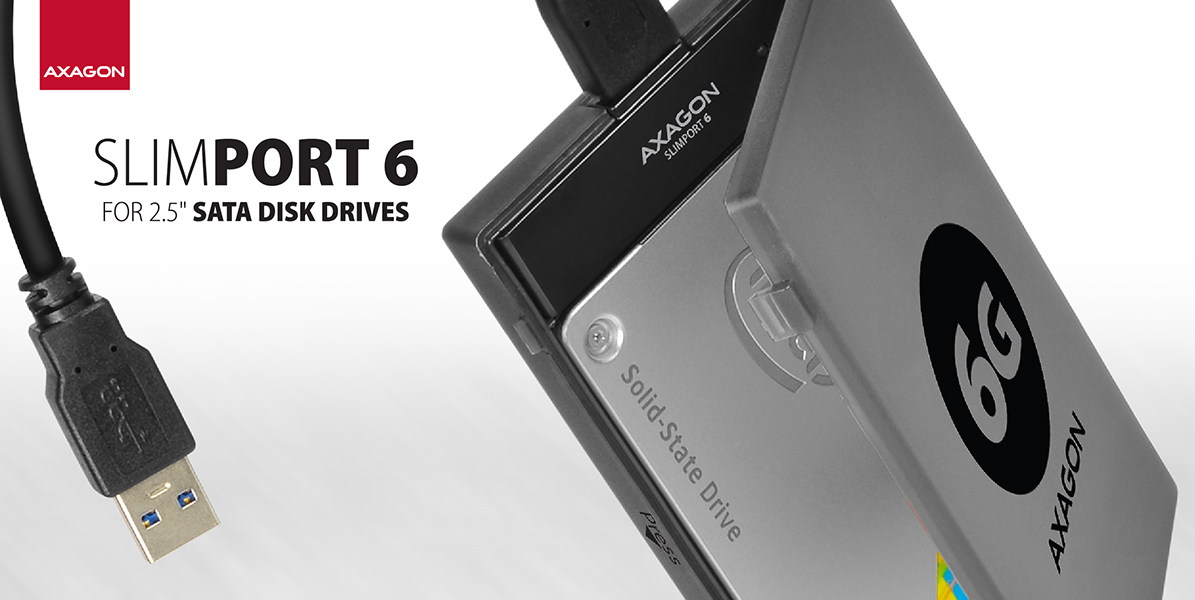
Adaptateur compact à haute vitesse AXAGON ADSA-1S6 SLIMport6 avec interface USB 3.0 et SATA 6G conçu pour une connexion facile de SSD ou disque SATA 2,5".
Assistant pratique pour une connexion rapide de SSD ou disque d’ordinateur portable incluant la prise en charge du démarrage.
La prise en charge de l'UASP augmente significativement la vitesse de transfert particulièrement lors du travail avec de petits fichiers en file d’attente.
Prise en charge de la fonction TRIM pour limiter la dégradation progressive des performances du SSD avec le temps.
Lecture des informations S.M.A.R.T. surveillant l’état des disques connectés. Prise en charge de la mise en veille des disques et de l’adaptateur connectés.
L’installation est réalisable même par un néophyte – le disque se connecte à l’adaptateur et l’adaptateur se branche dans le port USB de l’ordinateur, le reste s’effectue automatiquement.
Les dimensions et le poids minimaux avec le boîtier inclus pour disque s’adaptent parfaitement à une utilisation mobile.
Caractéristiques :
• Compatible USB 3.0, rétrocompatible USB 2.0.
• Prise en charge des vitesses de transfert 12 / 480 / 5000 Mbit/s (full / high / super speed).
• Prise en charge des disques 2,5" SATA III/II/I de toutes capacités.
• Conforme à la spécification Serial ATA 3.1 (SATA/600), vitesse de transfert jusqu’à 6 Gbit/s.
• Conforme à la spécification Serial ATA 2.0 (SATA/300), vitesse de transfert jusqu’à 3 Gbit/s (300 Mo/s).
• Conforme à la spécification Serial ATA 1.0 (SATA/150), vitesse de transfert jusqu’à 1,5 Gbit/s (150 Mo/s).
• Le débit total / vitesse de transfert de l’adaptateur est déterminé par l’interface USB 3.0 utilisée (théorique 5 Gbit/s).
• Prise en charge UASP (USB Attached SCSI Protocol) et BOT (Bulk-Only Transport).
• Prise en charge du démarrage depuis SSD/HDD connecté via adaptateur USB.
• HDD Auto Spindown – mise en veille automatique du disque après 22 minutes d’inactivité.
• HDD Turn Off – arrêt du disque après retrait du périphérique ou mise en veille du PC.
• Possibilité de connexion à chaud grâce à la prise en charge du Hot Plug.
• Pleine prise en charge Plug and Play.
• Connexion via connecteur USB 3.0 micro B femelle.
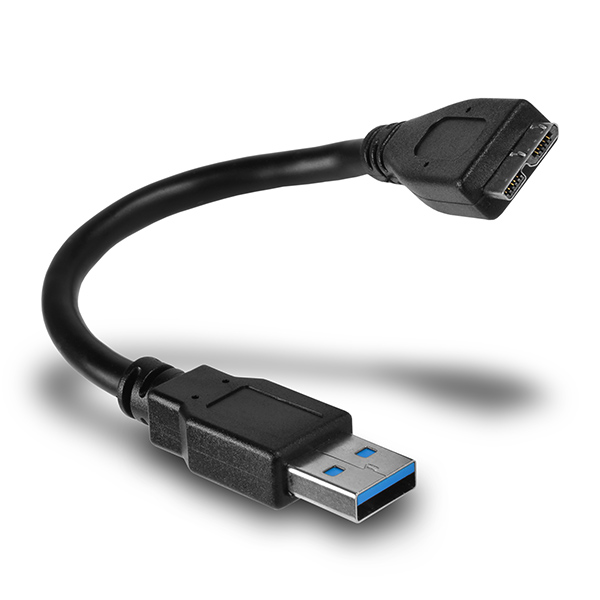
• Câble USB 3.0 type A mâle / USB 3.0 micro B mâle de 10 cm inclus.
• Alimentation via bus USB 3.0 jusqu’à 900 mA d’un port USB, suffisante dans tous les cas.
• LED bleue indiquant la connexion au port USB de l’ordinateur (allumage fixe) et le transfert de données (clignotement).
• Dimensions compactes de l’adaptateur : 70 x 21 x 10 mm.
• Poids de l’adaptateur seulement 11 g, poids du câble USB 18 g.
• Boîtier en plastique simple pouvant contenir un disque 2,5" d'une hauteur maximale de 9,5 mm avec adaptateur USB connecté (le câble USB sort par une ouverture dans le boîtier).
• Éponges fournies pour disques fins de 7 mm pour un meilleur maintien dans le boîtier.
• Le boîtier peut aussi servir pour le transport ou le rangement de l’adaptateur seul sans disque incluant le câble USB à l’intérieur.
• Dimensions du boîtier : 122 x 78 x 19 mm.
• Poids du boîtier : 40 g.
Systèmes d’exploitation pris en charge :
• MS Windows XP / Vista / 7 / 8 / 8.1 / 10 et plus récent, Windows Server 2003 / 2008 / 2012 / 2016 et plus récent (prend en charge toutes les versions 32 et 64 bits de Windows), Mac OS X 10.x et supérieur, Linux avec noyau 2.6.x et supérieur.
• Note : Les pilotes font partie des systèmes d’exploitation pris en charge et s’installent automatiquement. Aucun autre pilote n’est nécessaire ni disponible.
Le pack contient :
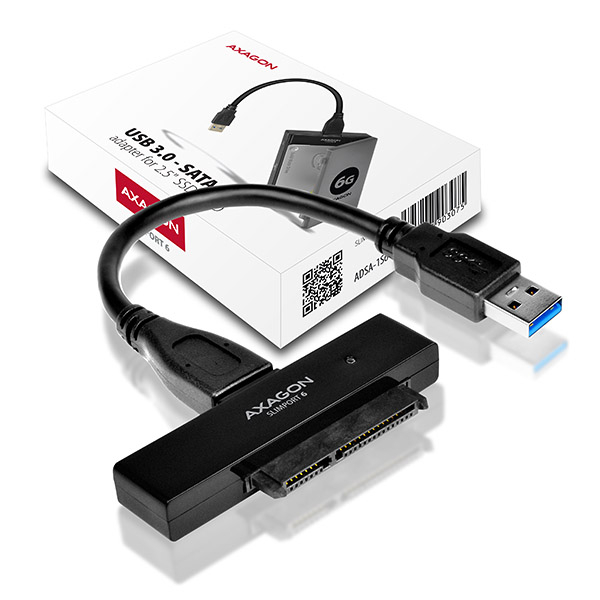
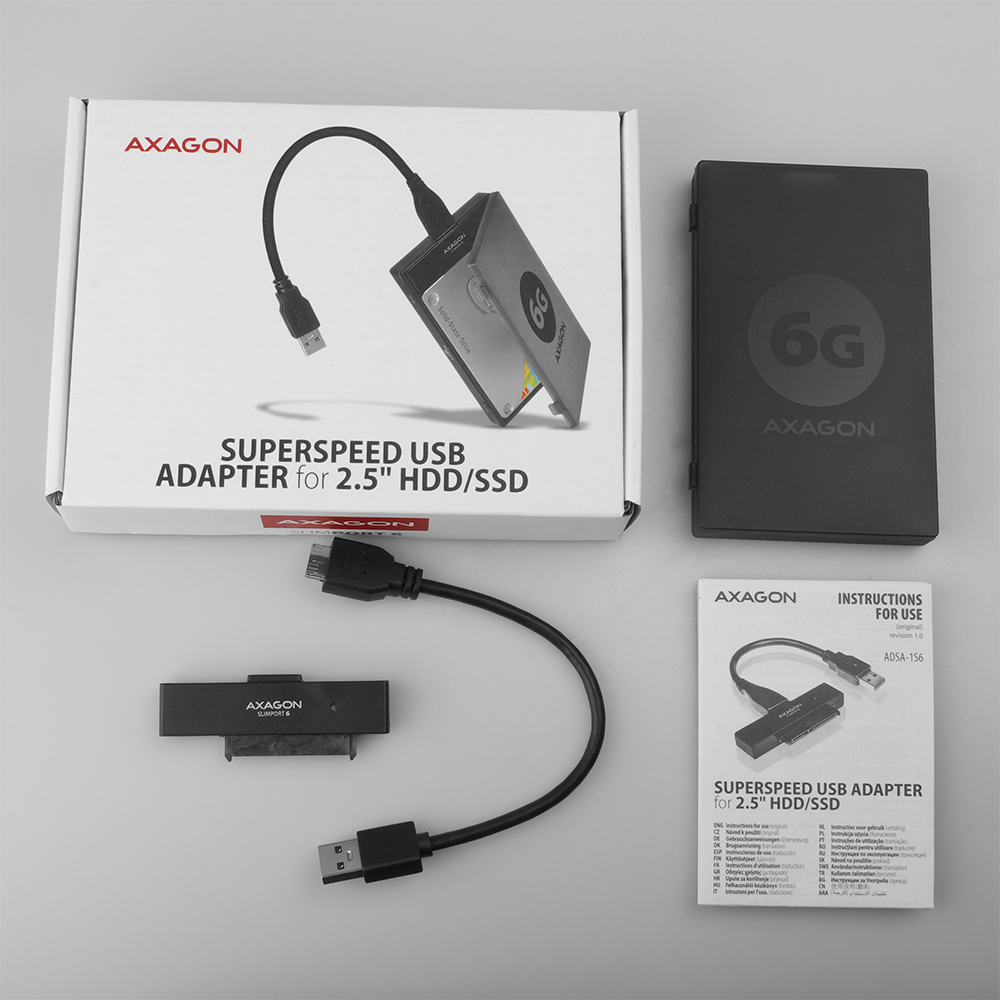
• Adaptateur USB 3.0 - SATA 6G,
• Câble USB 3.0 de 10 cm,
• Boîtier plastique pour disque 2,5" et adaptateur USB,
• Éponges pour HDD et SSD de 7 mm,
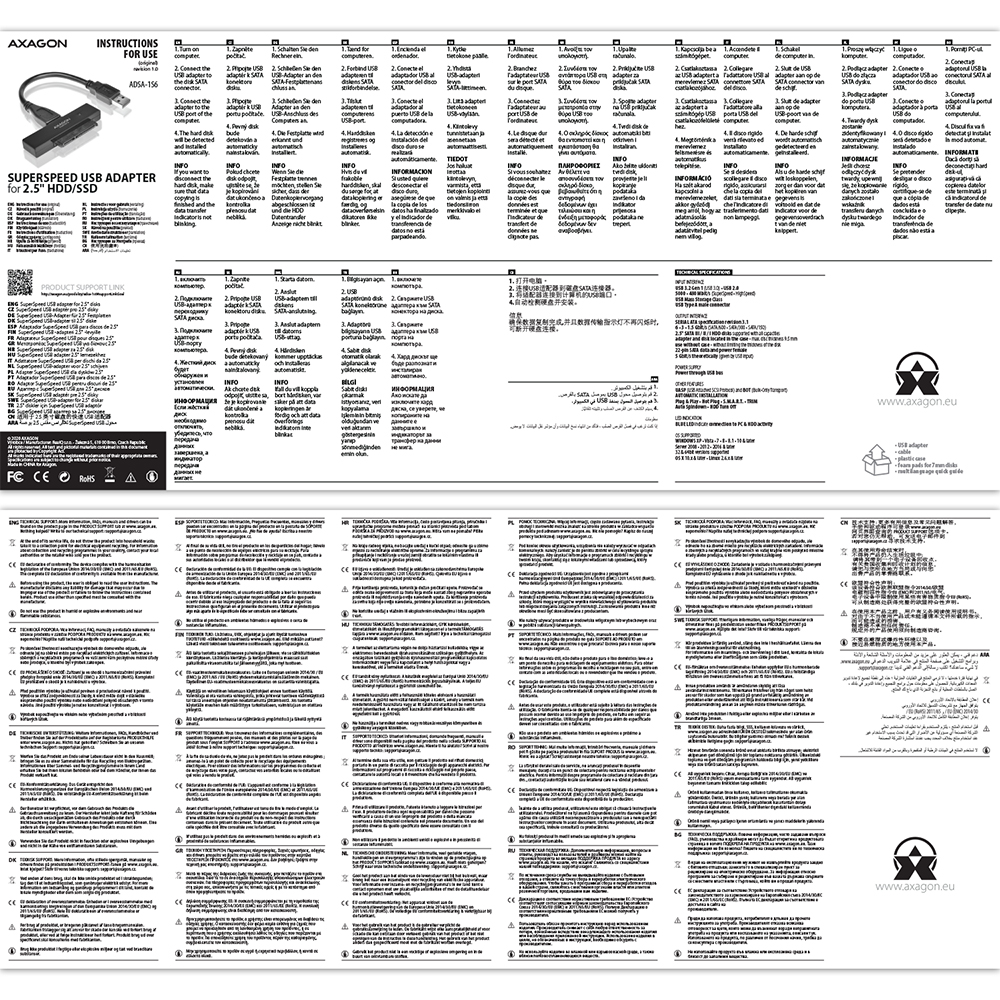
• Manuel multilingue CZ / DE / DK / ENG / ESP / FIN / FR / GR / HR / HU / IT / NL / PL / PT / RO / RU / SK / SWE / TR / BG / CN / ARA,
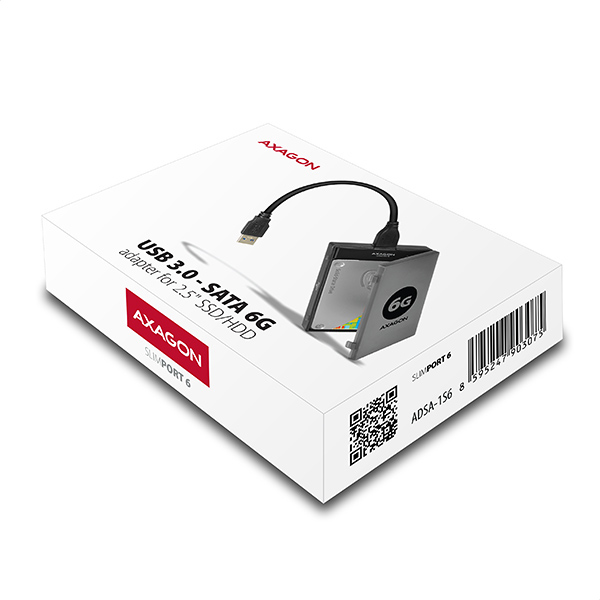
• Emballé dans une boîte en carton.

- adaptateur USB 3.0 - SATA
- câble USB 3.0 de 10 cm de longueur
- coussinets en mousse autocollants pour HDD et SSD de 7 mm
- boîtier en plastique
- manuel d'installation
câble USB 3.0 type A mâle / USB 3.0 micro B mâle de 10 cm de longueur
- manuel imprimé multilingue CZ / DE / DK / ENG / ESP / FIN / FR / GR / HR / HU / IT / NL / PL / PT / RO / RU / SK / SWE / TR / BG / CN / ARA
- boîte en carton
- dimensions de l’emballage 13 x 17,7 x 4 cm
- poids d'un emballage 139 g
- EAN 8595247903075
- nombre d’unités par carton : 40
- poids total du carton : 6,3 kg G.W.
- dimensions du carton : 29 x 38 x 42 cm
ADSA-1S6 - manuel d'installation - CZ / DE / DK / ENG / ESP / FIN / FR / GR / HR / HU / IT / NL / PL / PT / RO / RU / SK / SWE / TR / BG / CN / ARA
A): Drivers are included with operating systems and are installed completely automatically. The external box (adapter / docking station) is detected as a standard storage device, such as a USB flash disk, no additional drivers are needed.
B): No other drivers need to be installed and are not even available. If you continue to have problems with your external box (adapter / docking station), check out more tips that can help you troubleshoot problems.
A): If the external box (adapter / docking station) is not displayed in "Device Manager", there may be a USB port malfunction. It is also possible that your computer has a poor power supply to USB ports and the power is not sufficient to operate an external box (you can detect by listening that HDD is not spinning). This is a problem especially for older computers, where the source part already works at the limit of its parameters. In this case, it would help to use a USB hub, with an auxiliary power supply, by which the external box (adapter / docking station) would be connected to the computer.
B): Try plugging the external box (adapter / docking station) into another USB port, preferably on the back of your PC. The external box (adapter / docking station) should be detected and the drivers loaded automatically. If the problem persists, plug the external box (adapter / docking station) into the USB port of another computer to verify its functionality.
A): If this happens, it means that the operating system failed to get the necessary information to install the drivers.
B): The cause may be a defective USB cable or damaged device. If the problem persists, plug the external box (adapter / docking station) into the USB port of another computer to verify its functionality.
A): If this happens, it means that the Windows operating system did not assign a drive letter to the new storage device.
B): If the drive letter is not assigned, open "Disk Management", right-click on the desired drive and manually assign the drive letter. If the drive letter can not be assigned to the disk, it is possible that the disk is formatted as "dynamic". If you want to keep disk data, connect it to the original device and make a backup of the disk. Then convert it to a normal disk, initialize it to MBR (or GPT, see other points), and then perform Low Level Format (e.g. using the Low Level Format Tool)
A): The newly purchased disk must be initialized before first use.
B): If the new disk is not initialized automatically, open "Disk Management", right-click on the desired disk and initialize it.
A): By initializing the disk, you can set the mode in which the hard disk will work.
B): You can use the partition with the master boot record (MBR) or the GUID partition table (GPT). For disk up to 2TB, use the MBR option, we recommend selecting GPT on a larger disk than 2TB. Subsequently, the initialized disk should be formatted.
A): If the external box (adapter / docking station) with a 3.5“ HDD is not displayed in "Device Manager ", the inserted disk may not be powered.
B): Make sure you have the power supply plugged in and the external box (adapter / docking station) turned on with the power switch. If the disk is properly powered, it should spin (can be detected by listening).
A): The AXAGON external boxes (adapters / docking stations) are always equipped with the latest firmware to support disks of all capacities.
B): The 2TB limit is given as the maximum partition size when initializing a disk with the master boot record (MBR). If you want to create a larger partition on the HDD stored in the external box (e.g. 3TB or more), you must select the GUID partition table (GPT) when initializing the disk. Subsequently, the initialized disk should be formatted.
A): The external AXAGON boxes (adapters / docking stations) support the USB Mass Storage protocol making it easy to connect to TV.
B): When using a disk larger than 2TB, some TVs do not support GPT format. In such case, MBR format must be used when initializing a disk.
A): The connectors are compatible, but inside the USB 3.0 connector has five more contacts. The USB 3.2 Gen 1 (USB 3.0) connector is usually identified by the use of blue (exceptionally black) plastic.
B): The main difference is the speed of data transmission. USB 2.0 reaches a maximum speed of about 30 MB/s, while USB 3.2 Gen 1 (USB 3.0) is able to achieve a theoretical speed of up to 600 MB/s. If you place a disk in the external box that has a read speed of 120 MB/s, you can only get a quarter speed, that is about 30 MB/s, in the box with USB 2.0.
A): For proper spin-down setting, this feature must be supported by all components that are in the path between the operating system and the HDD, i.e. the USB controller, box electronics, and the disk itself. The spinning down of idle disks is set up by the operating system, but it is very complicated.
B): We recommend setting up using one of the freeware programs, where the procedure is mostly simplified. E.g. by HDDScan (http://hddscan.com/). The program has the ability to verify whether the disk and all components in the path support the feature. Select "Spindown" to test an immediate spin down of the disk. Set up the spindown time using a slider in the "Power Management" section.
A): Drivers are included with operating systems and are installed completely automatically. The external box is detected as a standard storage device, such as a USB flash disk, no other drivers are needed.
B): No other drivers need to be installed and are not even available. If you continue to have problems with your external box, check out more tips that can help you troubleshoot problems.
A): If the external box is not displayed in "Device Manager", there may be a USB port malfunction.
B): Try plugging the external box into another USB port. The external box should be detected and the drivers loaded automatically. If the problem persists, plug the external box into the USB port of another computer to verify its functionality.
A): In the vast majority of cases, the USB hub can handle connection of one 2.5" external box. If more external boxes are connected, a higher current is needed that ordinary USB cannot deliver.
B): In this case, an auxiliary power supply is required. Use a USB hub with auxiliary power supply.
A): By initializing the disk, you can set the mode in which the hard disk will work
B): You can use the partition with the master boot record (MBR) or the GUID partition table (GPT). For disk up to 2TB, use the MBR option, we recommend selecting GPT on a larger disk than 2TB. Subsequently, the initialized disk should be formatted.
A): If this happens, it means that the operating system failed to get the necessary information to install the drivers.
B): The cause may be a defective USB cable or damaged device. If the problem persists, plug the external box into the USB port of another computer to verify its functionality.
A): If this happens, it means that the Windows operating system did not assign a drive letter to the new storage device.
B): If the drive letter is not assigned, open "Disk Management", right-click on the desired drive and manually assign the drive letter.
A): The newly purchased disk must be initialized before first use.
B): If the new disk is not initialized automatically, open "Disk Management", right-click on the desired disk and initialize it.
A): The AXAGON external boxes are always equipped with the latest firmware to support disks of all capacities.
B): The 2TB limit is given as the maximum partition size when initializing a disk with the master boot record (MBR). If you want to create a larger partition on the HDD stored in the external box (e.g. 3TB or more), you must select the GUID partition table (GPT) when initializing the disk. Subsequently, the initialized disk should be formatted.
A): The external AXAGON boxes support the USB Mass Storage protocol making it easy to connect to TV.
B): When using a disk larger than 2TB, some TVs do not support GPT format. In such case, MBR format must be used when initializing a disk.
AXAGON M.2 SSD disk adapter is let say only HW connector change from M.2 into PCI-Express or SATA. Adapter itself do not have controller electronics and need no drivers. It is necessary to check M.2 disk driver availability for older OS like Windows 7.
Proper M.2 adapter function requires:
- computer mainboard support M.2 disks – SATA disks are more often supported than NVMe disks,
- computer mainboard support booting from PCI-Express bus – in case of OS installation to M.2 NVMe disk,
- driver availability for M.2 SSD disk – apply especially for NVMe disks on Windows 7 OS.
Please contact the motherboard manufacturer's technical support to determine support for motherboard M.2 drives. In some cases updating the BIOS/UEFI is sufficient.
Check the M.2 SSD driver availability on the manufacturer's website or contact the disk manufacturer's technical support.
The disks connected to the SATA motherboard controller are usually displayed In BIOS/UEFI. The NVMe disk is usually displayed in the "Disk Boot Order" menu.
This applies when the requirements of "Prerequisites for proper M.2 function" are met.
A): If the PC does not run with the card or the card is mistakenly detected in “Device Manager”, or if there is a yellow exclamation mark on the driver, or if “Device Manager” reports an error code “Code 10 - The device cannot start”, the card is in conflict with another device in your computer.
B): In most cases, this conflict can be solved by moving the card to another PCI (PCIe) slot, with the BIOS assigning other free resources to the card. If the move does not help, try the card separately, with no additional cards inserted. If the card cannot be moved to another slot, you can reset the BIOS of the computer (by jumper on the board or pulling out the backup battery, we recommend that you note all the original settings and reset everything to the required values). This will cause the IRQ, DMA, and I/O resources to be redistributed.
A): If the network card is not displayed in "Device Manager", a USB port (or a PCIe slot in the event of an internal network card) may be malfunctioning.
B): Try plugging the network card into another USB port (or another PCIe slot on the PC motherboard in the event of an internal network card, or temporarily disconnect all other PCIe cards). The network card should be detected and you should be prompted to install the drivers. If the problem persists, plug the network card into the USB port (PCIe slot) of another computer to verify its functionality.
A): The newly purchased disk must be initialized before first use.
B): If the new disk is not initialized automatically, open "Disk Management", right-click on the desired disk and initialize it.
A): First, try moving the card to another PCI-e slot in case there is a device conflict. The issue could also be caused by a poor-quality or damaged SATA cable.
B): Check whether your SSD partition is properly aligned (using a program that displays this information, e.g., ASS SSD Benchmark). More information about this issue can be found here: http://pctuning.tyden.cz/software/ladeni-windows/17030-optimalizace-windows-7-pro-ssd-co-funguje-a-co-ne?start=2
A): By initializing the disk, you can set the mode in which the hard disk will work.
B): You can use the partition with the master boot record (MBR) or the GUID partition table (GPT). For disk up to 2TB, use the MBR option, we recommend selecting GPT on a larger disk than 2TB. Subsequently, the initialized disk should be formatted.
Test
A): The lead time is naturally longer by the time it takes to detect the controller and connected disks. The start time can be shortened in the MB BIOS by enabling the "Quick Boot" feature. For newer boards, this feature is labeled "Fast boot". The lead time depends, of course, also on the disk used for the SSD/HDD operating system and the number of peripherals connected to the computer.
B): In the case of newer motherboards, it is more practical to use the spin down (instead of turn off) feature.
A): The ADSA-ST clones disks bit by bit, regardless of their content. This creates an identical copy of the disk. A requirement for cloning is that the source disk must not contain any bad sectors (otherwise, the cloning process will stop). If the target HDD is smaller than the source HDD, cloning will not start.
B): For cloning, the target HDD must be the same size or larger than the source HDD. If the target HDD is larger than the source HDD, a partition equal to the size of the source HDD will be created on the target disk, and the remaining space will stay unallocated. After cloning, you can extend the partition to include the unallocated space or create a new partition using Windows Disk Management.
A): Check if the M.2 disk type is NVMe (neither SATA M.2 drives nor mSATA drives are covered by this box)
B): Update the firmware of your NVMe M.2 drive using the manufacturer's utility
C): Update the firmware of the external box - download link
A): Drivers are included with operating systems (except for WIN98SE/ME), and are installed completely automatically. The user only installs drivers for the connected printer, if necessary. Try to find them using Windows Update or check with your printer manufacturer. For more information, see the user guide on the product page.
B): No other drivers need to be installed and are not even available. If you continue to have problems with your adapter, check out more tips that can help you troubleshoot problems.