Référence produit: HMC-5
Catégorie: Stations d'accueil , Un écran , Tous les produits
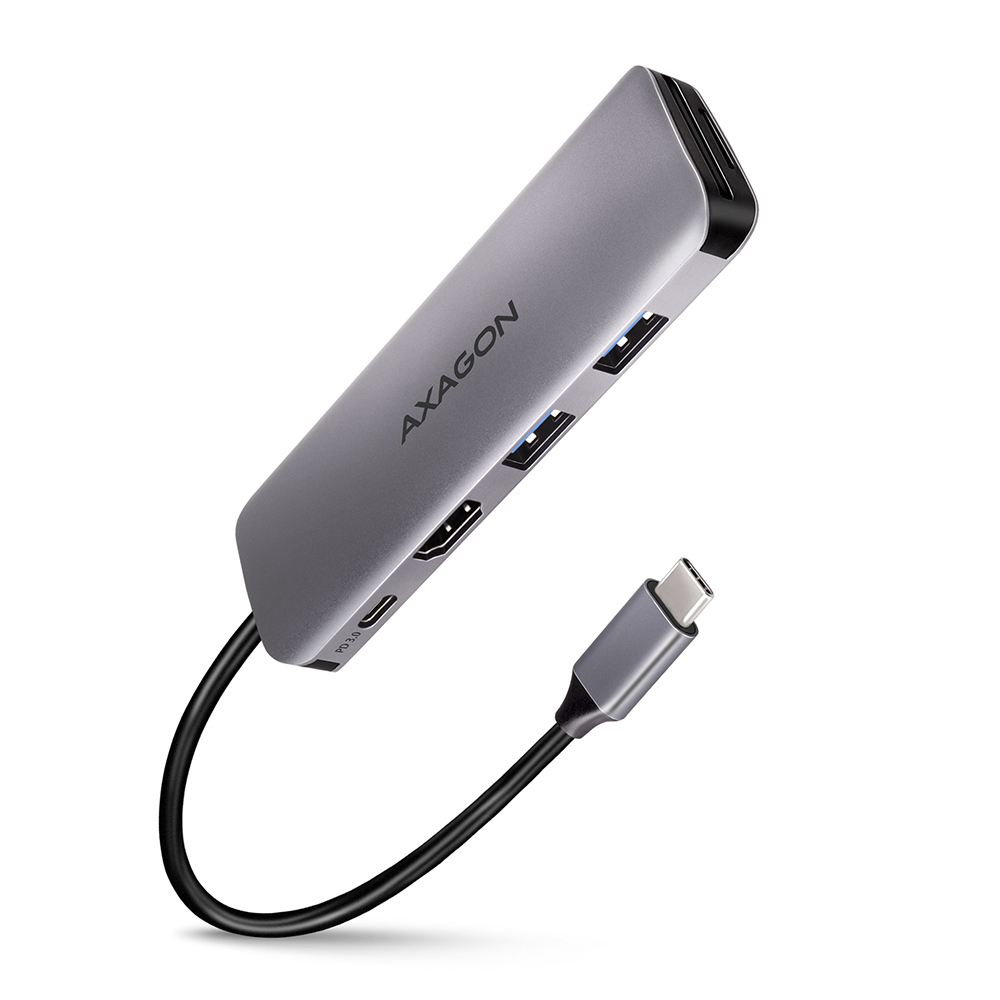
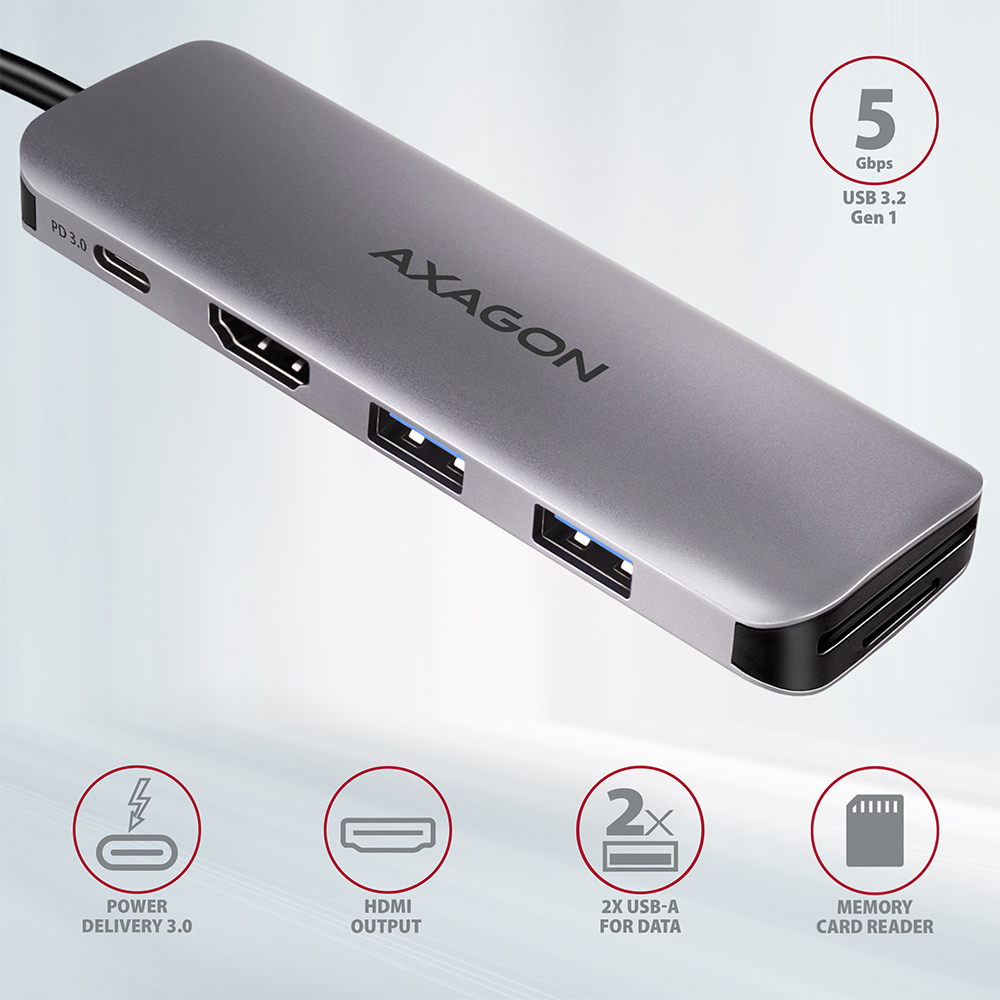
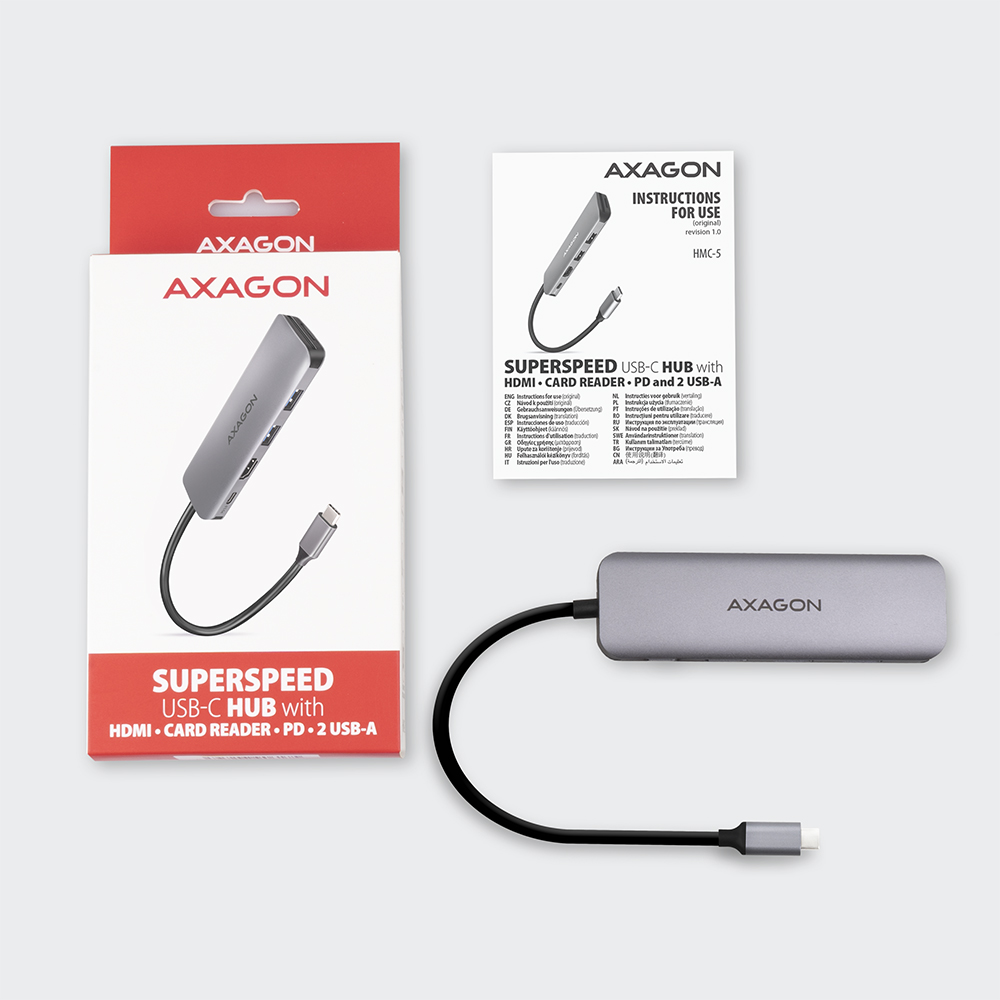
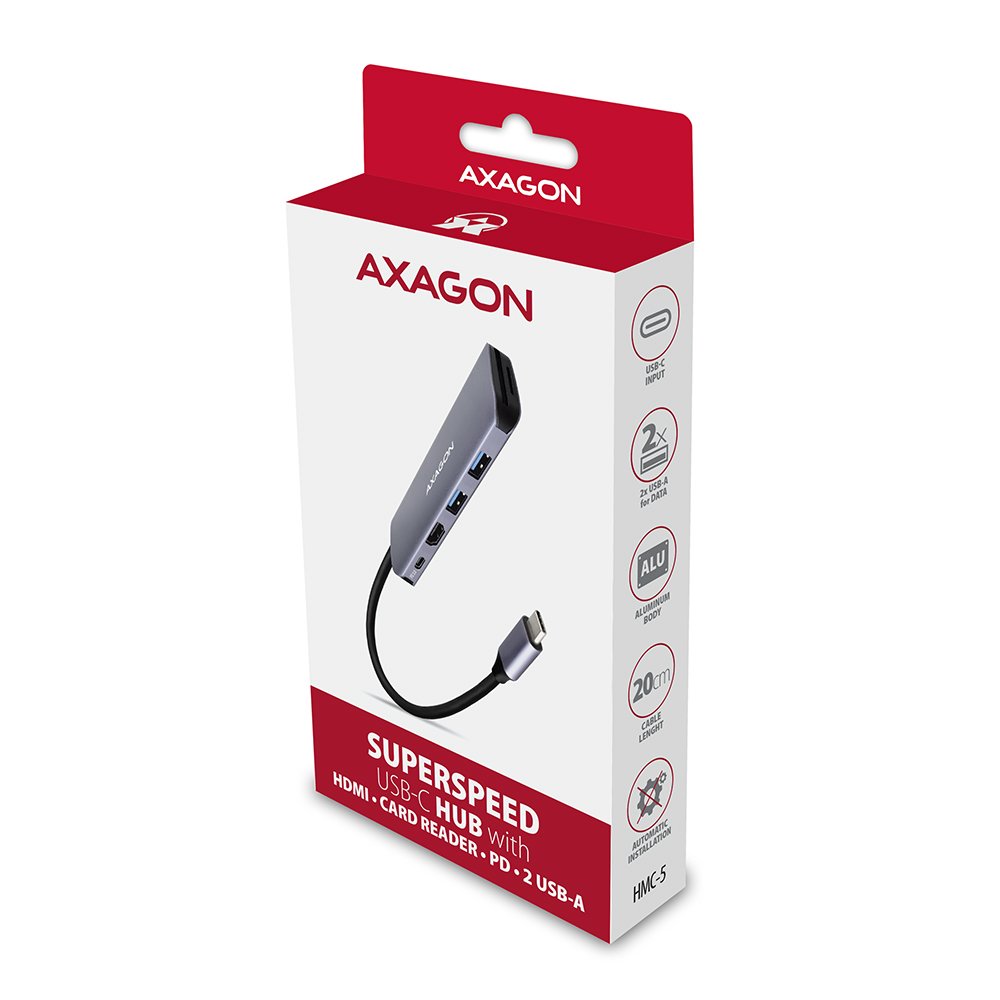
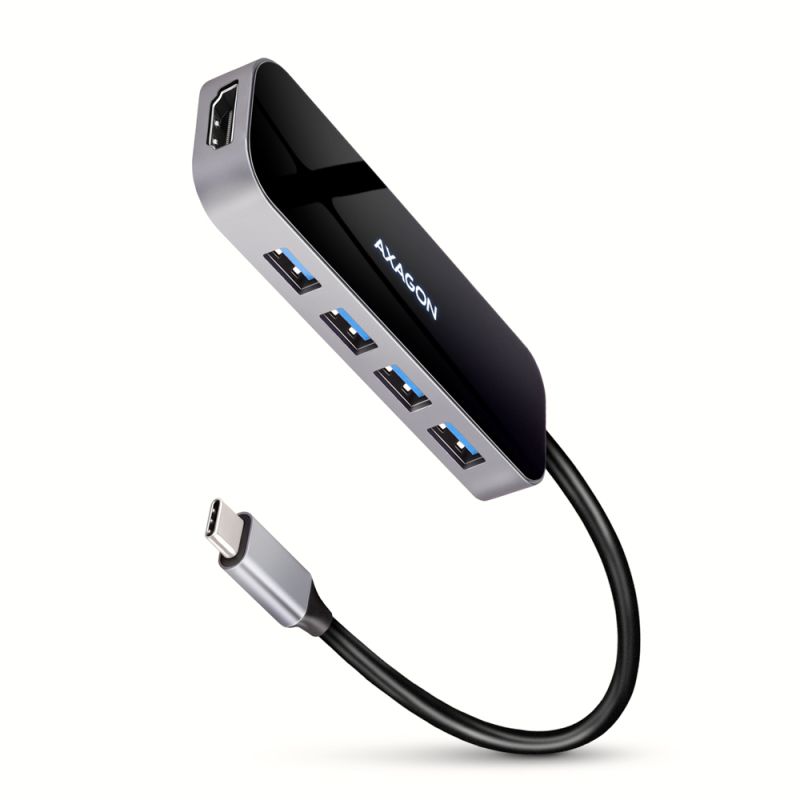
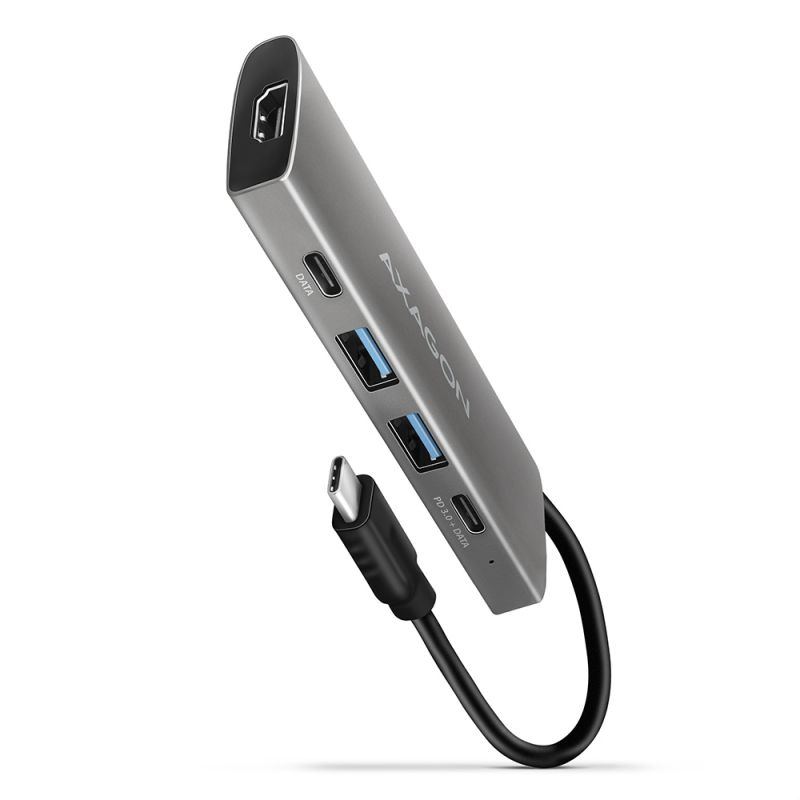
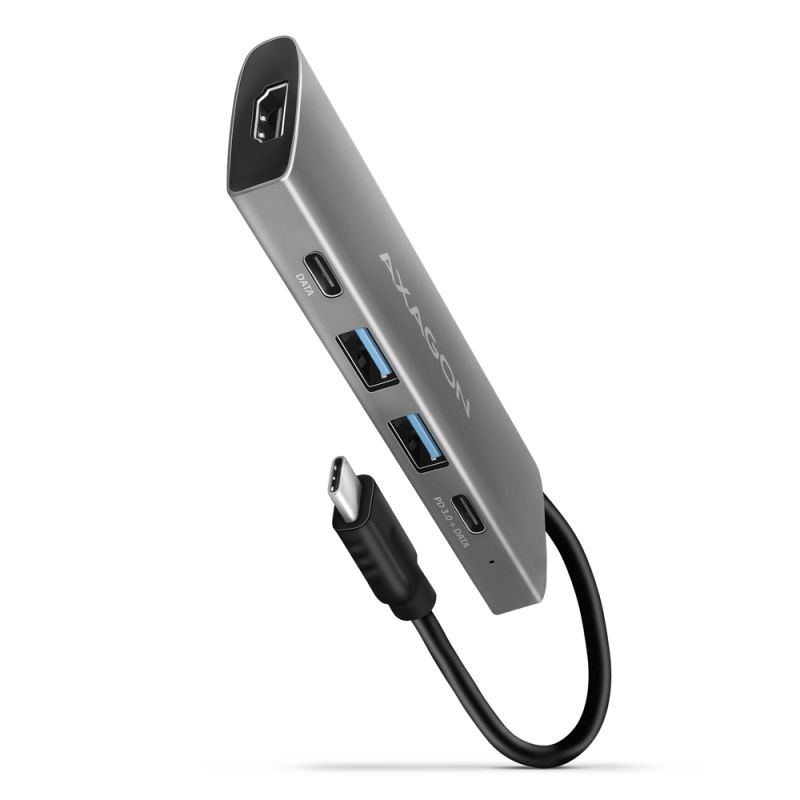
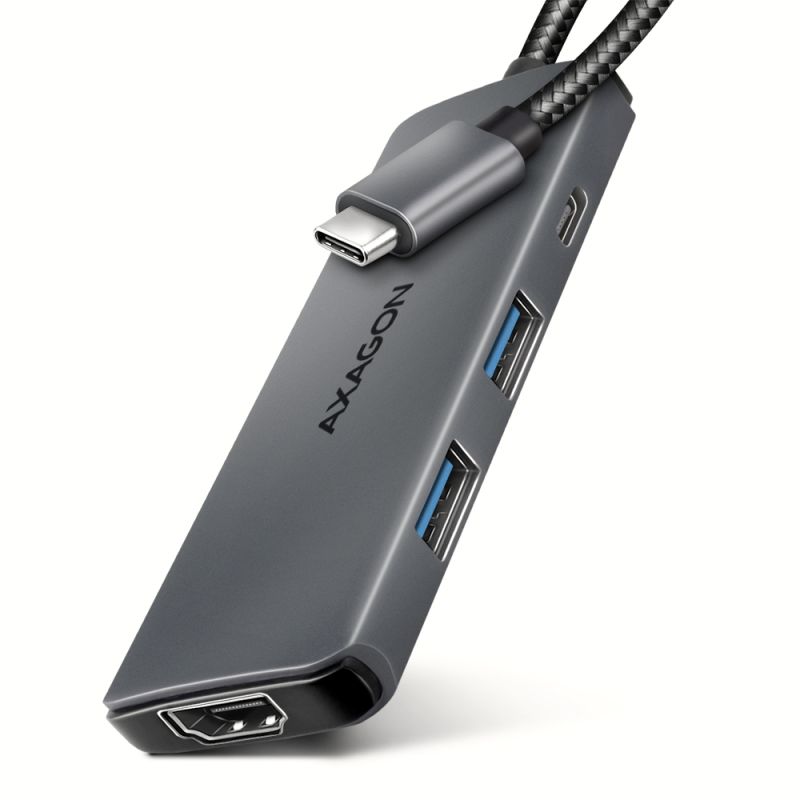
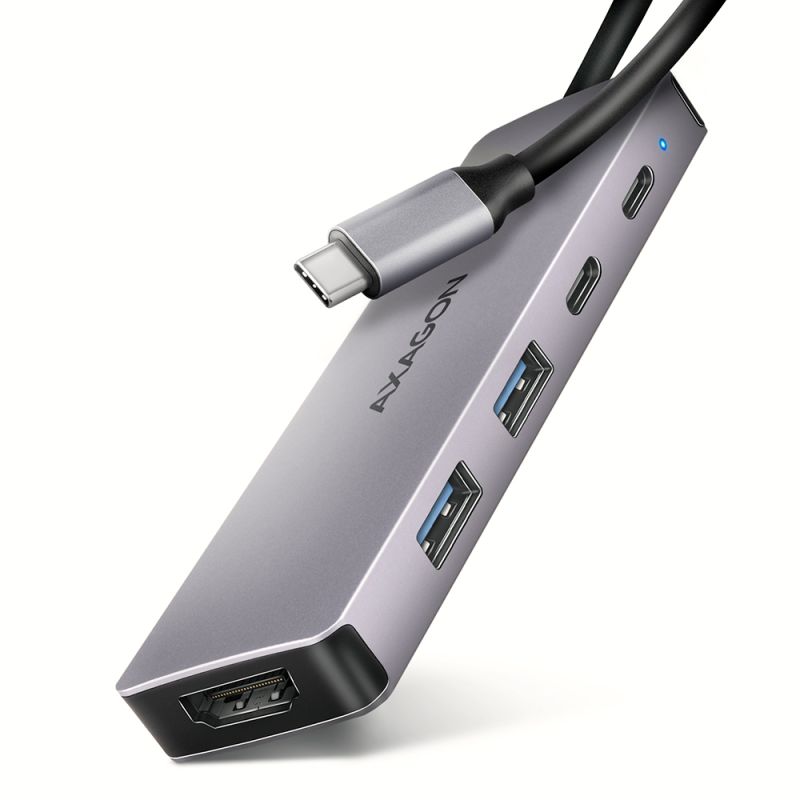
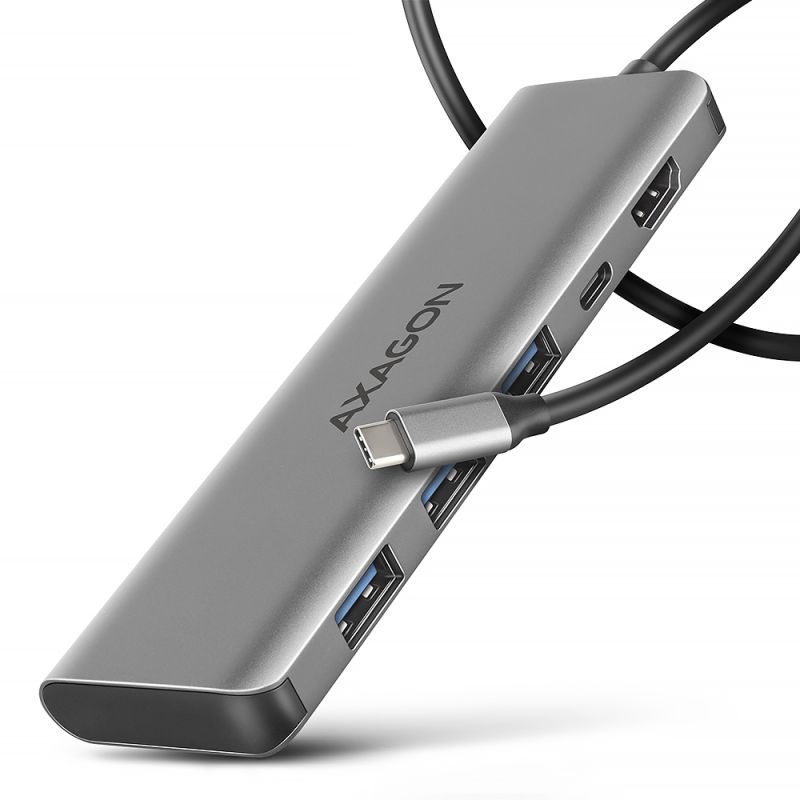
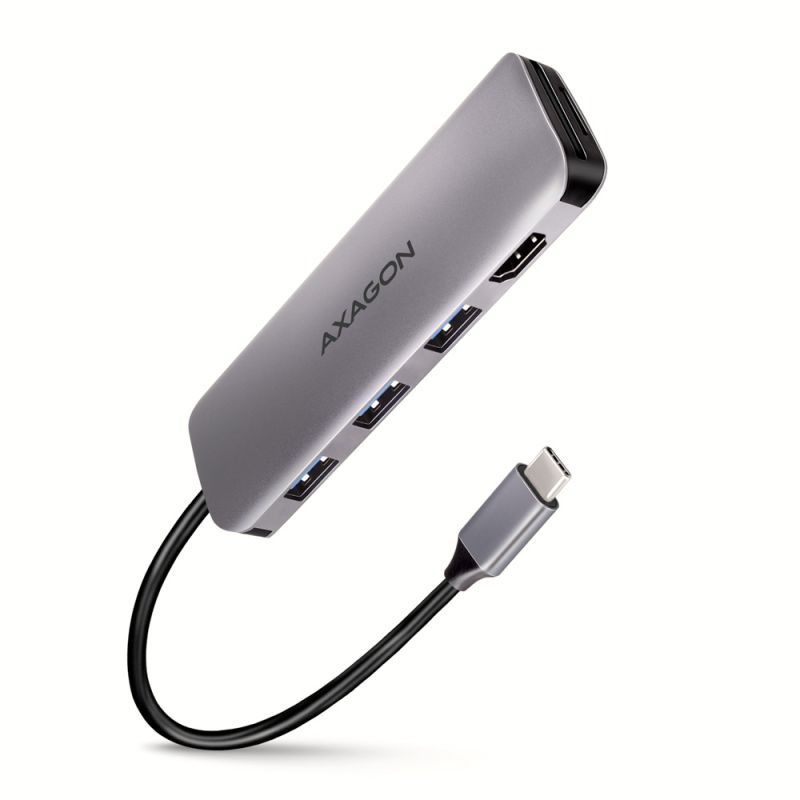
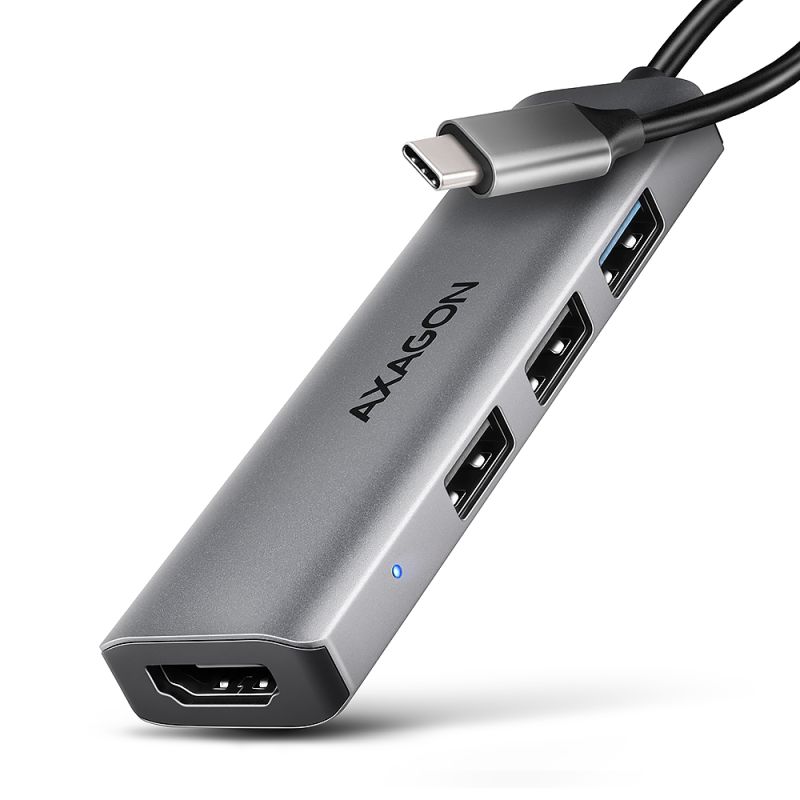
AXAGON HMC-5 Multiport USB-C 3.2 Gen 1 hub étendra votre ordinateur portable, ordinateur ou téléphone avec quatre ports et un lecteur de cartes mémoire SD / microSD. Grâce au connecteur USB-C réversible, vous pouvez facilement et rapidement connecter deux périphériques USB, un lecteur de cartes et un écran HDMI simultanément à votre ordinateur. Vous bénéficiez également de la possibilité d'alimenter votre ordinateur portable grâce à la technologie Power Delivery. Ce hub USB-C vous offre ainsi une station d'accueil compacte et simple 5 en 1 pour un ordinateur portable tel qu'un MacBook Pro.
Le hub USB offre deux sorties USB avec des connecteurs USB-A female standard. Il peut également gérer la connexion permanente de plusieurs disques externes simultanément. Grâce à l'interface USB 3.2 Gen 1 rapide, la vitesse de transfert du hub atteint jusqu'à 5 Gbit/s. Le hub permet également la charge des téléphones et tablettes avec un courant allant jusqu'à 1,5A/5V ; vous pouvez ainsi facilement charger par exemple un smartphone Android, un Apple iPhone ou un Apple iPad.
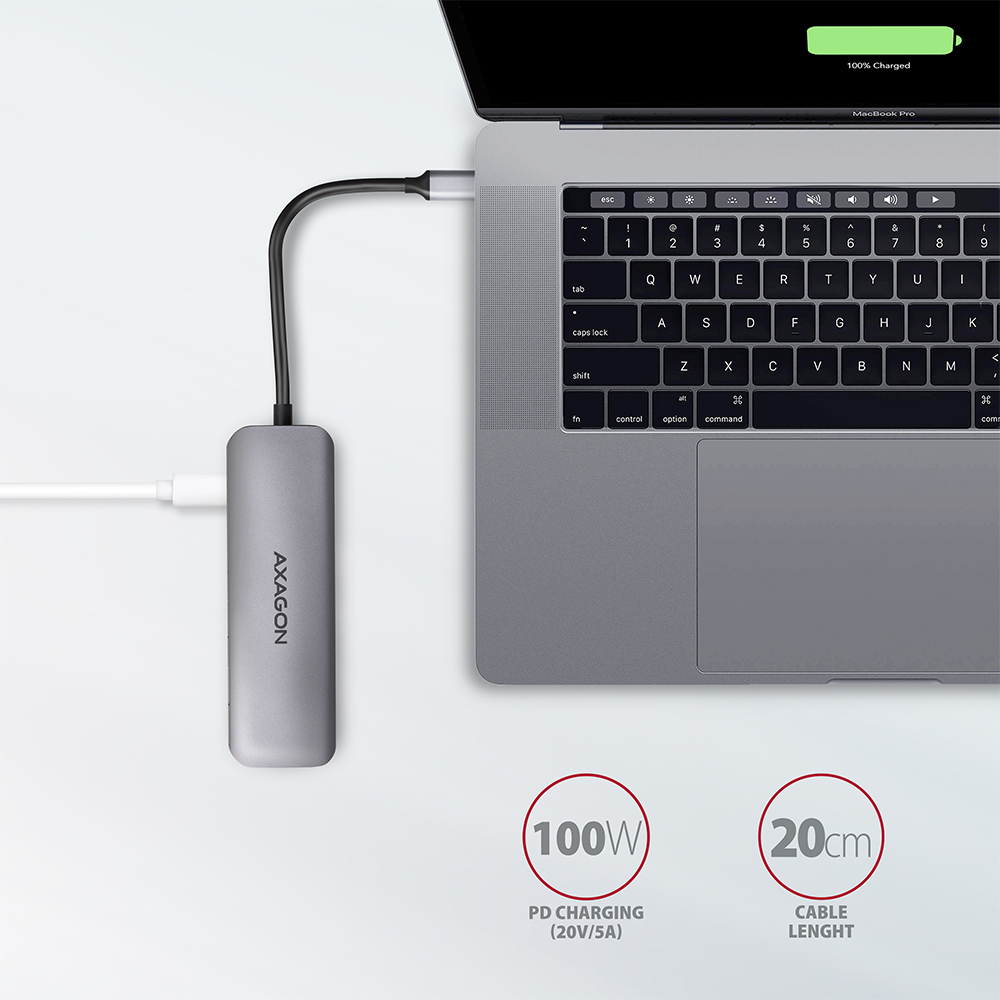
Le connecteur USB-C est dédié uniquement à l'alimentation et à la recharge simultanée des téléphones ou ordinateurs portables via la technologie Power Delivery 3.0 jusqu'à une puissance de 100 W. Vous branchez un chargeur USB-C Power Delivery au hub et connectez le hub à l'ordinateur portable. Vous libérez ainsi un port USB-C. La condition est un ordinateur portable compatible avec la recharge via port USB-C utilisant Power Delivery et un chargeur PD approprié.
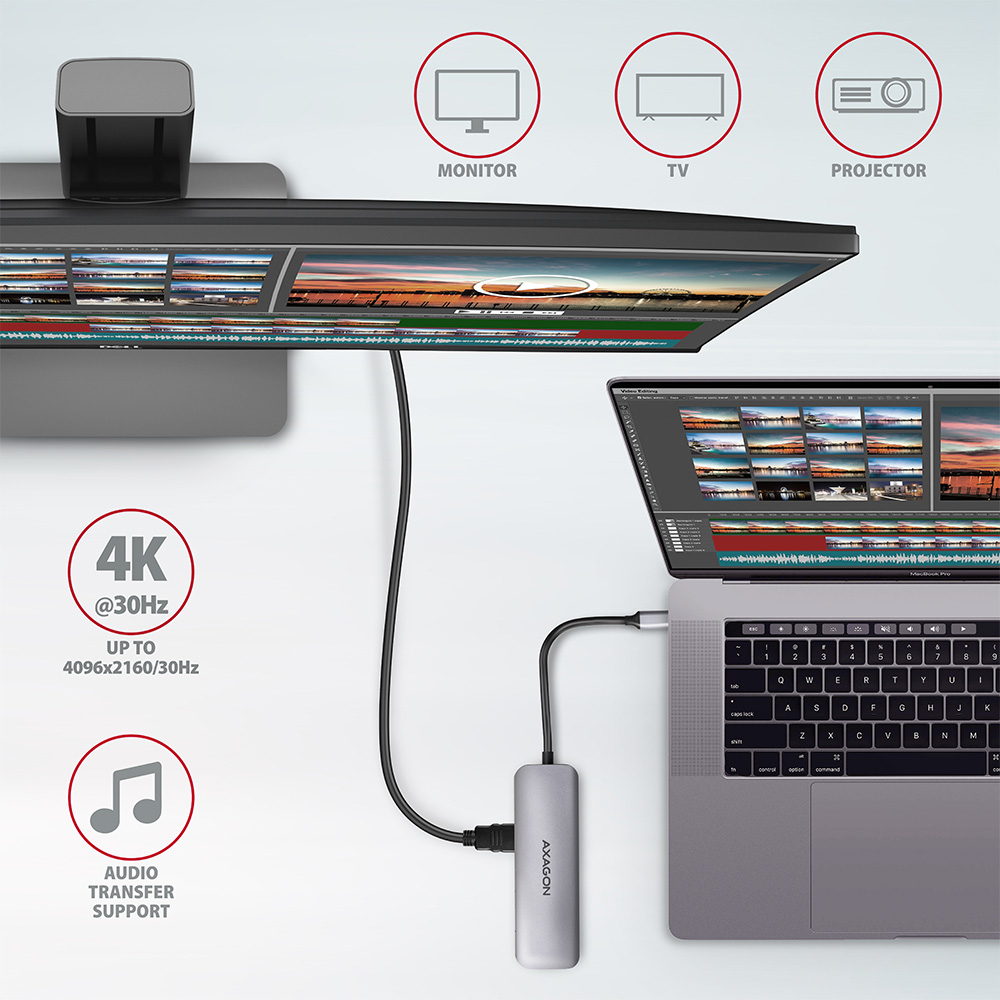
La sortie HDMI fournit une image de qualité jusqu’à une résolution 4K/30Hz Ultra HD et prend en charge la transmission audio multicanal. Les résolutions populaires pour les joueurs WQHD 2560 x 1440 à 60 Hz ou FullHD 1920 x 1080 à 60, 100 et 120 Hz max sont également prises en charge. Pour que la sortie vidéo fonctionne correctement, le port USB-C de l'ordinateur portable doit prendre en charge le DisplayPort Alternate Mode (DP Alt Mode) ou Thunderbolt 3.
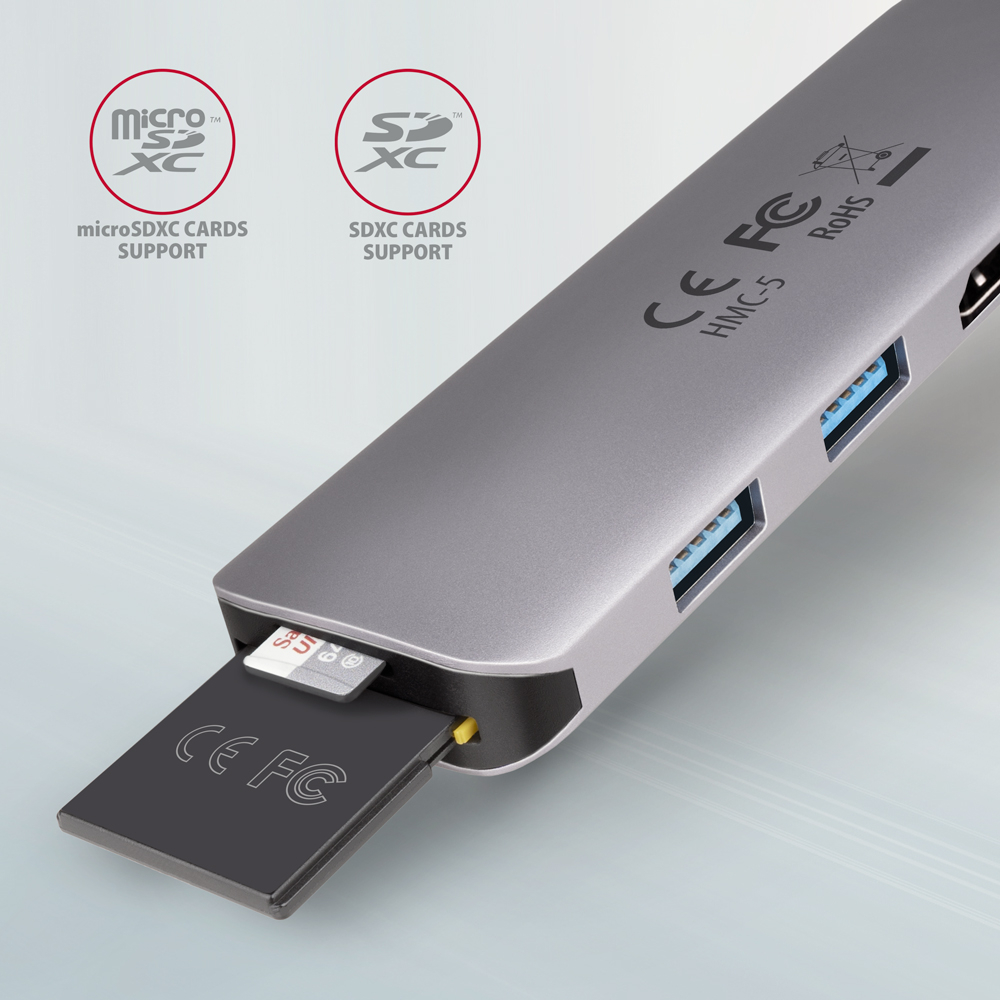
Le lecteur de cartes prend en charge toutes les versions des cartes SD et microSD, y compris SDXC et microSDXC jusqu'à une capacité de 2 To. Les vitesses de transfert élevées sont assurées par l'interface USB 3.2 Gen 1. Le lecteur de cartes permet de travailler simultanément avec les cartes dans les deux fentes et de copier directement entre elles.
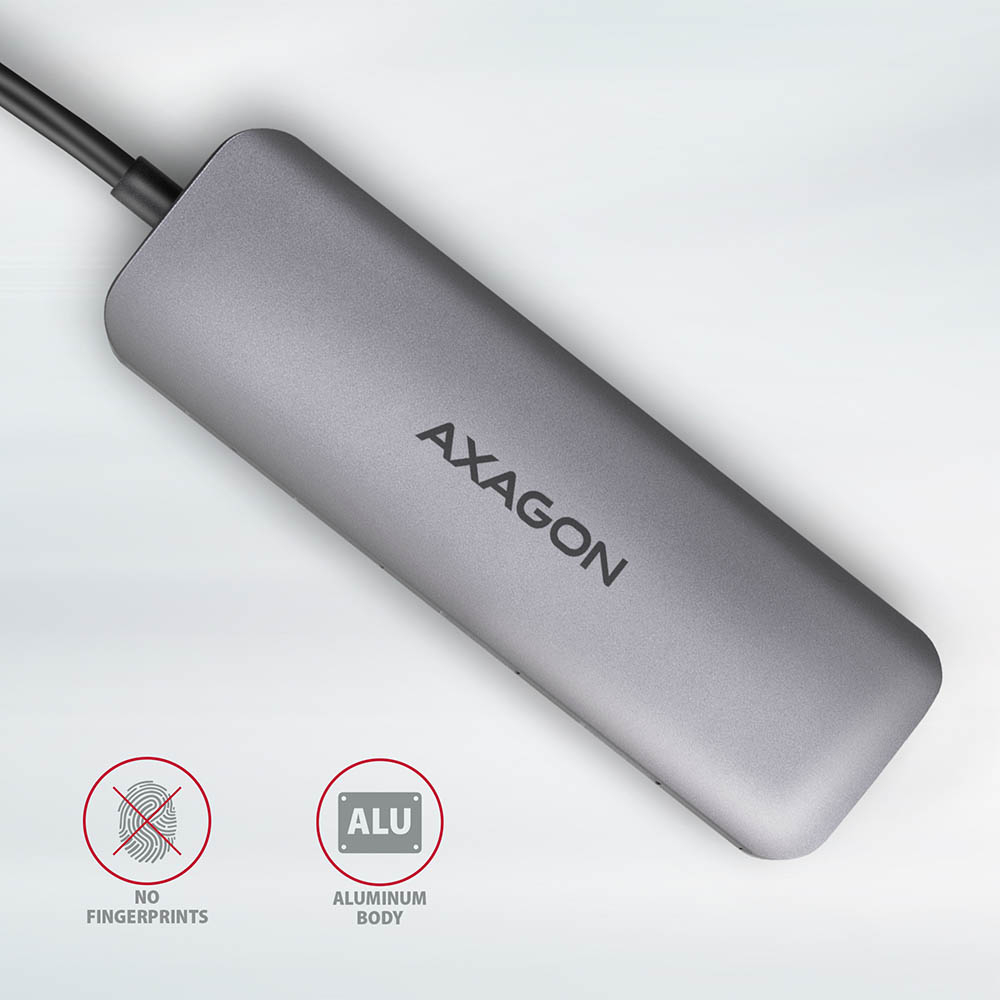
Le boîtier élégant en aluminium assure non seulement une résistance mécanique mais aussi un refroidissement de qualité. Vous apprécierez également la surface finement structurée qui ne conserve pas les traces de doigts.
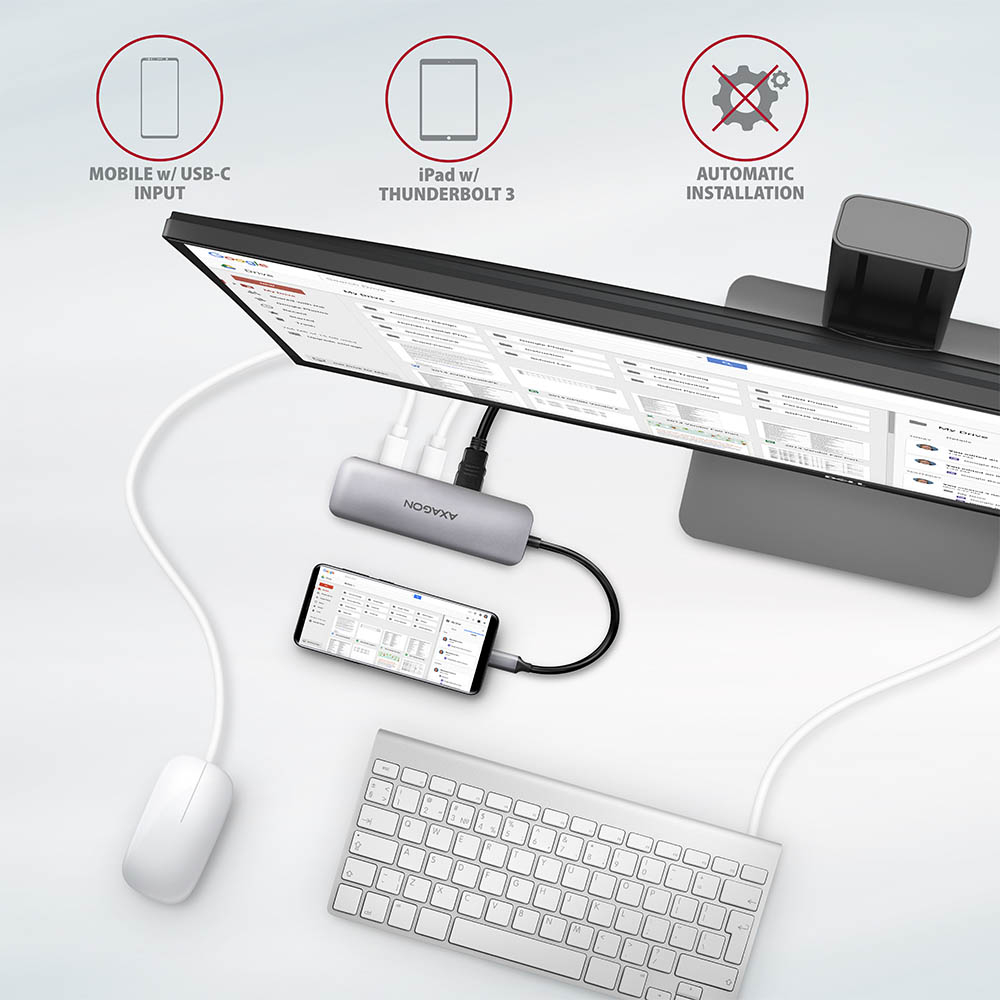
Le réplicateur de ports est un accessoire idéal pour les ordinateurs portables dépourvus de connecteurs USB-A, de lecteurs de cartes et de sortie vidéo. Vous pouvez utiliser vos périphériques USB existants avec ce hub sans avoir besoin d’en acheter de nouveaux. Grâce aux fonctions Plug and Play et Hot Plug, le branchement du hub est très simple sans installation compliquée, et il est facile de connecter et déconnecter les périphériques pendant le fonctionnement de l’ordinateur. Le hub ne craint pas non plus la connexion aux téléphones avec connecteur USB-C. Vous pouvez ainsi connecter au téléphone par exemple une clé USB, un clavier, une souris, un moniteur, une TV ou un projecteur.
Entrée :
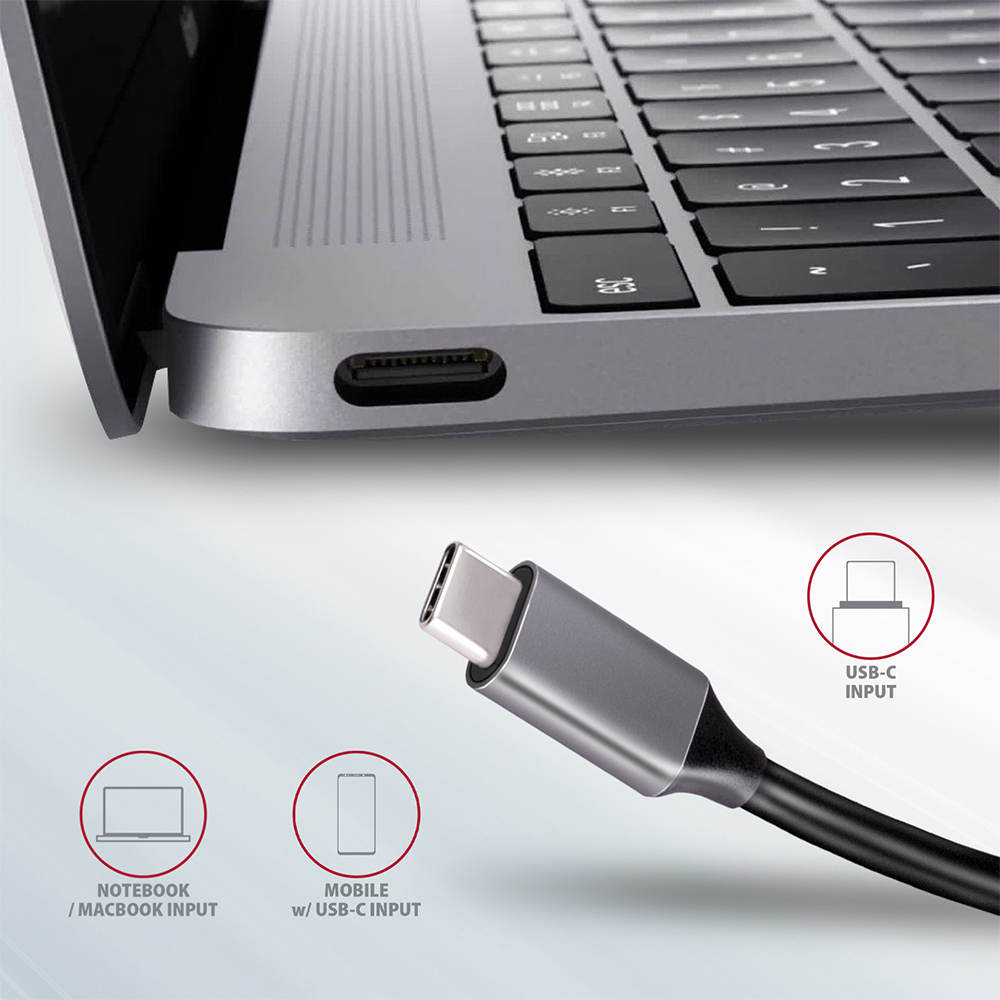
• 1x port USB 3.2 Gen 1 / SuperSpeed USB, connecteur USB-C male.
• Rétrocompatible avec USB 3.1 Gen 1 / USB 3.0 et USB 2.0.
• Compatible avec Thunderbolt 3.
• Connecteur USB type C male fixé sur un câble de 20 cm solidement attaché.
Sorties USB :
• 2x port SuperSpeed USB, connecteur USB-A female.
• 1x port USB type C Power Delivery (charge uniquement), connecteur USB-C female.
• Prise en charge des vitesses de transfert 5 000 / 480 / 12 / 1,5 Mbit/s (SuperSpeed / High / Full / Low speed).
• La bande passante totale / vitesse de transfert est définie par l'interface USB 3.2 Gen 1 utilisée (théoriquement jusqu’à 5 Gbit/s).
• Le hub USB-C prend en charge la connexion simultanée de plusieurs disques externes.
• Charge des appareils mobiles (y compris iPad) avec un courant jusqu’à 1,5 A sur chaque port USB du hub. Le courant total de charge (réparti entre les ports) atteint jusqu’à 2,5 A sous une tension de 5 V (selon les capacités du port USB de l’ordinateur).
Sortie HDMI :
• HDMI.
• Connecteur HDMI A (F) female.
• Résolution maximale prise en charge 4K / 4096 x 2160 à 30 Hz.
• Résolution WQHD 2560 x 1440 à 60 Hz max.
• Résolution FullHD 1920 x 1080 à 60, 100, 120 Hz max.
• Pour la fonction vidéo, il est nécessaire de brancher le hub sur un port USB-C avec prise en charge du DisplayPort Alternate Mode (DP Alt Mode) ou sur un port USB-C compatible Thunderbolt 3. Un système d’exploitation approprié est également requis. Sans cette prise en charge, la fonction vidéo ne sera pas disponible.
• Prise en charge HPD (Hot-Plug-Detect).
• Prise en charge TMDS (Transition Minimized Differential Signaling).
• Prise en charge complète HDCP 1.4 et 2.3 (High-bandwidth Digital Content Protection).
• Prise en charge de l’audio LPCM jusqu’à 8 canaux, audio compressé (AC-3, DTS) et formats audio HBR.
• Prise en charge d’une fréquence d’échantillonnage jusqu’à 192 kHz et son jusqu’à 24 bits – dépend des appareils source et cible, c’est-à-dire ordinateur portable/téléphone et TV/moniteur/récepteur AV.
Lecteur de cartes - deux emplacements :
• fente Micro SD : microSD / microSDHC / microSDXC / TransFlash,
• fente SD : SecureDigital / SDHC / SDXC, MultiMedia Card, MMC 4.0, MMC Dual Voltage, MMC mobile, RS-MMC, avec adaptateur - miniSD, microSD / microSDHC / microSDXC, MMC Micro.
Le lecteur prend en charge ces spécifications de cartes flash :
• SD 1.0/1.1 (SD - Secure Digital, jusqu’à 2 Go).
• SD 2.0 (SDHC - Secure Digital High Capacity, jusqu’à 32 Go).
• SD 3.0 (SDXC - Secure Digital eXtended Capacity, jusqu’à 2 To).
• MMC et eMMC 3.x /4.0 / 4.1 / 4.2 / 4.3 / 4.4 / 4.5 / 5.0 (8-bit).
• Prise en charge SD 3.01 et application SD Jukebox (fonction CPRM).
• Prise en charge du bus Ultra High Speed UHS-I (SDR12/SDR25/SDR50/DDR50/SDR104) vitesse jusqu’à 104 Mo/s.
• Prise en charge matérielle ECC (Error Correction Code) et fonction CRC (Cyclic Redundancy Check).
• 2 LUN - dans les gestionnaires de fichiers, le lecteur est détecté comme deux unités disque.
Power Delivery :
• Prise en charge Power Delivery 3.0 - alimentation des appareils via l’adaptateur secteur à travers le hub USB-C.
• Puissance maximale d’alimentation via la sortie PD USB-C du hub 100 W - 20V/5A.
• Nécessite la prise en charge du PD du côté de l’appareil (ordinateur portable, téléphone) et un adaptateur secteur PD approprié.
Autres caractéristiques :
• Possibilité de connecter des appareils à chaud grâce à la prise en charge du Hot Plug.
• Prise en charge complète Plug and Play.
• Prise en charge du mode économie d’énergie.
• Alimentation via bus USB - USB bus power ou depuis un chargeur PD.
• Boîtier en aluminium robuste pour un meilleur refroidissement du hub. Une température de surface élevée n’est pas un défaut - la chaleur générée par le fonctionnement du hub est mieux dissipée et transférée à l’environnement.
• LED blanche indique la connexion permanente du hub à l’ordinateur.
• Câble blindé de qualité garantissant une vitesse élevée de communication et des interférences minimales indésirables.
• Dimensions 110 x 35 x 12,5 mm.
• Poids 55 g (y compris câble).
• Longueur du câble USB 20 cm.
Systèmes d’exploitation pris en charge :
• Microsoft Windows 10, 11, macOS, Linux, Android et Chrome OS.
La compatibilité dépend du système d’exploitation utilisé et de la prise en charge par le fabricant du dispositif.
• Note 1 : Les pilotes font partie des systèmes d’exploitation pris en charge et s’installent automatiquement. Aucun autre pilote n’est nécessaire.
• Note 2 : DisplayPort Alternate Mode (DP Alt Mode) est pris en charge uniquement dans les systèmes d’exploitation mis à jour et dépend de la prise en charge de l’appareil (ordinateur portable, téléphone).
Le pack comprend :
• hub USB-C avec câble fixe de 20 cm,
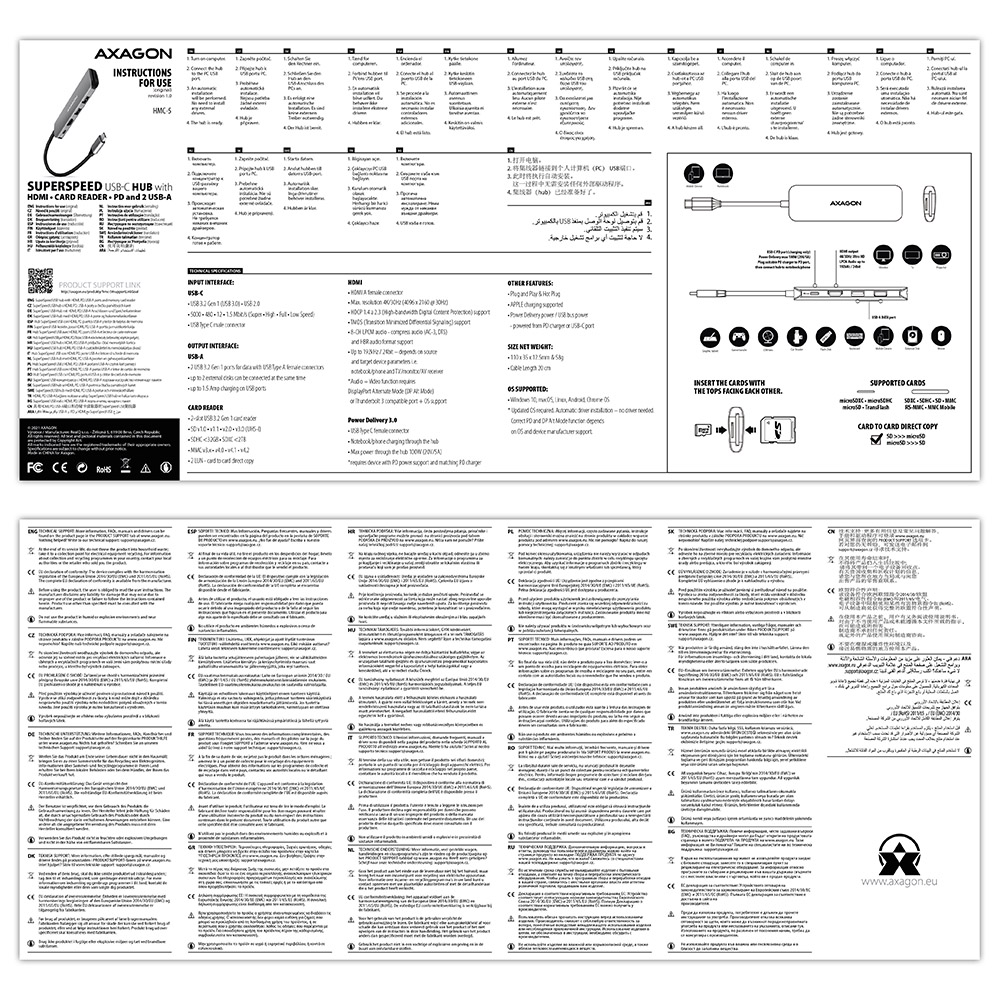
• manuel multilingue imprimé CZ / DE / DK / ENG / ESP / FIN / FR / GR / HR / HU / IT / NL / PL / PT / RO / RU / SK / SWE / BG / CN / TR / ARA,
• emballé dans une boîte en carton avec trou pour suspension.

- hub USB-C avec câble fixe de 20 cm
- manuel d'installation
- manuel imprimé multilingue CZ / DE / DK / ENG / ESP / FIN / FR / GR / HR / HU / IT / NL / PL / PT / RO / RU / SK / SWE / TR / BG / CN / ARA
- boîte en carton avec possibilité de suspension sur présentoir
- dimensions de l’emballage 20,3 x 9,9 x 2,8 cm
- poids d'un emballage 93 g
- EAN 8595247906175
- nombre d’unités par carton : 100
- poids total du carton : 10,5 kg G.W.
- dimensions du carton : 58 x 34 x 31 cm
HMC-5 - manuel d'installation - CZ / DE / DK / ENG / ESP / FIN / FR / GR / HR / HU / IT / NL / PL / PT / RO / RU / SK / SWE / TR / BG / CN / ARA
A): The necessary drivers are already included in all operating systems and install completely automatically, and no additional drivers are needed.
B): Plug the USB hub into another USB port (on the back of the computer where the USB ports are integrated directly into the motherboard). It should re-detect the USB hub and reinstall the drivers. Alternatively, try replacing the USB cable. The obsolete driver of the USB controller could also cause problems. Manufacturers of USB 3.0 chipsets often issue new versions of drivers to improve compatibility with different devices. If the problem with the USB bub persists, plug it into the USB port of another computer to verify its functionality.
A): Drivers are included with operating systems and are installed completely automatically. The card reader is detected as a standard storage device, such as a USB flash disk, no other drivers are available.
B): No other drivers need to be installed and are not even available. If you continue to have problems with your reader, check out more tips that can help you troubleshoot problems.
A): If the network card is not displayed in "Device Manager", a USB port (or a PCIe slot in the event of an internal network card) may be malfunctioning.
B): Try plugging the network card into another USB port (or another PCIe slot on the PC motherboard in the event of an internal network card, or temporarily disconnect all other PCIe cards). The network card should be detected and you should be prompted to install the drivers. If the problem persists, plug the network card into the USB port (PCIe slot) of another computer to verify its functionality.
A): If the card reader is not displayed in "Device Manager," there may be a USB port (or a 20-pin USB 3.0 connector on the PC motherboard in the case of an internal reader) malfunction.
B): Try plugging the reader into another USB port (or another 20-pin USB 3.0 connector on the PC motherboard, if available, in the case of an internal reader). The card reader should be detected and the drivers loaded automatically. If this does not solve the problem, try checking the USB controller status in "Device Manager" in the "USB Drivers" section. If the problem persists, plug the card reader into the USB port of another computer to verify its functionality.
A): If this happens, it means that the operating system failed to get the necessary information to install the drivers.
B): The cause may be a defective USB cable or damaged device. Another option is to remove the record of the connected USB device using "USBDeview". After connecting the reader, the drivers should be reloaded. If the problem is caused by a driver error, the problem should be eliminated. If the problem persists, plug the card reader into the USB port of another computer to verify its functionality.
A): If this happens, it means that the operating system failed to get the necessary information to install the drivers.
B): The cause may be a defective USB extension cable or damaged device. If the problem persists, plug the network card into the PCIe slot of another computer to verify its functionality.
A): If this happens, it means that the operating system failed to get the necessary information to install the drivers.
B): The cause may be a defective USB extension cable or damaged device. If the problem persists, plug the network card into the USB port of another computer to verify its functionality.
A): If this happens, it means that the Windows operating system did not assign a drive letter to the new storage device.
B): If the drive letter is not assigned, open "Disk Management", right-click on the desired drive and manually assign the drive letter. Another option is that the correct formatting of the memory card is not performed. Format the card in "Disk Management" or in the device on which you are using the card (for example, the camera).
A): In the vast majority of cases, the USB hub can handle connection of one 2.5" external box. If more external boxes are connected, a higher current is needed that ordinary USB cannot deliver.
B): In this case, an auxiliary power supply is required. Use a USB hub with auxiliary power supply.
A): Before connecting the USB network card to an Android device (tablet), you first need to verify with the device manufacturer whether the device supports the Ethernet network feature and also whether the USB network card drivers are included in your specific ANDROID ROM installation.
B): Use a USB connector with OTG support to connect the USB network card to your tablet. If the device (tablet) is equipped with a Mini USB or Micro USB connector, use an OTG reduction or cable to connect it.
A): By initializing the disk, you can set the mode in which the hard disk will work
B): You can use the partition with the master boot record (MBR) or the GUID partition table (GPT). For disk up to 2TB, use the MBR option, we recommend selecting GPT on a larger disk than 2TB. Subsequently, the initialized disk should be formatted.
A): You can use a passive USB cable to connect a USB hub to your computer. However, with longer cables the USB hub may not work reliably.
B): In this case, we recommend using an active extension USB repeater cable, such as AXAGON ADR-205 or ADR-210.
A): The sound interference is probably caused by the wireless mouse transmitter.
B): We recommend placing the mouse transmitter as far away from the sound card as possible (preferably on the opposite side of the computer – connect the transmitter to a USB port on the front panel of the PC and the sound card to a USB port on the back panel – use a USB extension cable if necessary). In the case of a laptop, place one device on each side.
A): By initializing the disk, you can set the mode in which the hard disk will work.
B): You can use the partition with the master boot record (MBR) or the GUID partition table (GPT). For disk up to 2TB, use the MBR option, we recommend selecting GPT on a larger disk than 2TB. Subsequently, the initialized disk should be formatted.
A): The problem could be a lack of resources, check (when a problem occurs) the processor load and operating memory filling in "Task Manager".
B): If the CPU usage is 100% or memory is full, you need to find out what causes this situation. Another option is to connect a sound card to another computer to verify that the sound card is not damaged.
A): You probably have allowed to listen to the microphone in Microphone Properties.
B): To disable this feature, follow these steps: Start -> Control Panels -> Hardware and Sound -> Sound -> Recording -> Microphone (USB Sound Device) -> Properties -> Listen -> Listen to this device - uncheck this box and confirm with "Apply".
A): Yes, it is possible to play two different tracks simultaneously on one computer.
B): This is primarily a software matter, requiring a player that supports redirecting sound to a different audio output than the one set as the “default” in the operating system. Such functionality is supported, for example, by VLC media player.
A): If this happens, it means that the Windows operating system did not assign a drive letter to the new storage device.
B): If the drive letter is not assigned, open "Disk Management", right-click on the desired drive and manually assign the drive letter. If the drive letter can not be assigned to the disk, it is possible that the disk is formatted as "dynamic". If you want to keep disk data, connect it to the original device and make a backup of the disk. Then convert it to a normal disk, initialize it to MBR (or GPT, see other points), and then perform Low Level Format (e.g. using the Low Level Format Tool)
A): The newly purchased disk must be initialized before first use.
B): If the new disk is not initialized automatically, open "Disk Management", right-click on the desired disk and initialize it.
In the ACTIVE profile, set the hard drive sleep time for battery and mains power to 0 minutes / Never.
A) Path in Windows 10: Settings > System > Power & Sleep > Additional power settings > in the ACTIVE profile Change Schema Settings> Change advanced power settings > Hard drive > Turn off hard disk after
B) Path in Windows 11: Search for: Control Panel > Hardware and Sound > Power Options > in the ACTIVE profile Change Schema Settings> Change advanced power settings > Hard disk > Turn off hard disk after.
You need to set the function of the headphone buttons to track skipping/playback control.
A) Example setting for Xiaomi phones (HyperOS overlay):
1st option:
In the notification bar, when headphones are connected, Audio playback via USB > click > Change headphone buttons to Playback control.
2nd option:
Settings > Sounds & Vibration > Sound effects > Change headphone buttons to Playback control.
B) Example setting for Xiaomi phones (MIUI overlay): Settings > Sounds & Vibration > Headphones > Change headphone buttons to Playback – back/next.
The keyboard is set to Apple mode. Switch it using Fn+S (mode for Windows and Android).
The keyboard is set to Windows mode. Switch it with Fn+A (Apple mode).
A: Check if the USB-C in the device supports video output.
B: Leave the HUB connected to the device and turn off the HUB via the ON/OFF button. Wait 5 seconds and then turn it back on with the ON/OFF button.
A: Check if your charger and device support the Power Delivery protocol and if the charger has sufficient power.
B: Leave the HUB connected to the device and turn off the HUB via the ON/OFF button. Wait 5 seconds and then turn it back on with the ON/OFF button.