Référence produit: PCEE-G25
Catégorie: PCIe , Cartes d'extension et contrôleurs , Cartes et contrôleurs réseau , Cartes réseau , Tous les produits
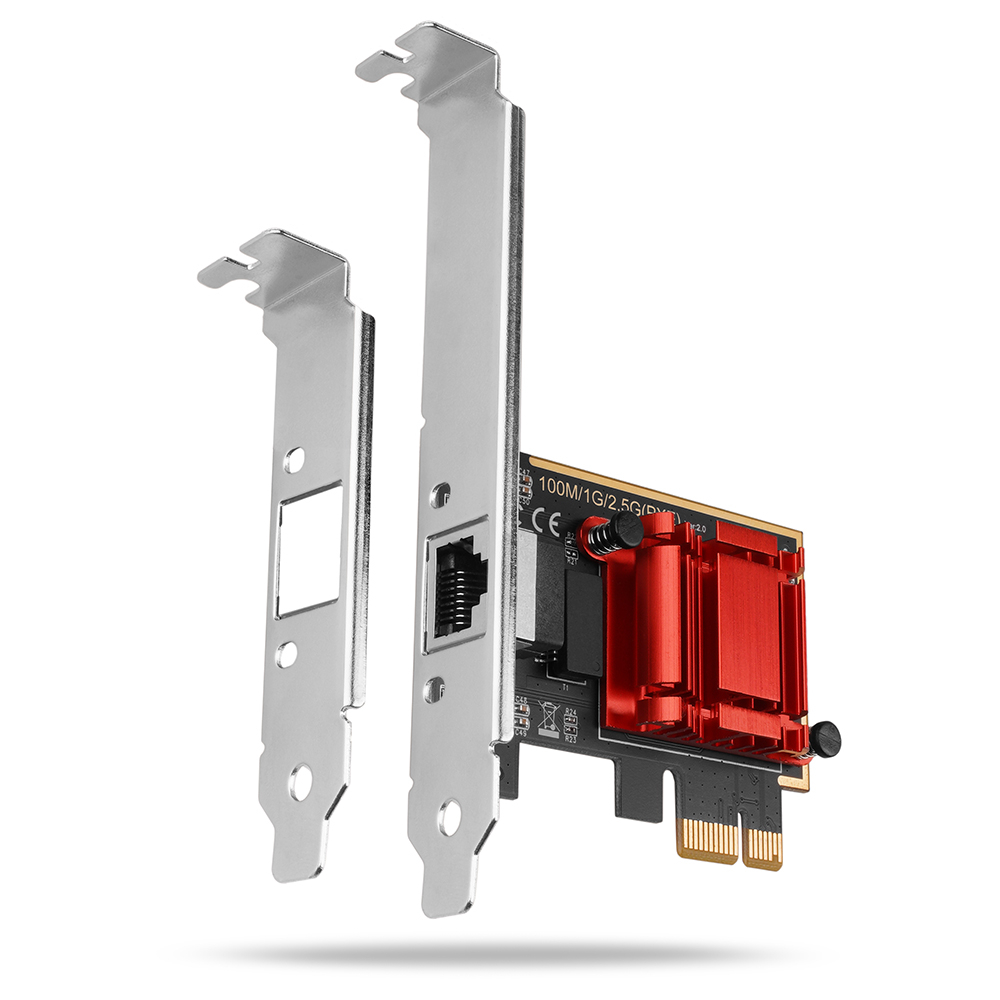
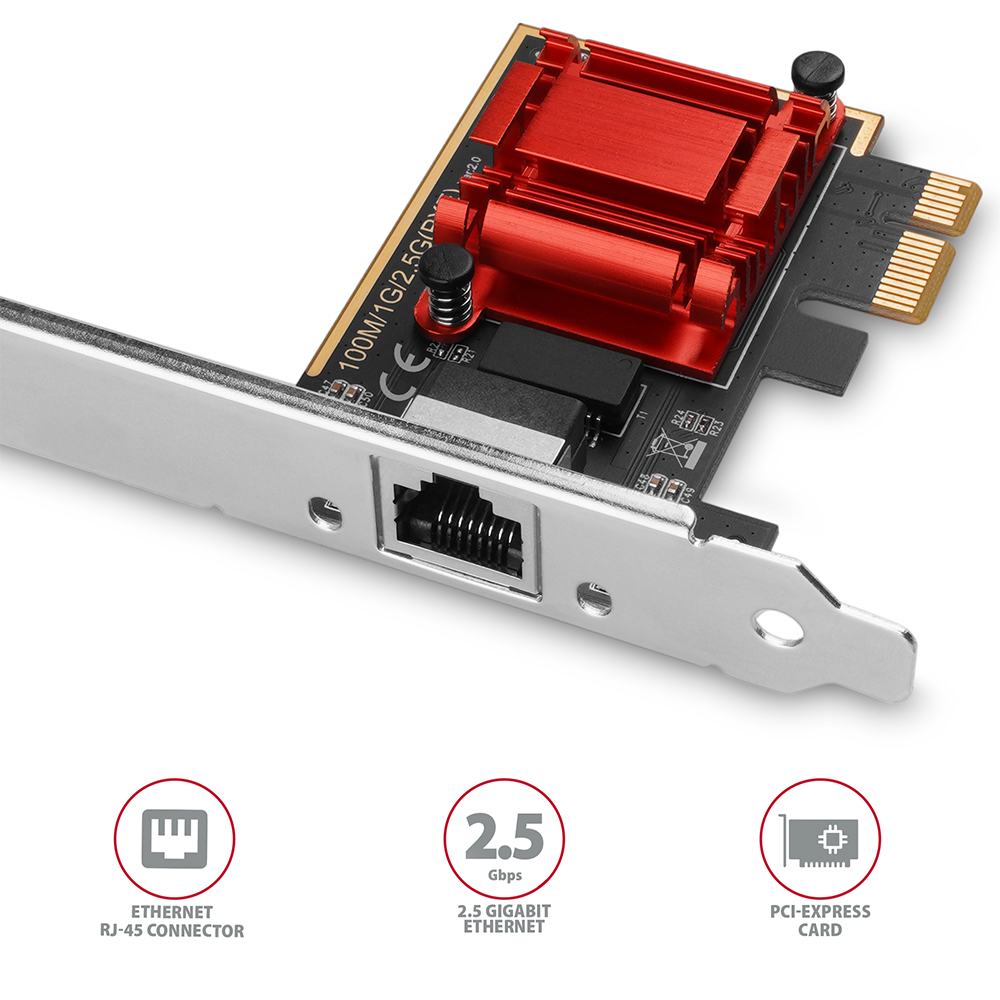
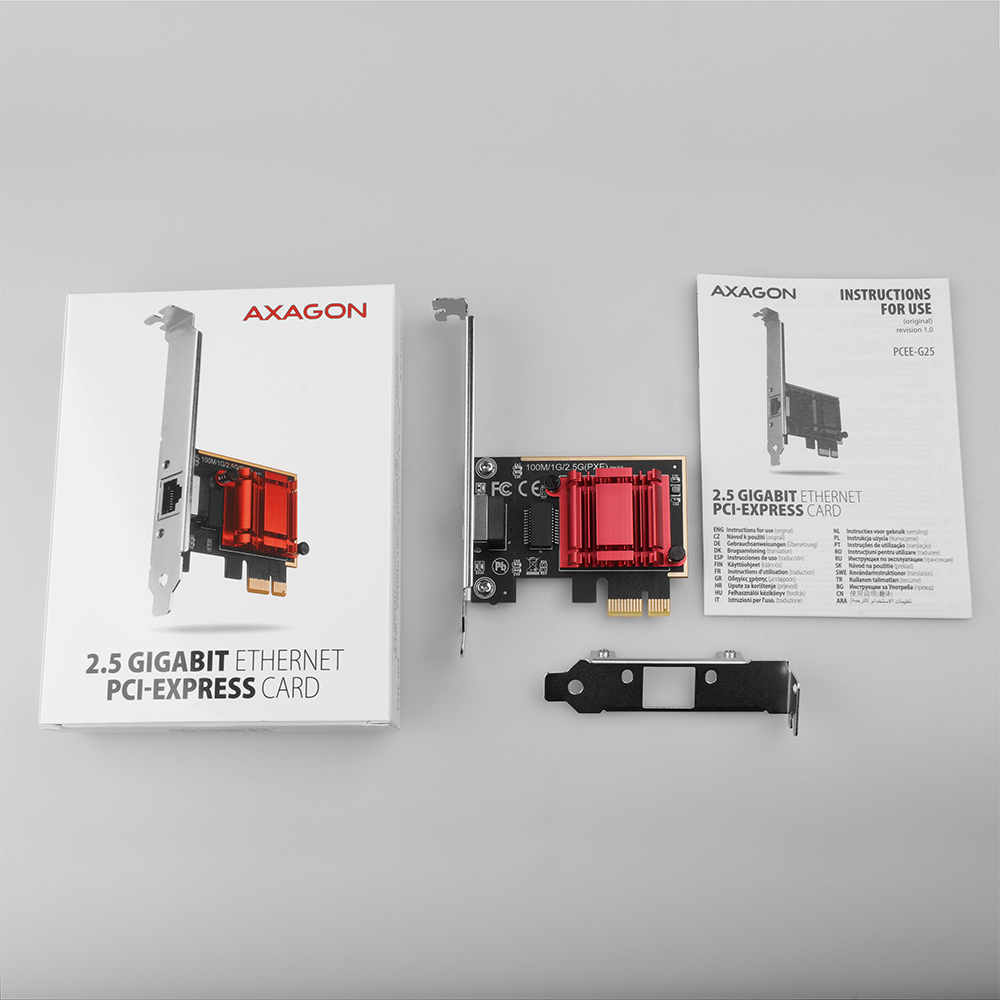
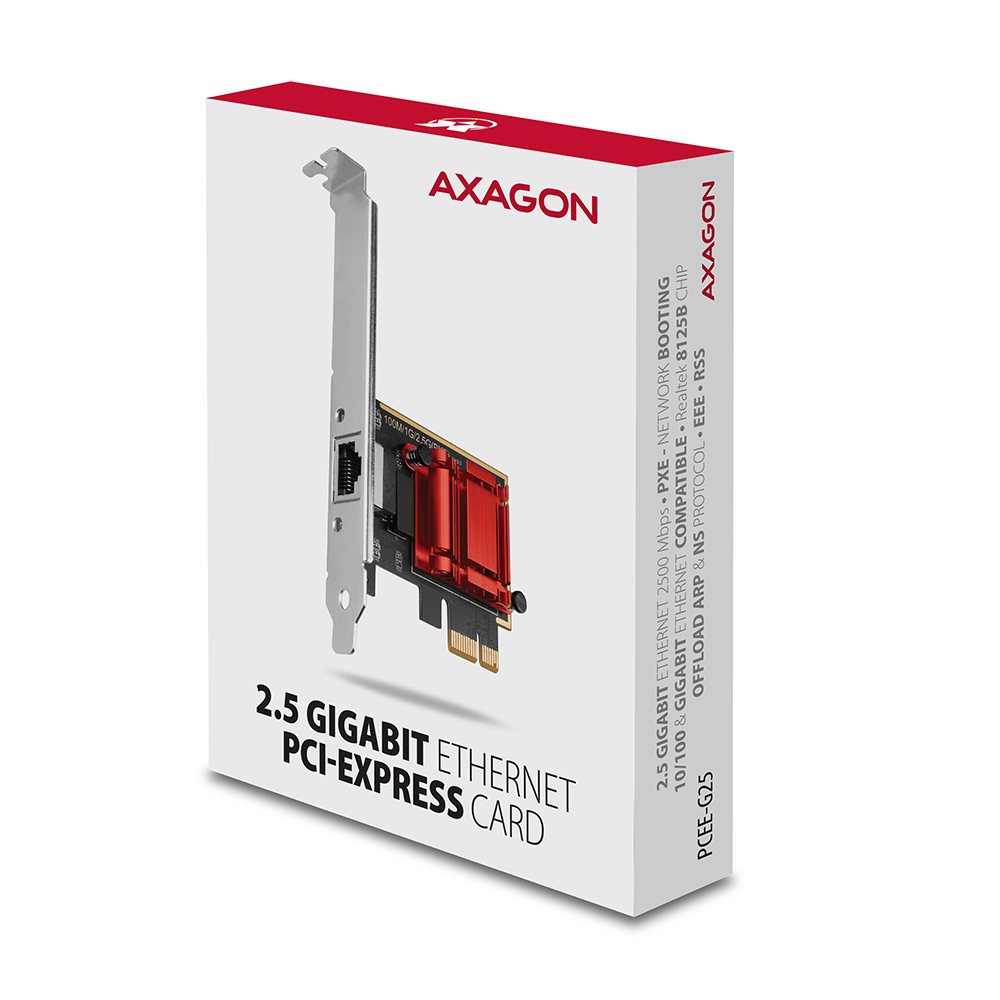
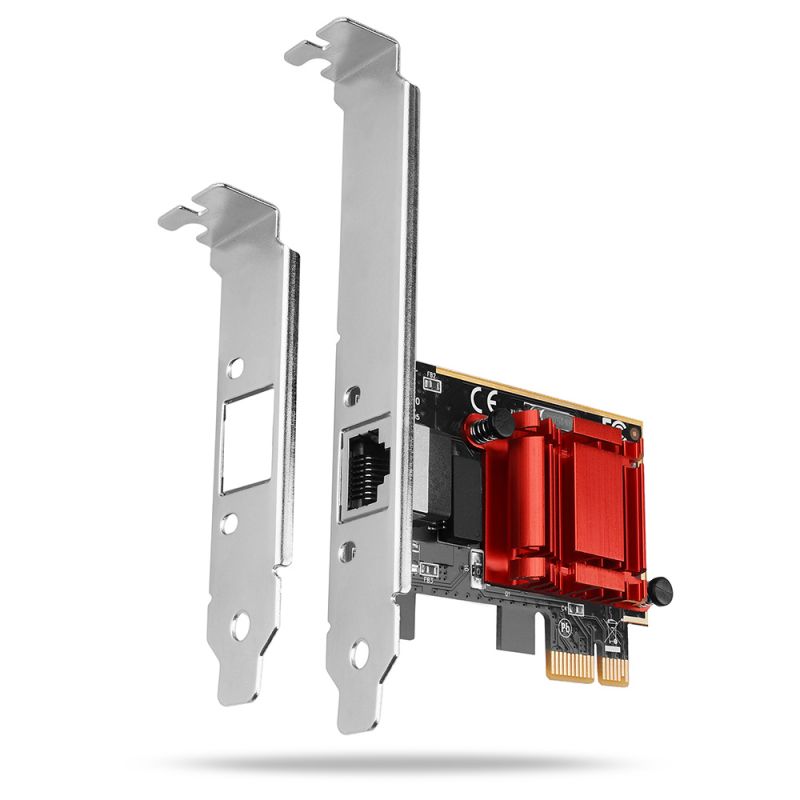
AXAGON PCEE-G25 Carte réseau PCI-Express étend l’ordinateur de bureau avec une connexion Ethernet 2,5 Gigabit à haute vitesse. Rétrocompatible avec les réseaux Gigabit et 10/100Base-T.
La carte est équipée du chipset RTL8125B de Realtek, assurant une compatibilité sans faille avec la grande majorité des systèmes d’exploitation réseau. L’adaptateur LAN prend en charge le boot réseau (PXE) ainsi que le logiciel Realtek Dragon pour la gestion des paramètres et le contrôle automatique de la bande passante.
La carte réseau Ethernet 2.5G ajoute à l’ordinateur une connexion réseau très rapide, complète un connecteur RJ-45 manquant, ajoute une carte réseau supplémentaire ou remplace une connexion réseau défectueuse. L’avantage de la norme IEEE 802.3bz est que pour une vitesse de 2,5 Gbit/s, on peut utiliser des câbles Ethernet standards Cat 5e et Cat 6 d’une longueur allant jusqu’à 100 m.
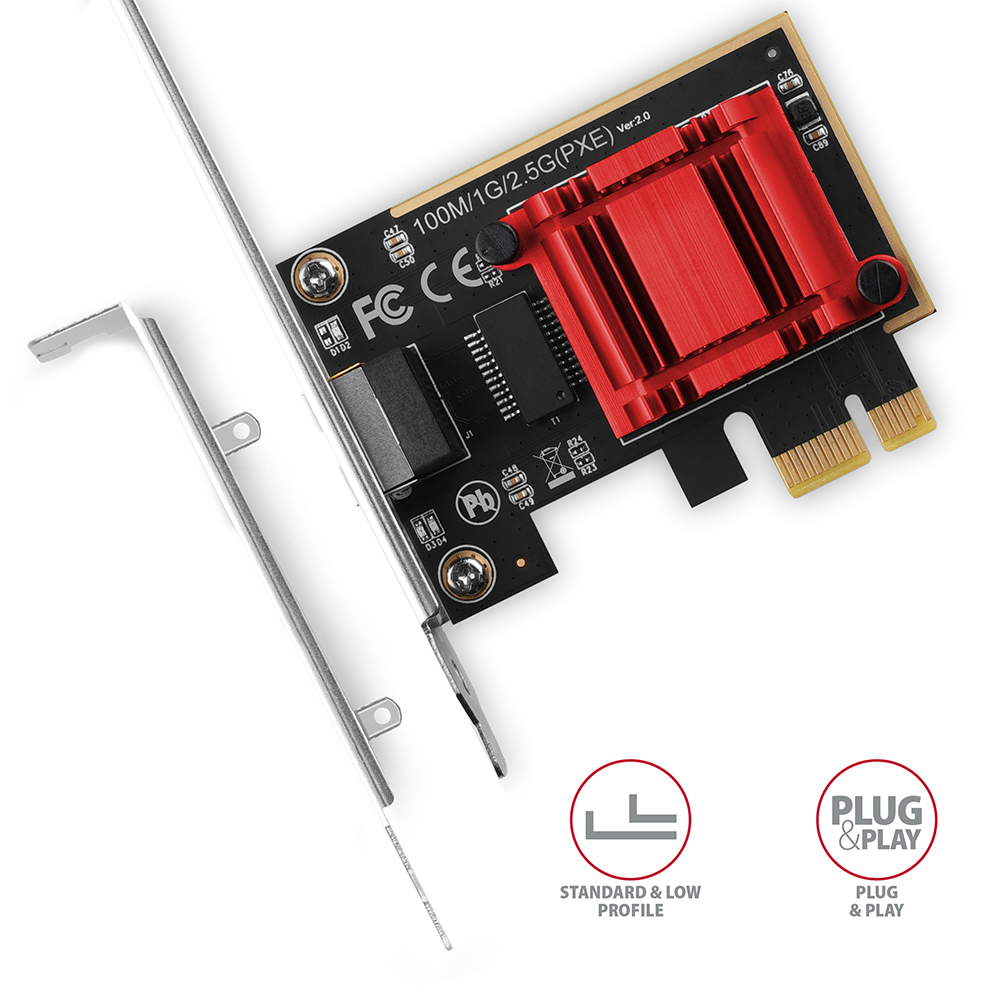
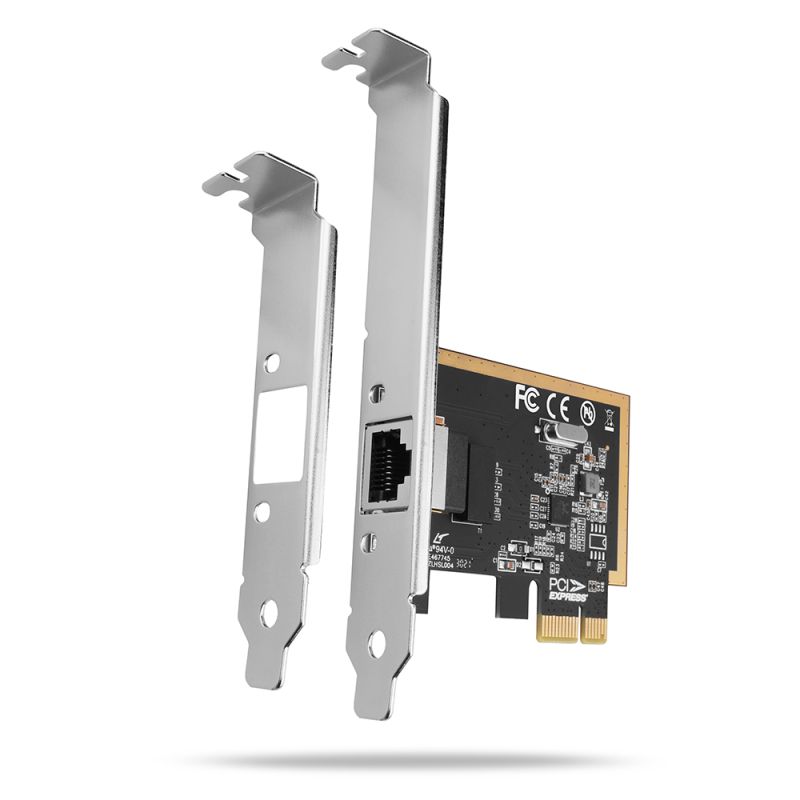
Le package comprend, en plus de l’adaptateur avec le cache standard, un cache low profile permettant le montage de l’adaptateur dans des boîtiers à faible hauteur.
Entrée:
• Interface PCI-Express 2.1, compatible avec PCI-Express 1.0a / 1.1 / 2.0 / 3.0.
• Nombre de lanes 1-Lane (x1), compatible avec les slots PCIe x1 / x4 / x8 / x16.
• Bande passante bus PCI-Express 2.1 à 1-Lane de 5 Gbit/s.
Sortie :
• Interface Gigabit Ethernet avec connecteur RJ-45 pour connexion par câble UTP ou STP.
• Vitesses de transmission Ethernet prises en charge : 10/100/1000/2500 Mbit/s.
• Spécifications prises en charge IEEE 802.3 10Base-T, IEEE 802.3u 100Base-TX, IEEE 802.3ab 1000Base-T, IEEE 802.3bz 2.5GBase-T.
Autres caractéristiques :
• Prise en charge complète du Plug and Play.
• Autodétection 10/100/1000/2500 Mbit/s.
• Prise en charge Microsoft NDIS5, NDIS6 Checksum Offload (IPv4, IPv6, TCP, UDP) pour réduire la charge processeur.
• Prise en charge Segmentation Task-offload (Large send v1 et Large send v2).
• Prise en charge des transmissions full-duplex avec contrôle de flux IEEE 802.3x.
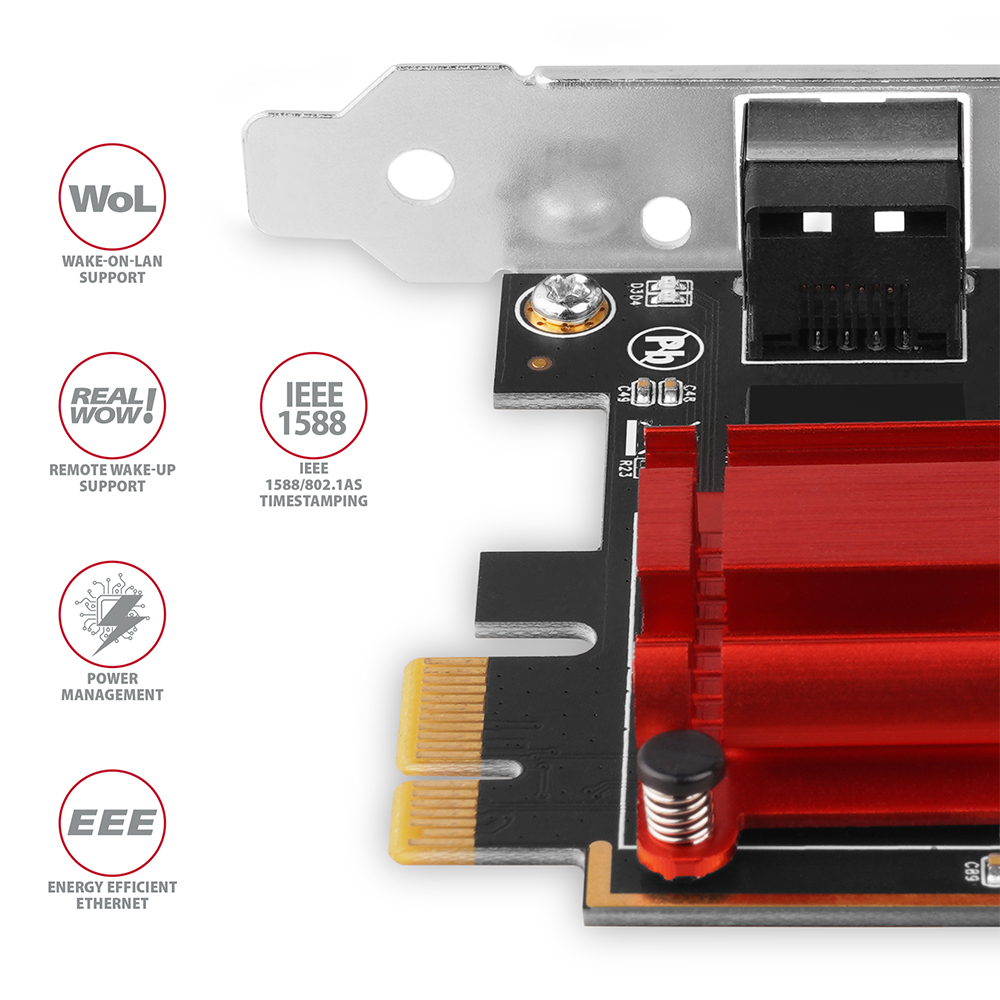
• Prise en charge IEEE 1588v1, IEEE 1588v2, IEEE 802.1AS - synchronisation temporelle.
• Prise en charge IEEE 802.1Qav - routage et mise en file d’attente de flux sensibles au temps.
• Prise en charge IEEE 802.1P encodage des priorités couche 2.
• Prise en charge IEEE 802.1Q VLAN tagging.
• Prise en charge IEEE 802.1ad Double VLAN.
• Prise en charge IEEE 802.3az-2010 (EEE) Energy Efficient Ethernet - réduction de la consommation en veille.
• Prise en charge du quad core Receive-Side Scaling (RSS).
• Prise en charge Auto MDI/MDIX – détection et autocorrection du crossover éliminant le besoin de câbles crossover.
• Prise en charge de la fonction matérielle ECC (Error Correction Code).
• Prise en charge du CRC matériel (Cyclic Redundancy Check) pour la détection des erreurs de transmission.
• Prise en charge de la correction pair swap/polarity/skew.
• LED d’indication d’activité.
• Utilisation du chipset Realtek RTL8125B.
Prise en charge de la fonction Wake-on-LAN en différents modes :
• Prise en charge des modes veille et réveil à distance via AMD Magic packet, Microsoft Wakeup Frame, Microsoft Wake Packet Detection et Link Change wake-up.
• Prise en charge de la norme ECMA-393 proxZzzy® pour la gestion réseau des hôtes en veille via serveurs proxy.
• Prise en charge de la technologie RealWoW! permettant le réveil à distance via Internet.
Fonctions avancées de Power Management :
La carte réseau prend en charge une gestion avancée de l’alimentation réduisant les pertes en veille ou en faible activité réseau. Elle prend également en charge une économie d’énergie avancée lors de la déconnexion du câble Ethernet.
• Prise en charge de l’Advanced Configuration Power management Interface (ACPI).
• Prise en charge du Power Management offload (ARP & NS).
• Prise en charge Microsoft Always On Always Connected (AOAC).
• Prise en charge de l’Operating System-directed Power Management (OSPM).
• Prise en charge PCI MSI (Message Signaled Interrupt) et MSI-X.
Systèmes d’exploitation pris en charge :
• MS Windows 7 / 8 / 8.1 / 10 / 11 et plus récents, Windows Server 2008 R2 / 2012 / 2016 / 2019 / 2022 et plus récents (toutes les versions 32- et 64-bit de Windows sont prises en charge), MS DOS, Mac OS X 10.7 et plus, Linux kernel 2.4.x et plus, FreeBSD 7.x / 8.0 / 9.0, SCO Unix 5.0.6 / 5.0.7, Novell server OS 5.x / 6.x, Novell client for DOS (pilote ODI).
Le pack contient :
• Carte PCI-Express Gigabit Ethernet avec cache standard,
• cache low profile,
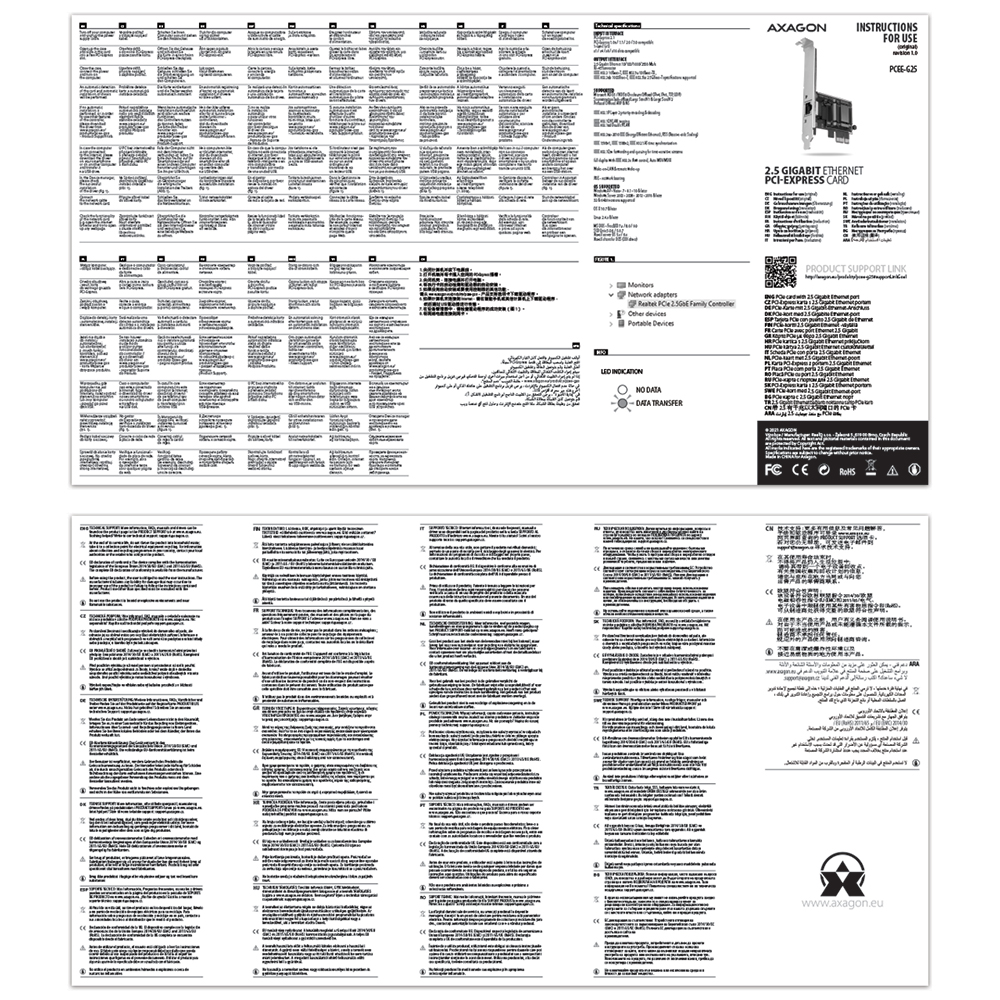
• manuel multilingue CZ / DE / DK / ENG / ESP / FIN / FR / GR / HR / HU / IT / NL / PL / PT / RO / RU / SK / SWE / TR / BG / CN / ARA,
• emballé dans une boîte en carton.
Ils ont écrit sur nous : https://www.hwcooling.net/en/axagon-pcee-g25-vs-20-ilan-on-motherboards-review/

- Carte PCI-Express avec obturateur de taille standard
- obturateur low profile
- Manuel d'installation
- manuel imprimé multilingue CZ / DE / DK / ENG / ESP / FIN / FR / GR / HR / HU / IT / NL / PL / PT / RO / RU / SK / SWE / TR / BG / CN / ARA
- boîte en carton
- dimensions de l’emballage 14,5 × 11,2 × 2,5 cm
- poids d'un emballage 84 g
- EAN 8595247906458
- nombre d’unités par carton : 100
- poids total du carton : 9.2 kg G.W.
- dimensions du carton : 58 x 31.5 x 28.5 cm
PCEE-G25 – Manuel d'installation - CZ / DE / DK / ENG / ESP / FIN / FR / GR / HR / HU / IT / NL / PL / PT / RO / RU / SK / SWE / TR / BG / CN / ARA
A): If the PC does not run with the card or the card is mistakenly detected in “Device Manager”, or if there is a yellow exclamation mark on the driver, or if “Device Manager” reports an error code “Code 10 - The device cannot start”, the card is in conflict with another device in your computer.
B): In most cases, this conflict can be solved by moving the card to another PCI (PCIe) slot, with the BIOS assigning other free resources to the card. If the move does not help, try the card separately, with no additional cards inserted. If the card cannot be moved to another slot, you can reset the BIOS of the computer (by jumper on the board or pulling out the backup battery, we recommend that you note all the original settings and reset everything to the required values). This will cause the IRQ, DMA, and I/O resources to be redistributed.
A): If the network card is not displayed in "Device Manager", a USB port (or a PCIe slot in the event of an internal network card) may be malfunctioning.
B): Try plugging the network card into another USB port (or another PCIe slot on the PC motherboard in the event of an internal network card, or temporarily disconnect all other PCIe cards). The network card should be detected and you should be prompted to install the drivers. If the problem persists, plug the network card into the USB port (PCIe slot) of another computer to verify its functionality.
A): If this happens, it means that the operating system failed to get the necessary information to install the drivers.
B): The cause may be a defective USB extension cable or damaged device. If the problem persists, plug the network card into the PCIe slot of another computer to verify its functionality.
AXAGON M.2 SSD disk adapter is let say only HW connector change from M.2 into PCI-Express or SATA. Adapter itself do not have controller electronics and need no drivers. It is necessary to check M.2 disk driver availability for older OS like Windows 7.
Proper M.2 adapter function requires:
- computer mainboard support M.2 disks – SATA disks are more often supported than NVMe disks,
- computer mainboard support booting from PCI-Express bus – in case of OS installation to M.2 NVMe disk,
- driver availability for M.2 SSD disk – apply especially for NVMe disks on Windows 7 OS.
Please contact the motherboard manufacturer's technical support to determine support for motherboard M.2 drives. In some cases updating the BIOS/UEFI is sufficient.
Check the M.2 SSD driver availability on the manufacturer's website or contact the disk manufacturer's technical support.
The disks connected to the SATA motherboard controller are usually displayed In BIOS/UEFI. The NVMe disk is usually displayed in the "Disk Boot Order" menu.
This applies when the requirements of "Prerequisites for proper M.2 function" are met.
A): If the copy speed is approximately 35 MB/s, it means that the connection between the controller and the connected device is working only in the USB 2.0 mode. Some types of USB 3.0 devices may have a problem with proper detection.
B): Make sure that the connected device is USB 3.0 compatible. Please check if an additional power supply to the controller is connected (the power reduction is not included, the card is powered by a standard power connector that is part of each source; we recommend avoiding Molex connectors and splitters that often cause problems). The error could be caused by, for example, the old firmware of the device you want to connect, some manufacturers provide a new firmware to their products, which could solve this situation. Alternatively, try replacing the USB 3.0 cable that may be damaged. When testing, do not use USB 3.0 extensions that could also cause this problem.
A): Booting from an additional USB card is not possible because each card has a different chip. The BIOS of the motherboard does not contain information that will allow to "see" the connected USB device. Detection of attached devices occurs only after the additional card drivers have been booted when the operating system starts running.
B): When using the integrated USB from the motherboard, of course, the BIOS is programmed to include information about the chip of the controller used for USB on the motherboard. Therefore, the motherboard BIOS "sees" the connected USB device and therefore can boot from it.
A): Please check your BIOS settings. Power Management Setup – Wake Up Event Setup – Resume by PCI-E Device (individual items may vary by MB type) should be set to disabled.
B): If this does not help, try updating your motherboard BIOS and check the ACPI item when still in the BIOS If not even this helps, move the controller card to another PCIe slot (may also be x16 - slots differ only in the number of lines). It is possible that the card is in conflict with another device on your computer. For some types of BIOS, you can do this directly by enabling Force Update ESCD (Reset Configuration Data etc.) in the PnP & PCI Configurations menu. This will cause the IRQ, DMA, and I/O resources to be redistributed.
A): The VBScript is incorrectly registered in your Windows installation.
B): To fix the problem and download the patch go to Microsoft site: https://blogs.technet.microsoft.com/fixit4me/2009/01/30/register-windows-script-engine-fix-it-live/
A): The following steps are necessary to install the drivers correctly.
B): Remove the card from PC. Uninstall the existing drivers using the "MOSCHIP_PCIUninst.exe" utility (located on the installation CD in the directory; if you do not have the CD, you can download the drivers from our support pages http://www.axagon.eu/en/podpora-faq). Restart the PC. Reinstall the drivers and turn off the PC. Re-insert the card. Once rebooted, the drivers should be properly installed.
A): By initializing the disk, you can set the mode in which the hard disk will work
B): You can use the partition with the master boot record (MBR) or the GUID partition table (GPT). For disk up to 2TB, use the MBR option, we recommend selecting GPT on a larger disk than 2TB. Subsequently, the initialized disk should be formatted.
A): The newly purchased disk must be initialized before first use.
B): If the new disk is not initialized automatically, open "Disk Management", right-click on the desired disk and initialize it.
A): Please make sure that the port "LPT1: (Printer port)" or other number is set correctly in the printer properties, depending on the port settings on your card. If the port is not set correctly, select the correct port, save with the "OK" button and restart the PC.
B): If problems continue to persist, automatic printer driver installation may have failed. Try removing the printer and restarting the PC. After restart, install the printer drivers again, but so that you cancel the automatic installation and add the printer manually in Control Panels / Printers with manual selection from the list of printer drivers. When installing the printer manually, select the correct LPT port. If the problem still is not resolved, try moving the card to another PCI (PCIe) slot; it may be that the card is in conflict with another device on your computer.
A): Yes, it creates a fully fledged LPT port. However, it is still about the compatible with the SW device you connect to the LPT port.
B): System resources, including the LPT port address with additional cards (not only AXAGON, but also of other manufacturers), are allocated by the computer BIOS already when booting. The address can be changed in MS-DOS using the driver for this system. For higher OSs (WIN98, 2000, XP, etc.) this address cannot be changed. Addresses 378 or 278 are firmly reserved for the so-called Legacy LPT ports that are integrated into motherboard chipsets. If the HW key bypasses Windows management, it will not work. You can try to consult the manufacturer of the HW key, to which address it is set up and whether the address can be changed.
A): This situation may be due to the motherboard BIOS incompatibility with the card driver.
B): In this case, we recommend updating the BIOS of your computer's motherboard.
A): First, try moving the card to another PCI-e slot in case there is a device conflict. The issue could also be caused by a poor-quality or damaged SATA cable.
B): Check whether your SSD partition is properly aligned (using a program that displays this information, e.g., ASS SSD Benchmark). More information about this issue can be found here: http://pctuning.tyden.cz/software/ladeni-windows/17030-optimalizace-windows-7-pro-ssd-co-funguje-a-co-ne?start=2
Test
A): The lead time is naturally longer by the time it takes to detect the controller and connected disks. The start time can be shortened in the MB BIOS by enabling the "Quick Boot" feature. For newer boards, this feature is labeled "Fast boot". The lead time depends, of course, also on the disk used for the SSD/HDD operating system and the number of peripherals connected to the computer.
B): In the case of newer motherboards, it is more practical to use the spin down (instead of turn off) feature.
A): If this happens, it means that the operating system failed to get the necessary information to install the drivers.
B): The cause may be a defective USB extension cable or damaged device. If the problem persists, plug the network card into the USB port of another computer to verify its functionality.
A): Before connecting the USB network card to an Android device (tablet), you first need to verify with the device manufacturer whether the device supports the Ethernet network feature and also whether the USB network card drivers are included in your specific ANDROID ROM installation.
B): Use a USB connector with OTG support to connect the USB network card to your tablet. If the device (tablet) is equipped with a Mini USB or Micro USB connector, use an OTG reduction or cable to connect it.
A): The Ethernet interface transmission speed setting is a fully independent from USB connection and can be set in the network card's properties. The default setting is an automatic negotiation when the speed is set according to other elements in the LAN network.
B): If you connect the Gigabit adapter via the USB 2.0 port, the overall bandwidth of the adapter will be limited by bandwidth of the USB 2.0 interface, which is theoretically 480 Mb/s; in Gigabit Ethernet environments this adapter will be up to 4x faster than 10/100 Ethernet adapters.
The problem probably is that you did not allow the „installation of application from an unidentified developer“ from "Security & Privacy" application during installation the driver.
Please check "Security & Privacy" application if there is possible to allow the „installation of application from an unidentified developer“. If this option is no longer available, you need to proceed as follows:
- Close the "Security & Privacy" window - IMPORTANT !!!
- uninstall the driver using the "AX88772C_772B_772A_760_772_Uninstall_v140.command" file from the folder with the driver
- during the uninstallation the „application is from an unidentified developer“ message appears – left this window OPEN !!!
- open "Security & Privacy" again and allow „installation of application from an unidentified developer“ - you will need an administrator password
- Close the "Security & Privacy" window via OK button.
- Continue and finish uninstallation of the driver
- Restart the computer and then reinstall the driver
Because you have already allowed „installation of application from an unidentified developer“, the message should not be displayed again.
If it appears, do not close it, and allow „installation of application from an unidentified developer“ in "Security & Privacy".