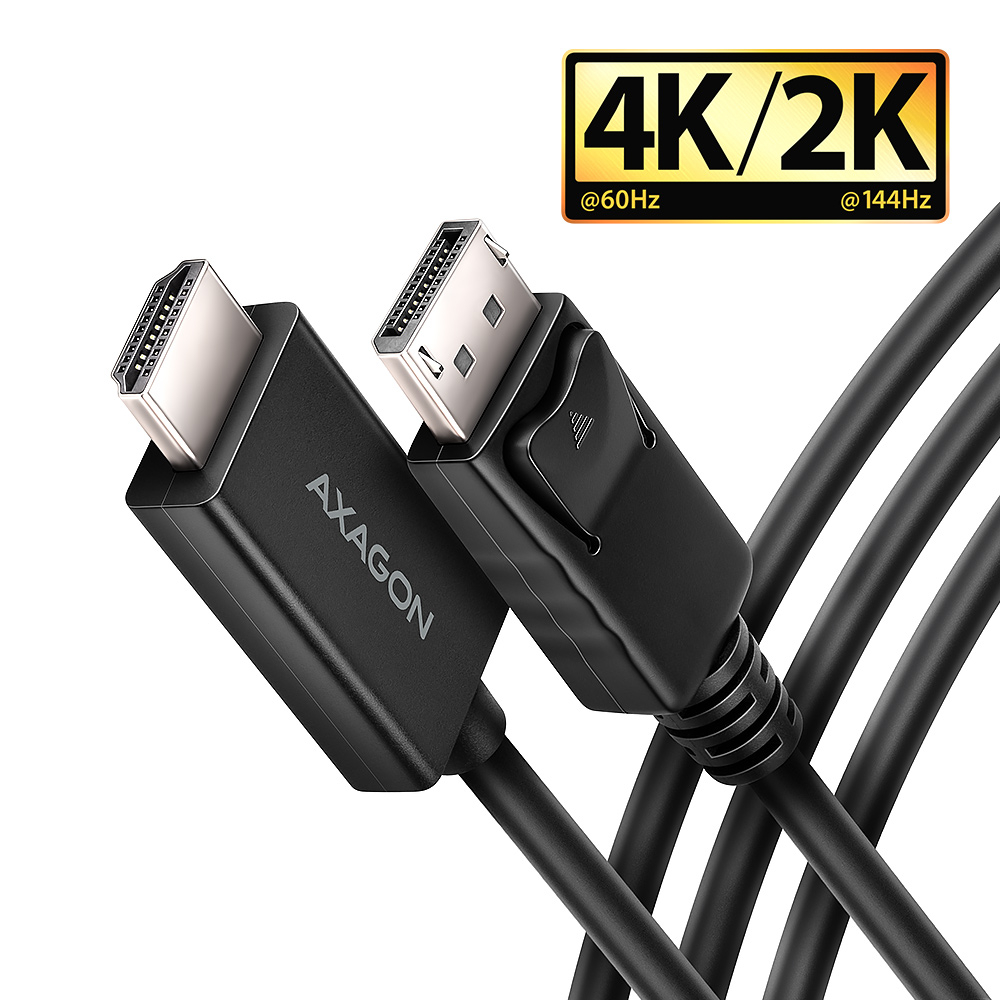
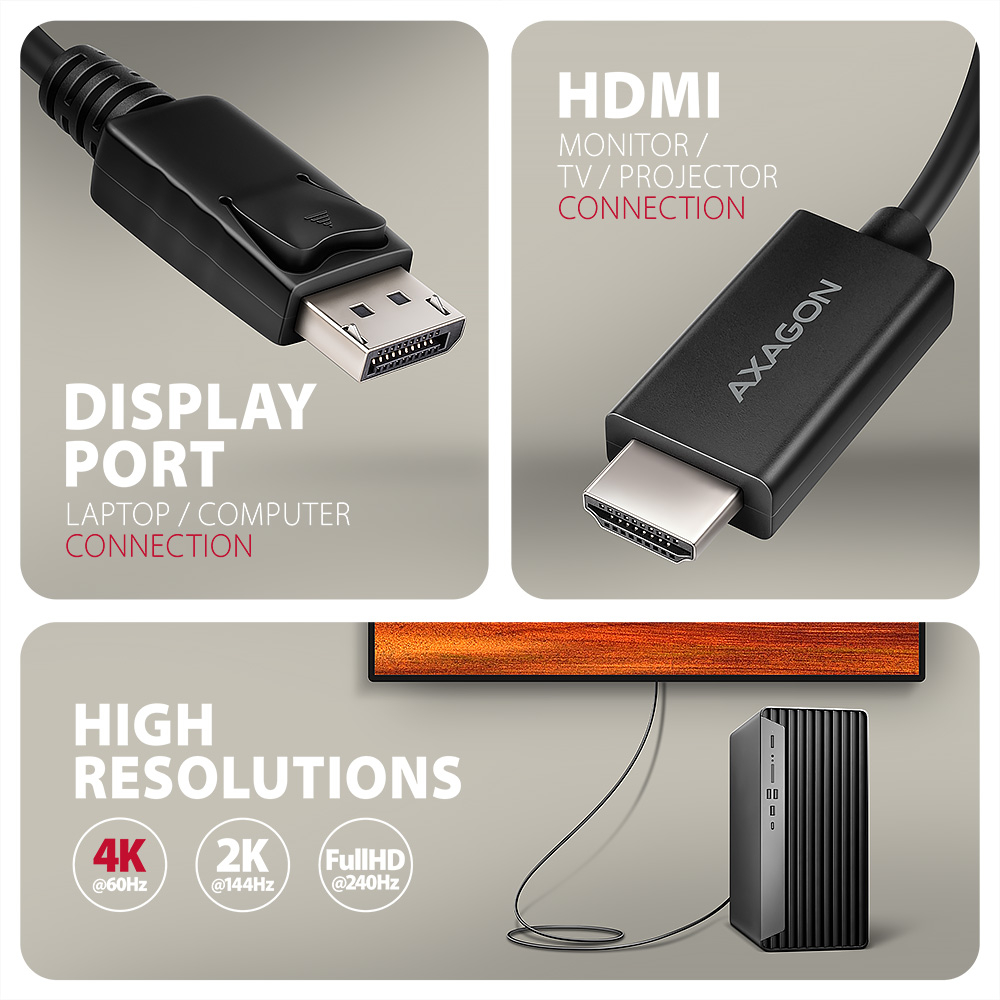
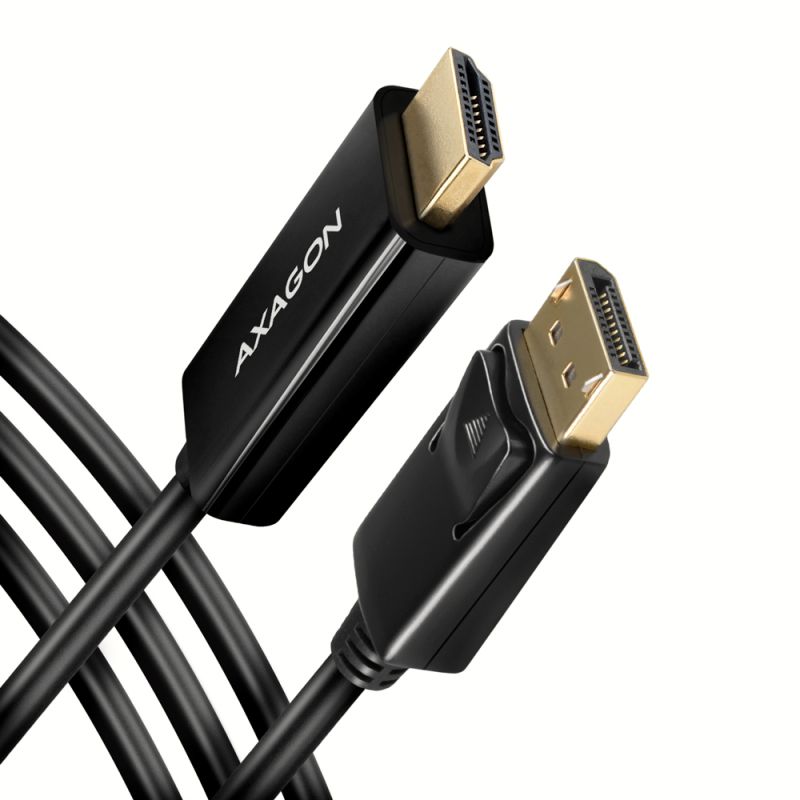
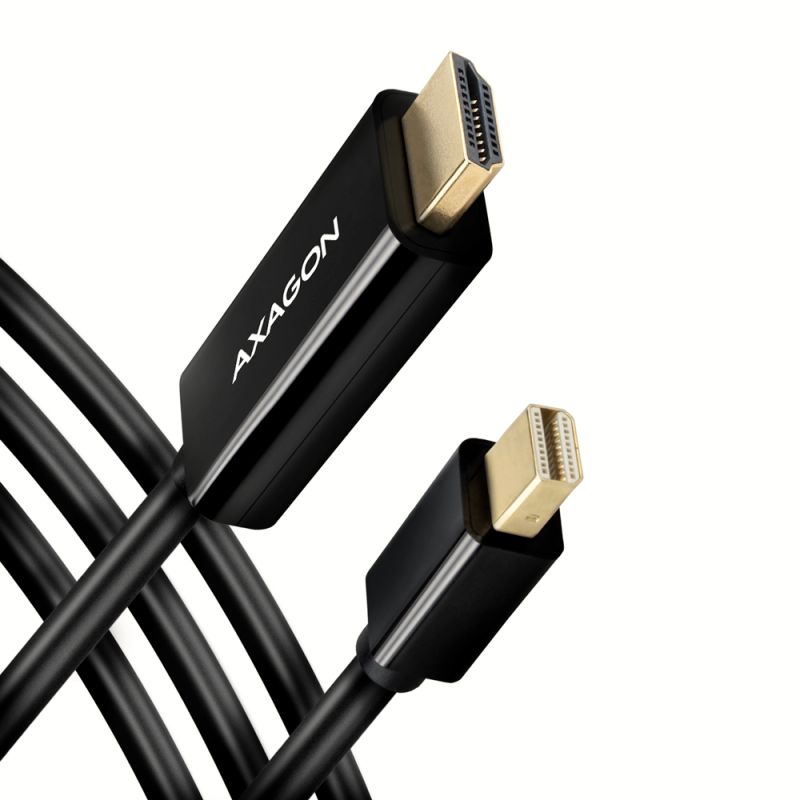
AXAGON RVD-HI20C2 câble actif DisplayPort -> HDMI adaptateur pour connecter un moniteur/TV/projecteur HDMI à un ordinateur avec sortie DisplayPort.
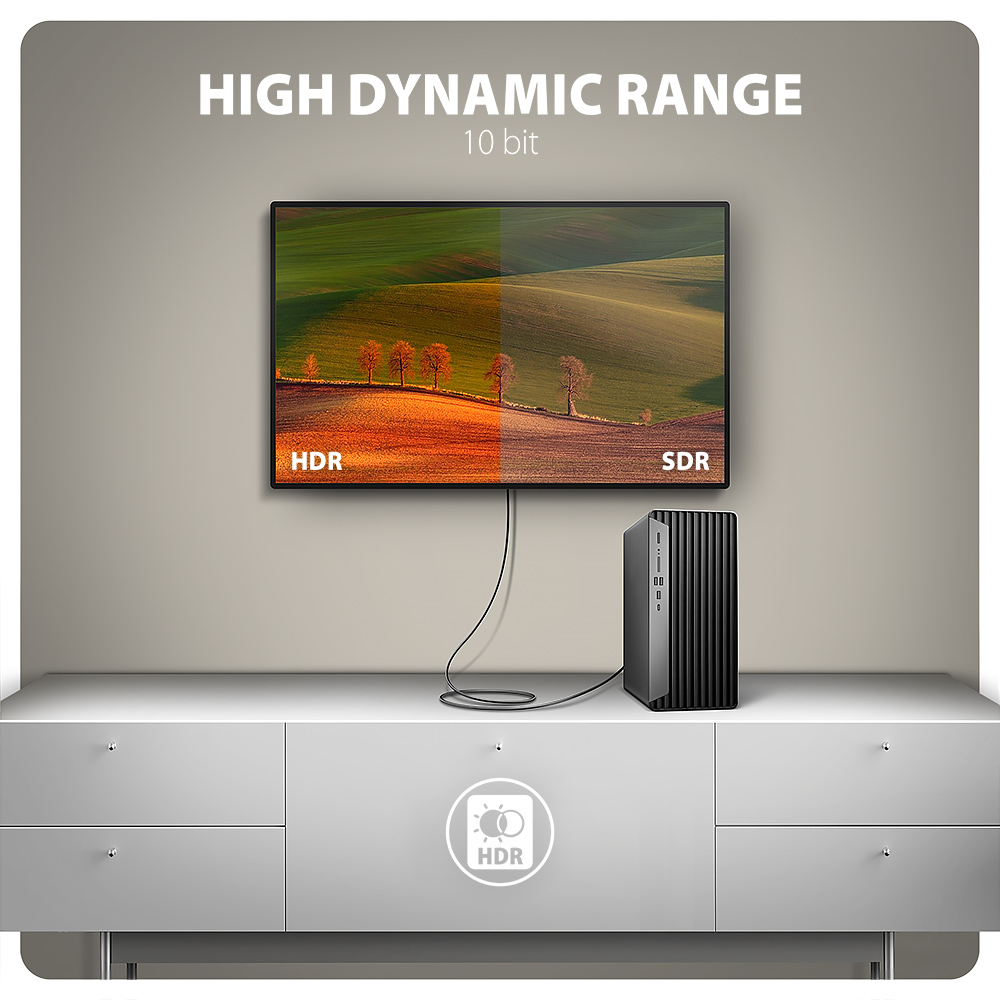
Ce convertisseur matériel sans besoin d’installation assure une image de qualité jusqu’à une résolution 4K/60 Hz Ultra HD. Les résolutions populaires telles que 2K/144 Hz Quad HD ou 1080p/240 Hz FullHD sont également prises en charge. Grâce à la prise en charge HDR (plage dynamique élevée), vous pouvez profiter sans limitation d’une gamme de couleurs et de contrastes grandement étendue.
La technologie Plug and Play est un assistant idéal non seulement pour les professionnels, mais aussi pour les utilisateurs domestiques souhaitant étendre facilement et efficacement leur environnement multimédia.
Profitez du home cinéma avec une image 4K ou utilisez l’adaptateur pour conférences et présentations. Il est parfait pour les écoles et les espaces interactifs où les ordinateurs sont fréquemment connectés à des appareils HDMI. Les graphistes et créateurs vidéo apprécieront l’affichage détaillé. L’adaptateur est compatible avec les moniteurs de marques telles que Dell, HP, Lenovo, ASUS, Samsung, LG, Sony, MSI et autres, garantissant ainsi son universalité et sa fiabilité.
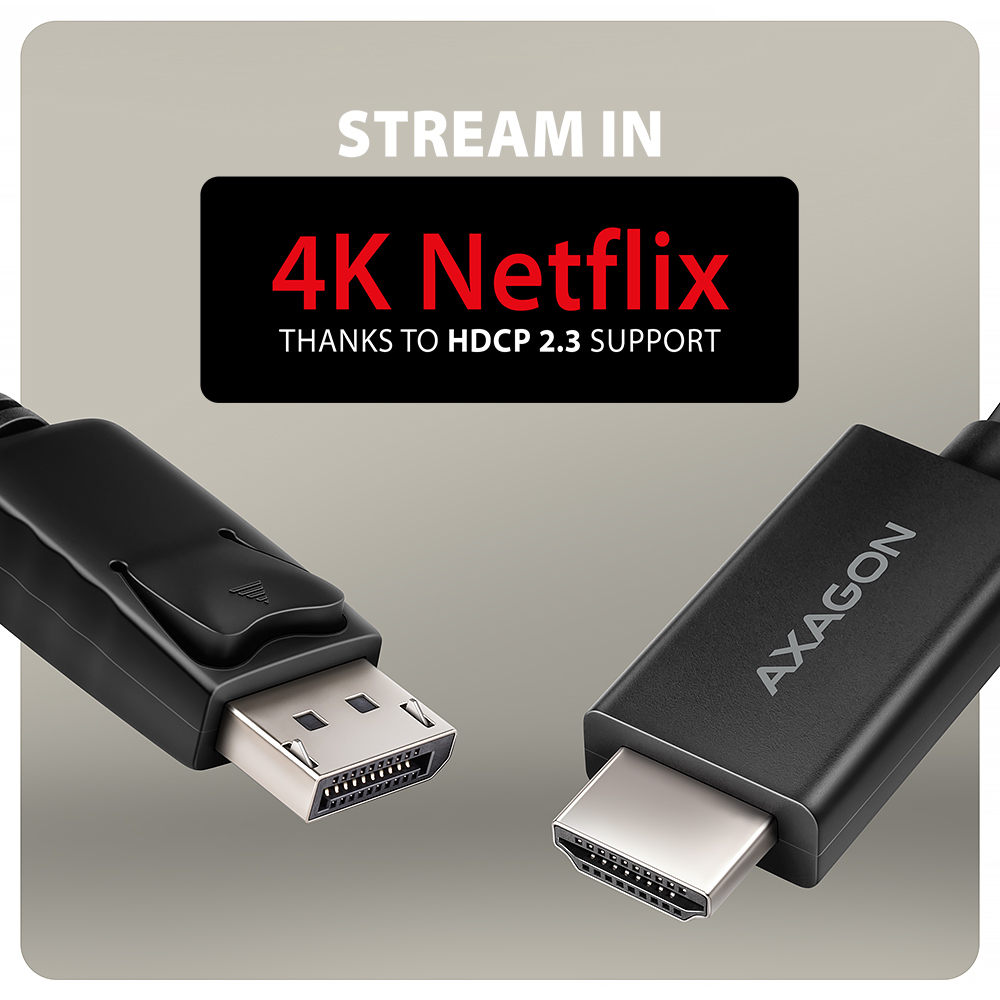
Grâce à la prise en charge HDCP 2.3, vous pouvez profiter sans restriction de vos services de streaming favoris en 4K, comme Netflix, Disney+, HBO Max, Amazon Prime ou Apple TV+. La prise en charge de la transmission audio sans perte, idéal pour les téléviseurs modernes, est également assuré. La prise en charge HDCP doit être garantie sur tous les appareils connectés ainsi que par le service de streaming lui-même.
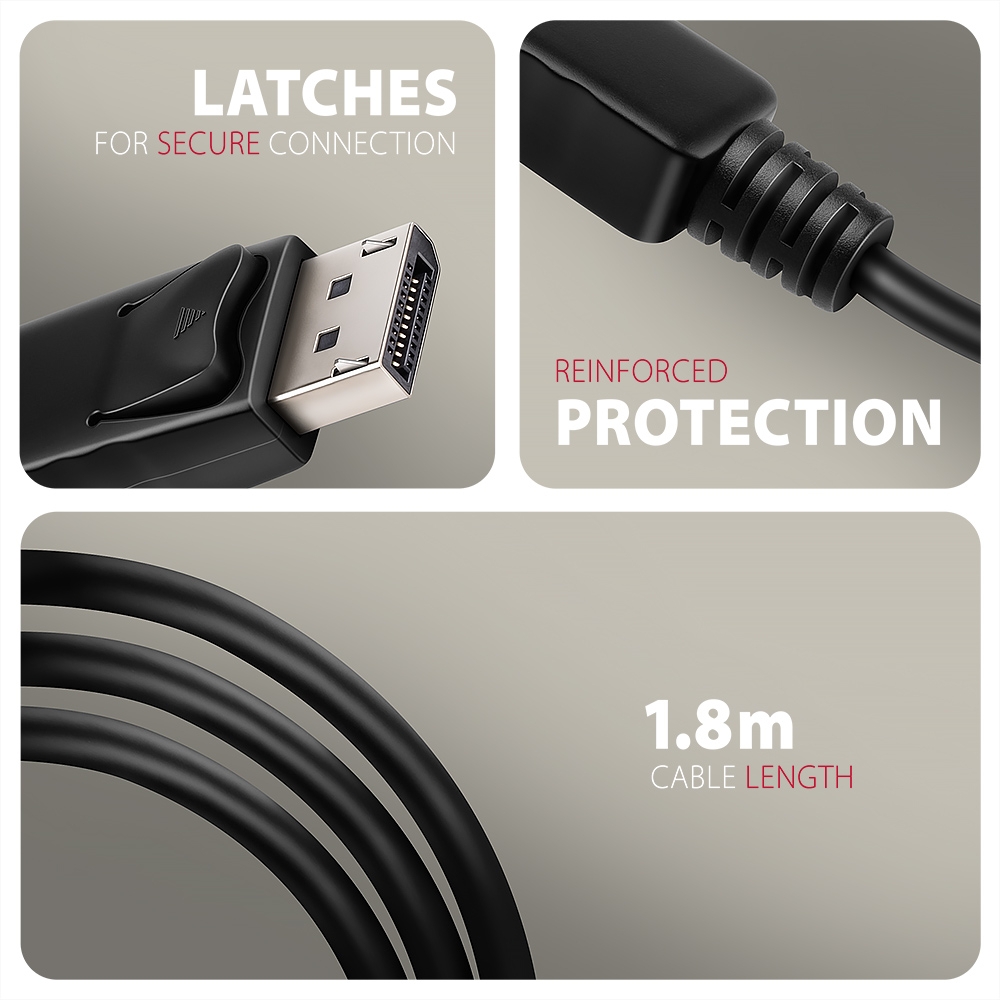
Le câble vidéo est fabriqué avec des matériaux de qualité assurant une haute fiabilité. Le connecteur DP dispose de verrous de sécurité empêchant une déconnexion accidentelle. Le câble et les connecteurs sont protégés contre la torsion. Avec une longueur de 1,8 m, l’adaptateur permet une connexion fiable même à un moniteur ou projecteur plus éloigné.
Le câble est unidirectionnel uniquement, c’est-à-dire un convertisseur de DisplayPort vers HDMI, pas l’inverse.
Entrée (connexion à l’ordinateur) :
• DisplayPort v1.4
• connecteur DP avec verrouillage (M) mâle
• bouton de commande du verrou du connecteur
Sortie (connexion au moniteur / TV / projecteur) :
• HDMI v2.0b
• connecteur HDMI A (M) mâle
Résolutions les plus couramment prises en charge :
• 4K/60, 30 Hz Ultra HD
• 2K/144, 120, 100, 60 Hz Quad HD
• 1080p/240, 144, 120, 100, 75, 60 Hz FullHD
Autres résolutions prises en charge :
Les résolutions et fréquences dépendent du moniteur et de la carte graphique utilisés.
• max. 4096 x 2160 (17:9) @60Hz DCI 4K
• 3840 x 2160 (16:9) @60Hz UHD-1 4K (UHDTV)
• 3840 x 1600 (21:9) UW 4K (Ultrawide 1600p)
• 3840 x 1200 (32:10) 4K (Super ultrawide 1200p)
• 3840 x 1080 (32:9) 4K (Super ultrawide 1080p)
• 3440 x 1440 (21:9) UWQHD (Ultrawide 1440p)
• 2560 x 2048 (5:4) QSXGA
• 2560 x 1920 (4:3)
• 2560 x 1600 (16:10) WQXGA
• 2560 x 1440 (16:9) @144Hz QHD
• 2560 x 1080 (21:9) UWFHD (Ultrawide 1080p)
• 2048 x 1536 (4:3) QXGA
• 2048 x 1152 (16:9) QWXGA
• 1920 x 1440 (4:3)
• 1920 x 1200 (16:10) WUXGA
• 1920 x 1080 (16:9) @240Hz FullHD/1080p
• 1856 x 1392 (4:3)
• 1792 x 1344 (4:3)
• 1680 x 1050 (16:10) WSXGA+
• 1600 x 1200 (4:3) UXGA
• 1600 x 900 (16:9) HD+
• 1536 x 864 (16:9)
• 1440 x 900 (16:10) WXGA+
• 1400 x 1050 (4:3) SXGA+
• 1366 x 768 (16:9) HD
• 1360 x 768 (16:9) HD
• 1280 x 1024 (5:4) SXGA
• 1280 x 960 (4:3) SXGA-
• 1280 x 800 (16:10) WXGA
• 1280 x 768 (5:3) WXGA
• 1280 x 720 (16:9) HD/WXGA/720p
• 1280 x 600
• 1152 x 864 (4:3) XGA+
• 1024 x 768 (4:3) XGA
• 800 x 600 (4:3) SVGA
Autres caractéristiques :
• Prise en charge de la transmission audio sans perte jusqu’à 8 canaux - 192 kHz à 24 bits.
• Prise en charge du DDC (Display Data Channel) - réglage intelligent de la résolution, fréquence et autres paramètres en fonction du GPU source.
• Modes pris en charge : duplication de l’écran principal (paramètre par défaut), extension de l’écran principal.
• Prise en charge HDR (High Dynamic Range, prise en charge 10 bits) - reproduction réaliste des détails clairs et sombres.
• Prise en charge HPD (Hot-Plug-Detect) - séquence de communication pour la connexion/déconnexion à chaud.
• Prise en charge HDCP 2.3 (8K, 4K, QHD, FullHD) - rétrocompatible avec HDCP 2.2 et 1.4.
• Prise en charge des modes d’économie d’énergie avec mise en veille contrôlée par le dispositif source (PC) et l’affichage (moniteur/TV).
• Alimentation via le câble - aucune alimentation externe nécessaire.
• Dimensions 9 x 38 x 21 mm (H x L x P).
• Poids 71 g (câble inclus).
• Câble de 1,8 m de longueur.
Systèmes d’exploitation pris en charge :
• Toutes versions de Windows, macOS, Linux, Chrome OS et autres systèmes d’exploitation.
• Il s’agit d’un convertisseur purement matériel, la conversion est assurée uniquement par la puce du câble sans intervention de l’ordinateur, aucun driver n’est installé, donc la compatibilité ne dépend pas du système d’exploitation utilisé.
Le colis comprend :
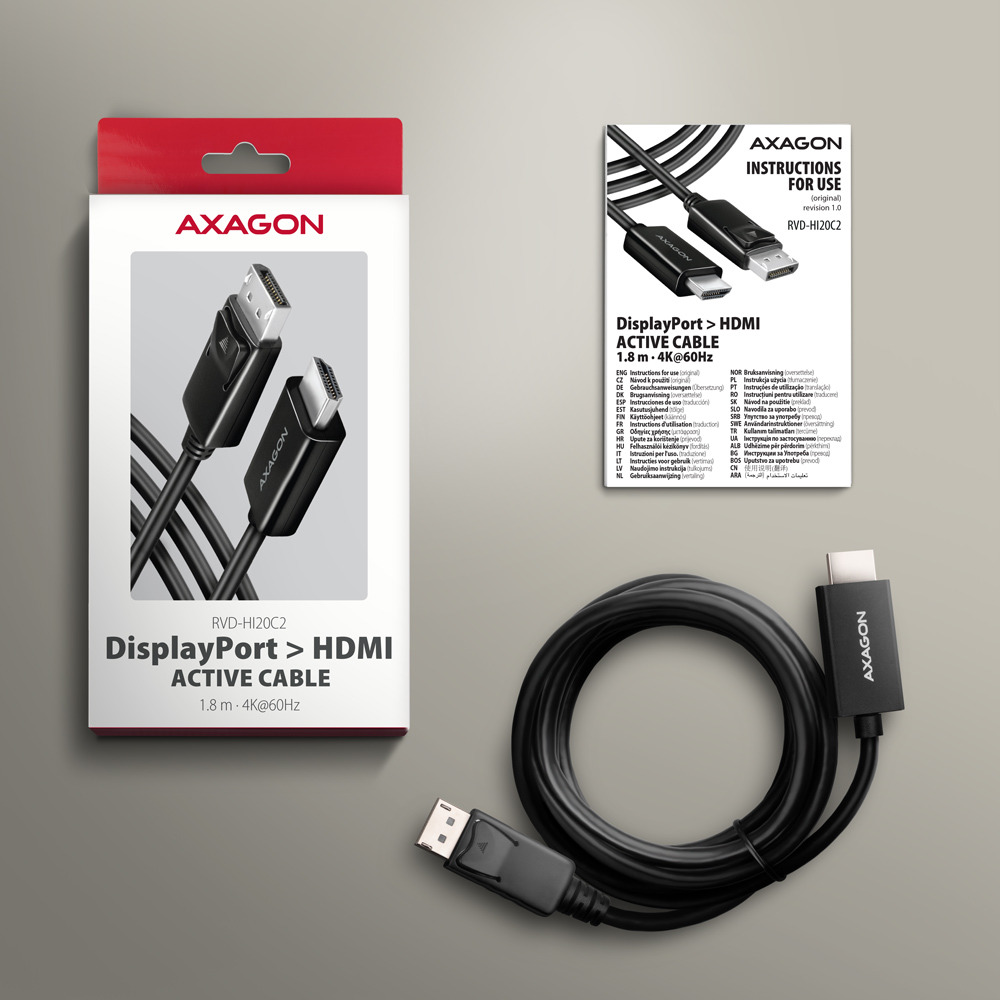
• Adaptateur vidéo DisplayPort > HDMI avec câble de 1,8 m,
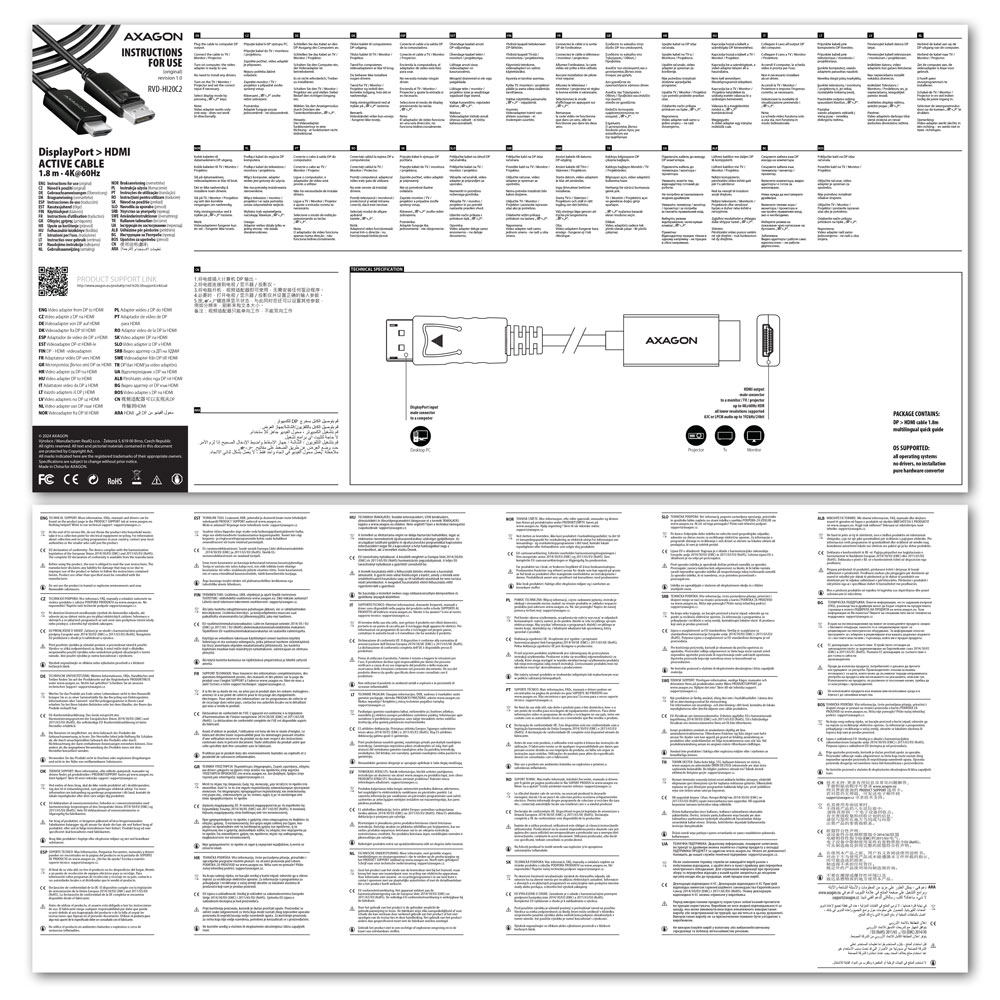
• manuel multilingue CZ / DE / DK / ENG / ESP / EST / FIN / FR / GR / HR / HU / IT / LT / LV / NL / NOR / PL / PT / RO / SK / SLO / SRB / SWE / TR / UA / ALB / BG / BOS / CN / ARA,
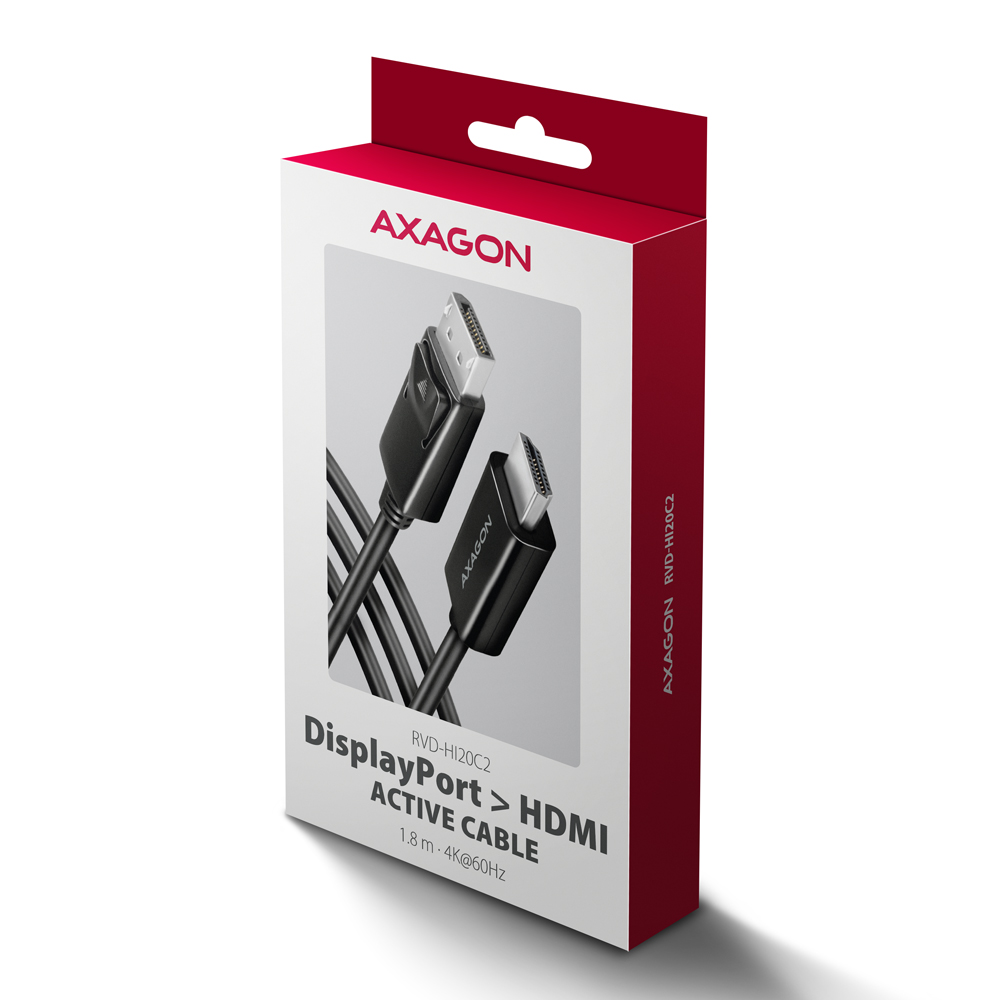
• emballé dans une boîte en carton avec trou pour suspension.



 français
 tchèque
 slovaque
 anglais
 allemand
 hongrois
 polonais