Référence produit: EEM2-SD2B
Catégorie: Tous les produits , Boîtiers M.2 , Accessoires pour disques
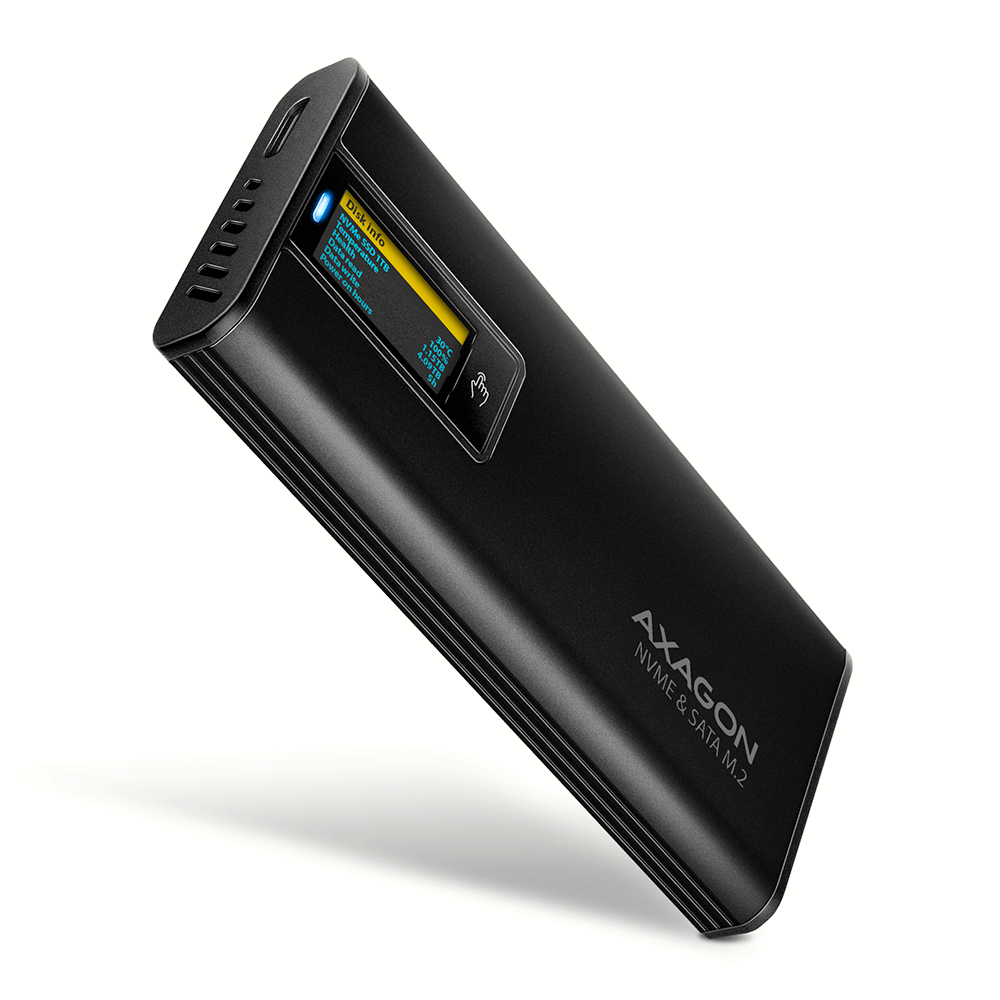
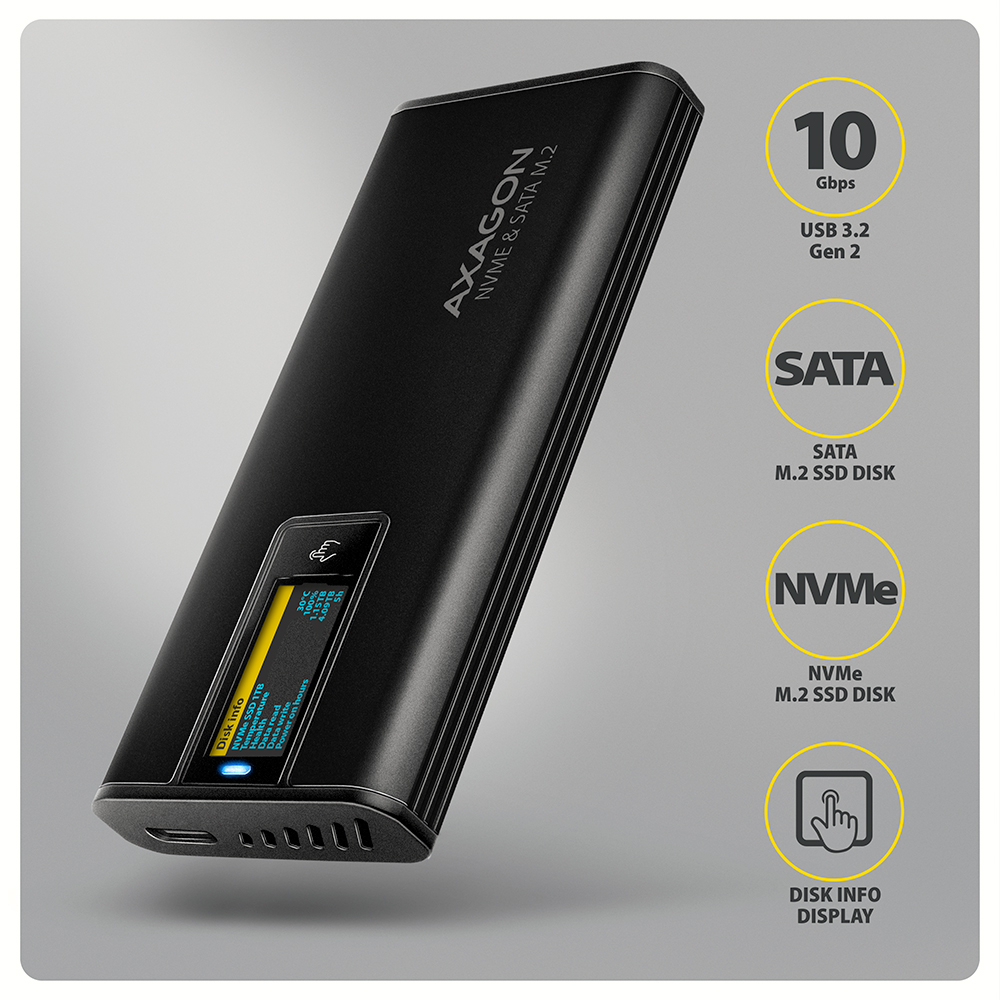
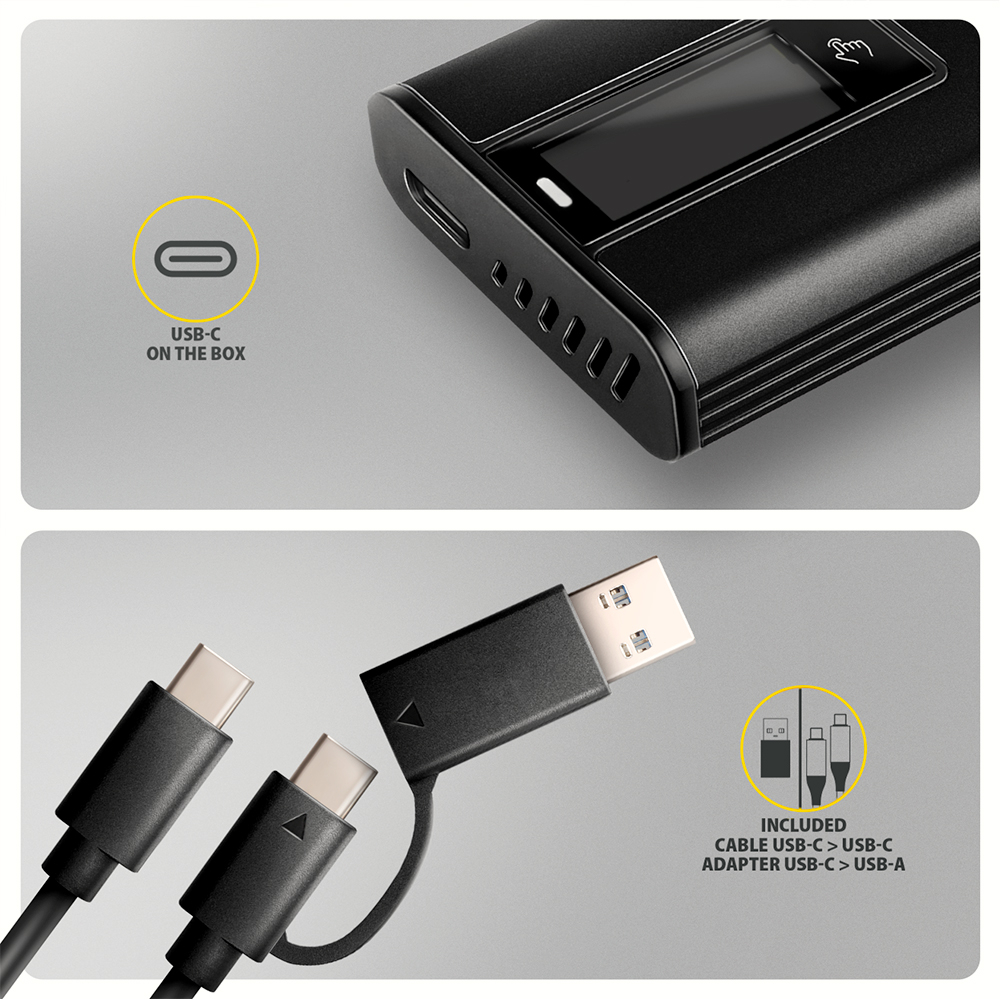
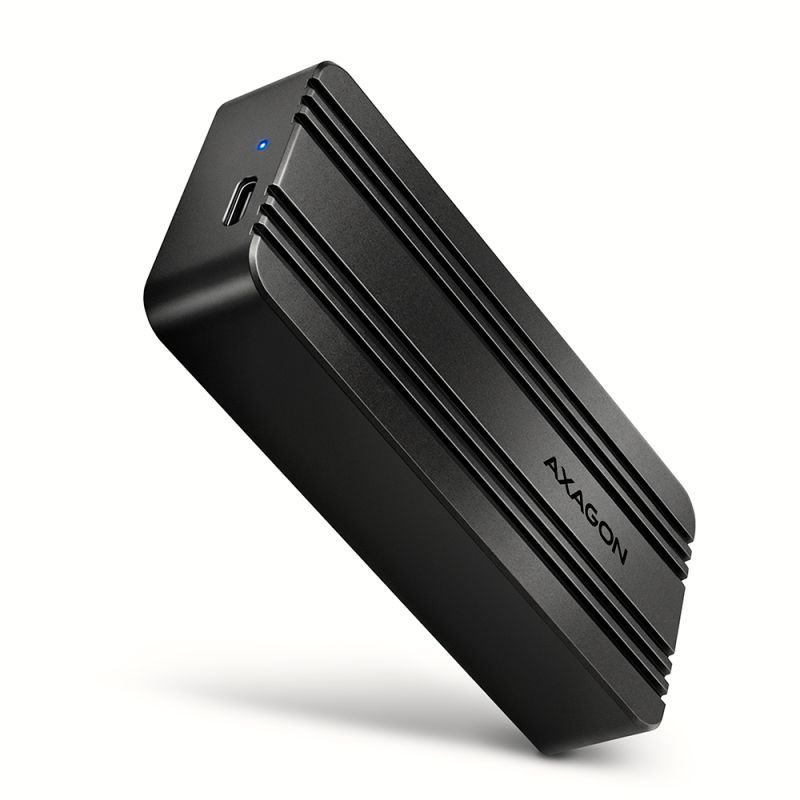
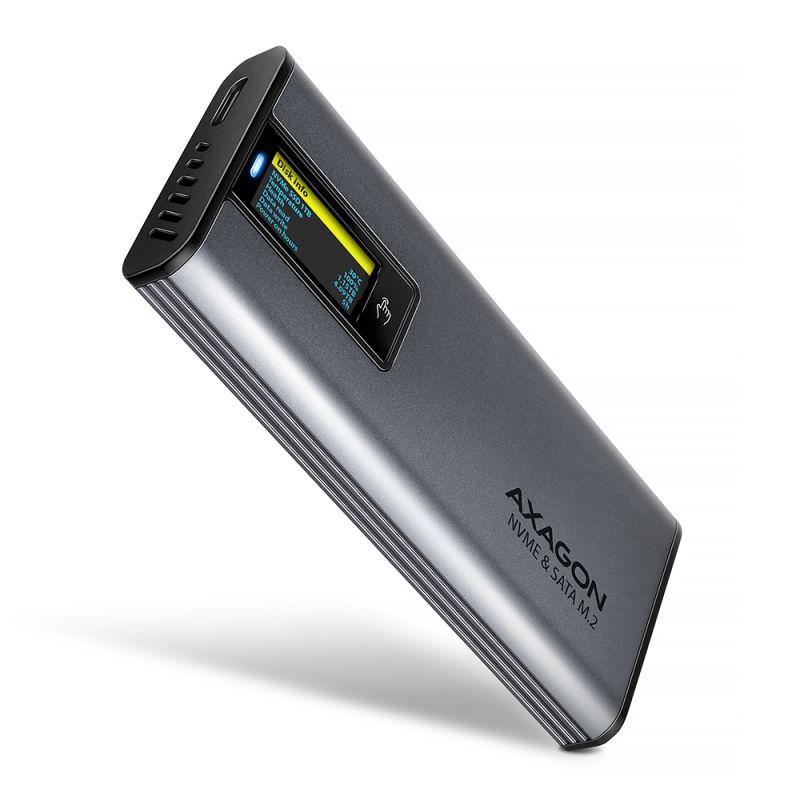
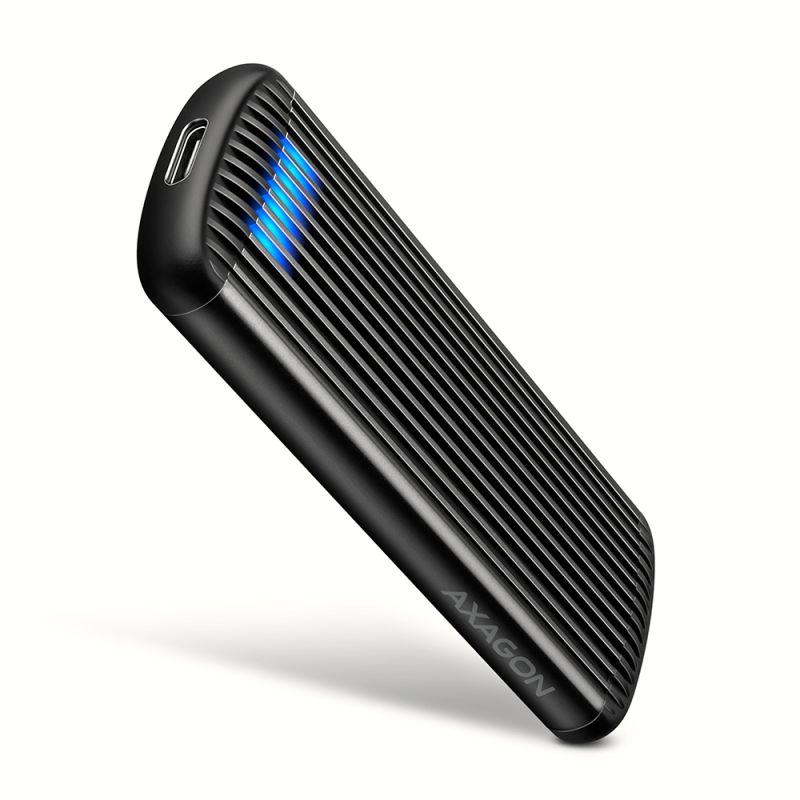
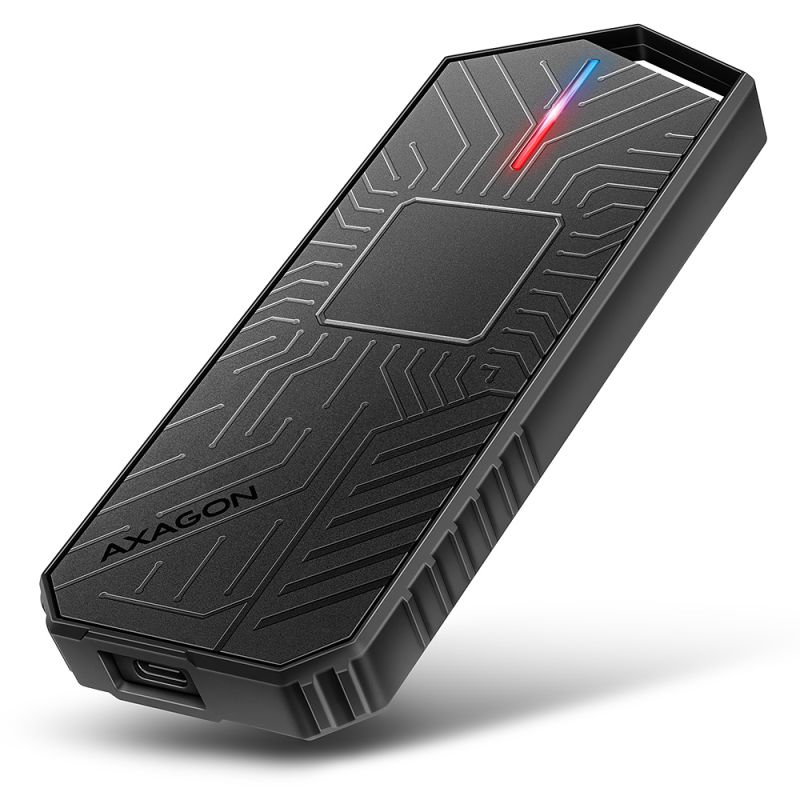
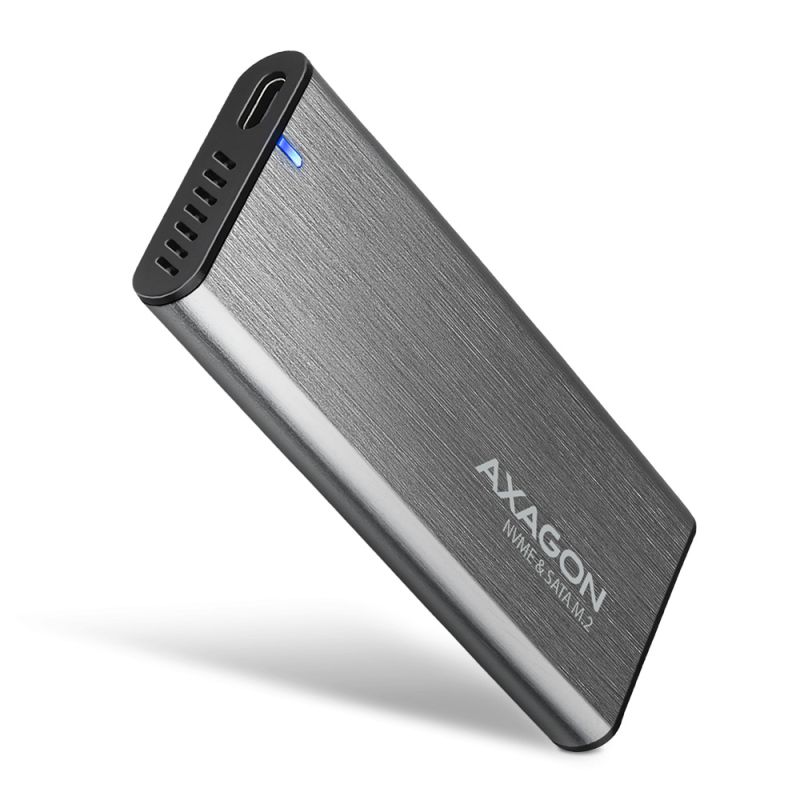
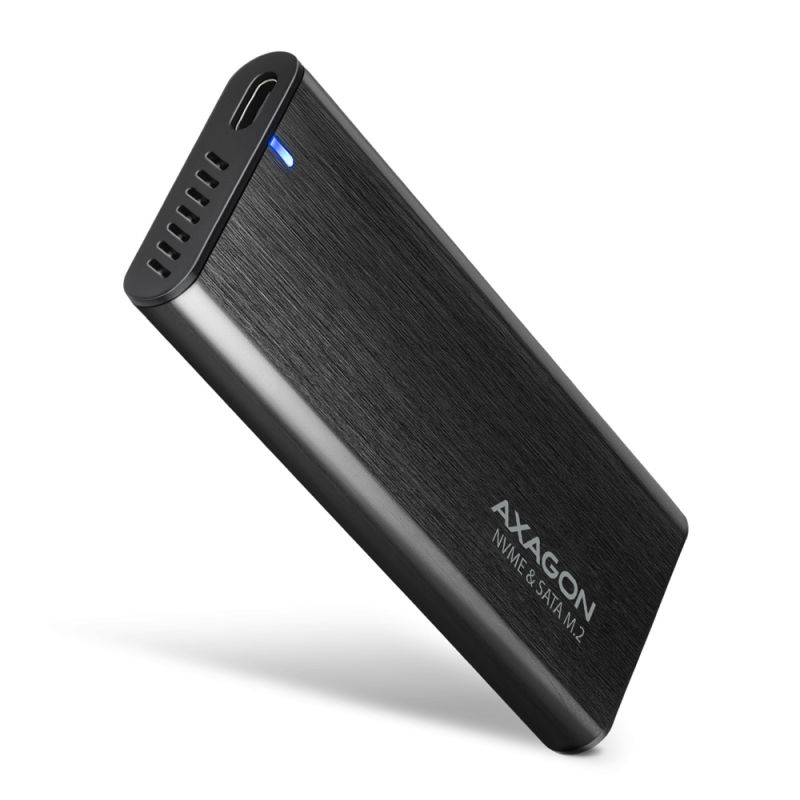
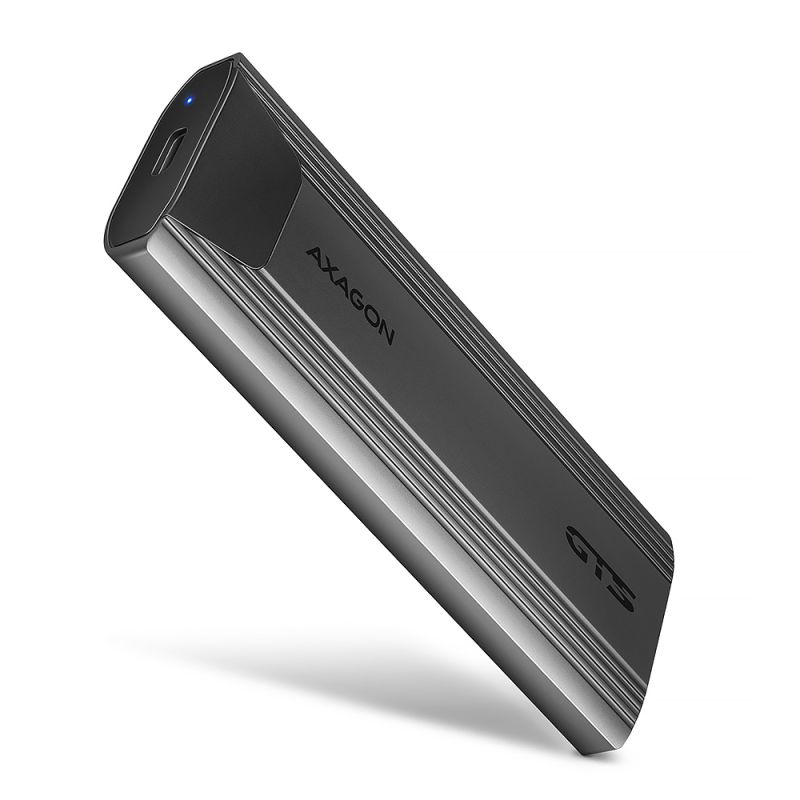
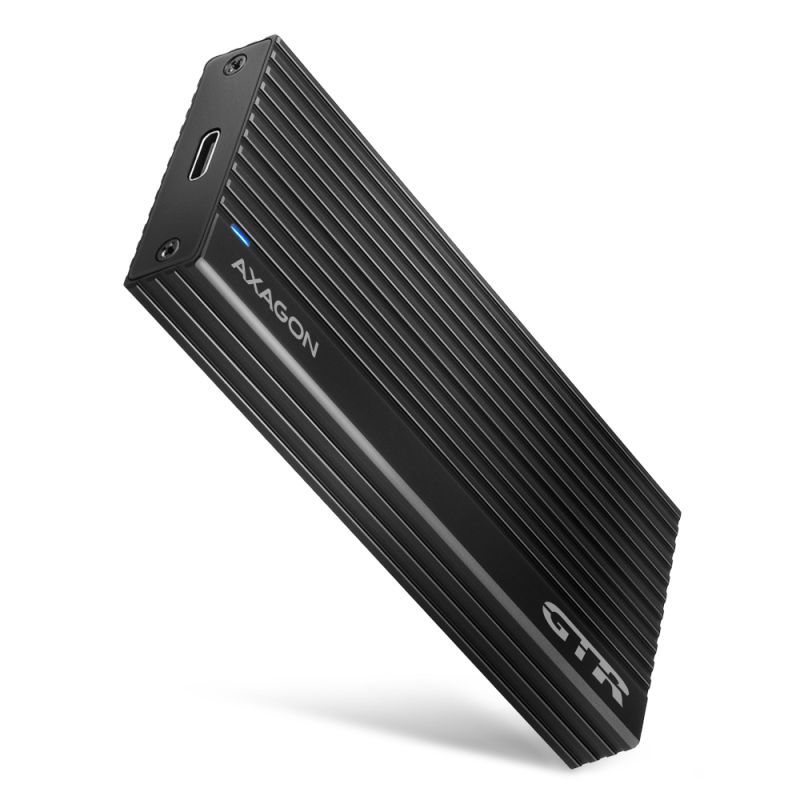
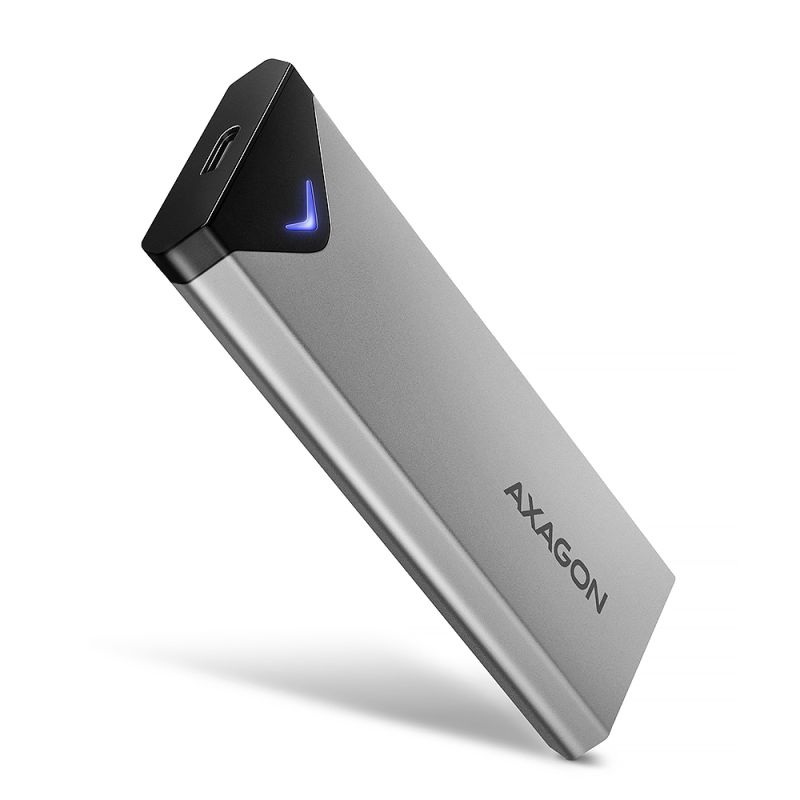
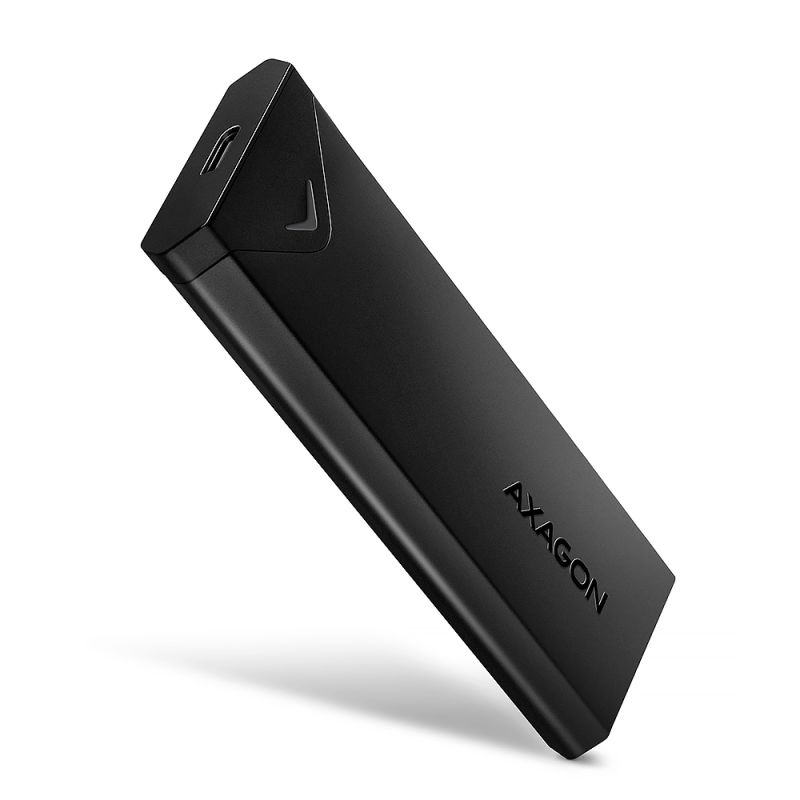
Boîtier externe AXAGON EEM2-SD2B DISPLAY avec interface USB 10 Gbit/s, conçu pour les disques SSD M.2 NVMe ou SATA. La connexion fiable à l’ordinateur est assurée par un connecteur USB-C réversible sur le boîtier. Le colis comprend non seulement un câble USB-C -> USB-C pour connecter le boîtier à l’ordinateur, mais aussi un adaptateur USB-C -> USB-A. Vous pouvez ainsi brancher le boîtier sur n’importe quel port USB libre de votre ordinateur portable.
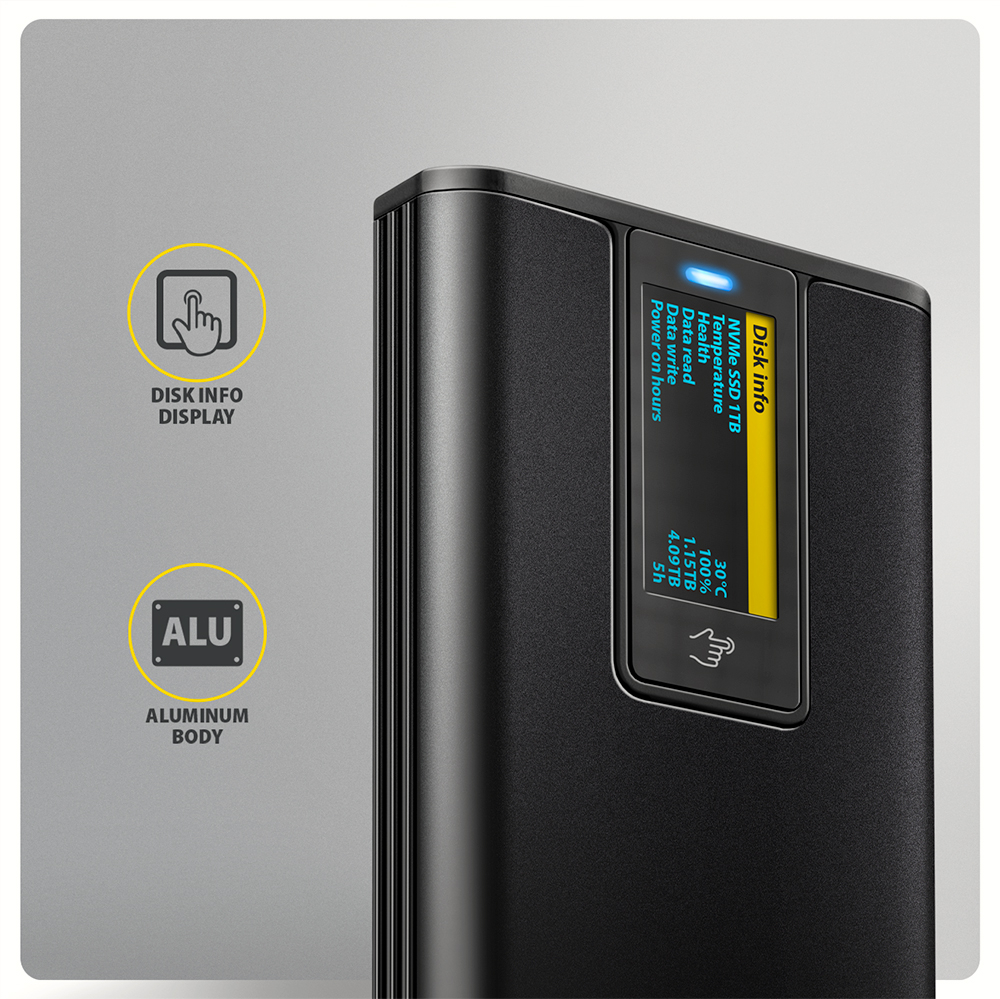
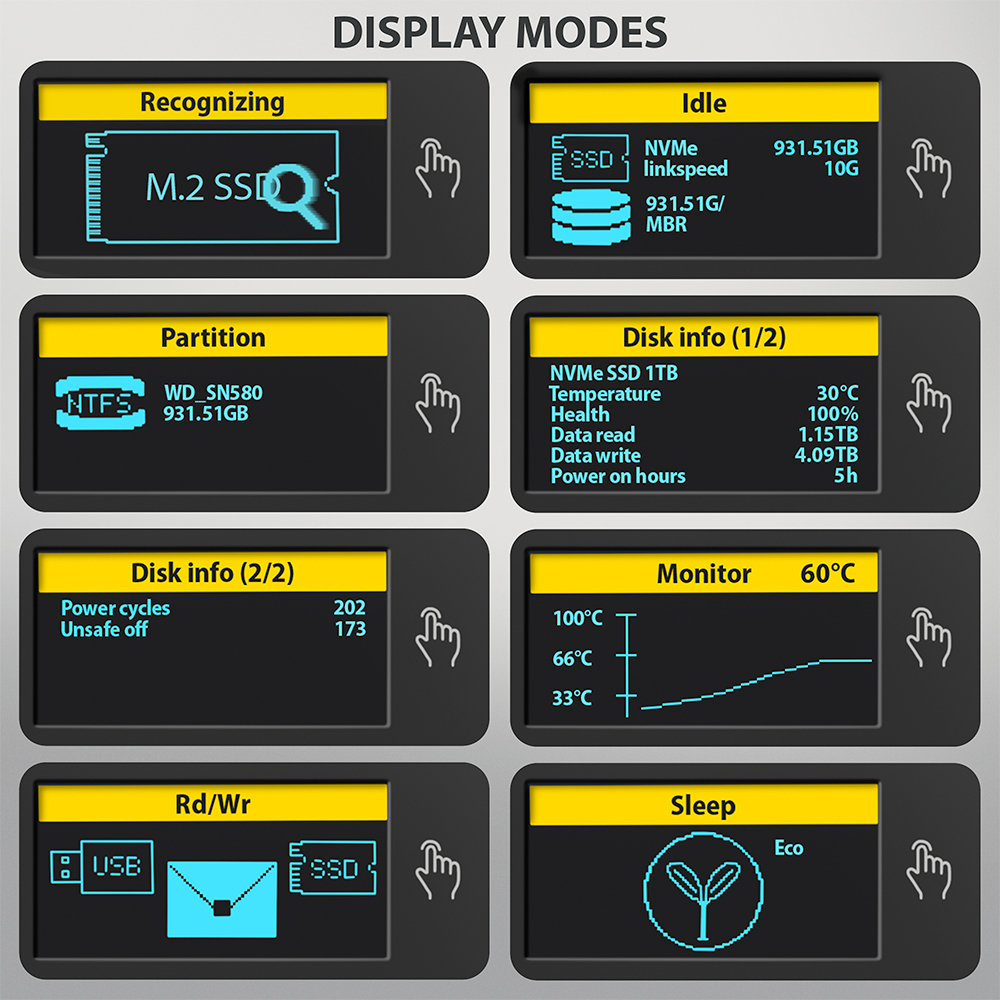
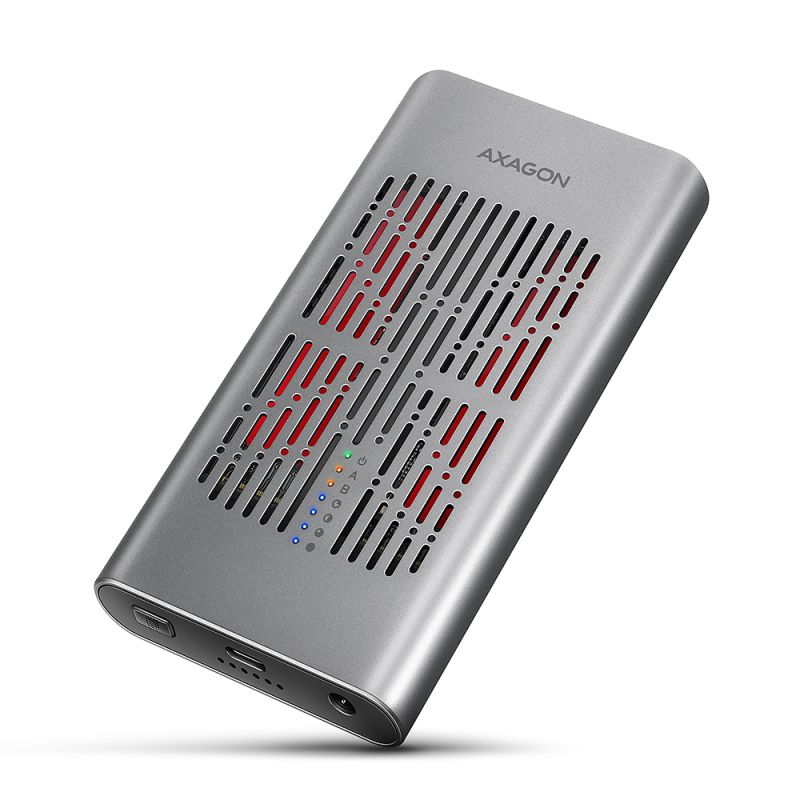
Le boîtier est équipé d’un affichage LED avancé qui offre un aperçu immédiat de l’état de votre disque. Il propose plusieurs modes d’affichage, y compris la détection du disque connecté, le système de fichiers utilisé, la température, la santé du disque, la vitesse de transfert et le nombre d’heures de fonctionnement. Un graphique détaillé permet de surveiller la température du disque en temps réel, tandis que le mode veille économise de l’énergie lors des périodes d’inactivité. Avec cette surveillance intelligente, vous aurez toujours le contrôle de votre disque – simplement, clairement et efficacement.
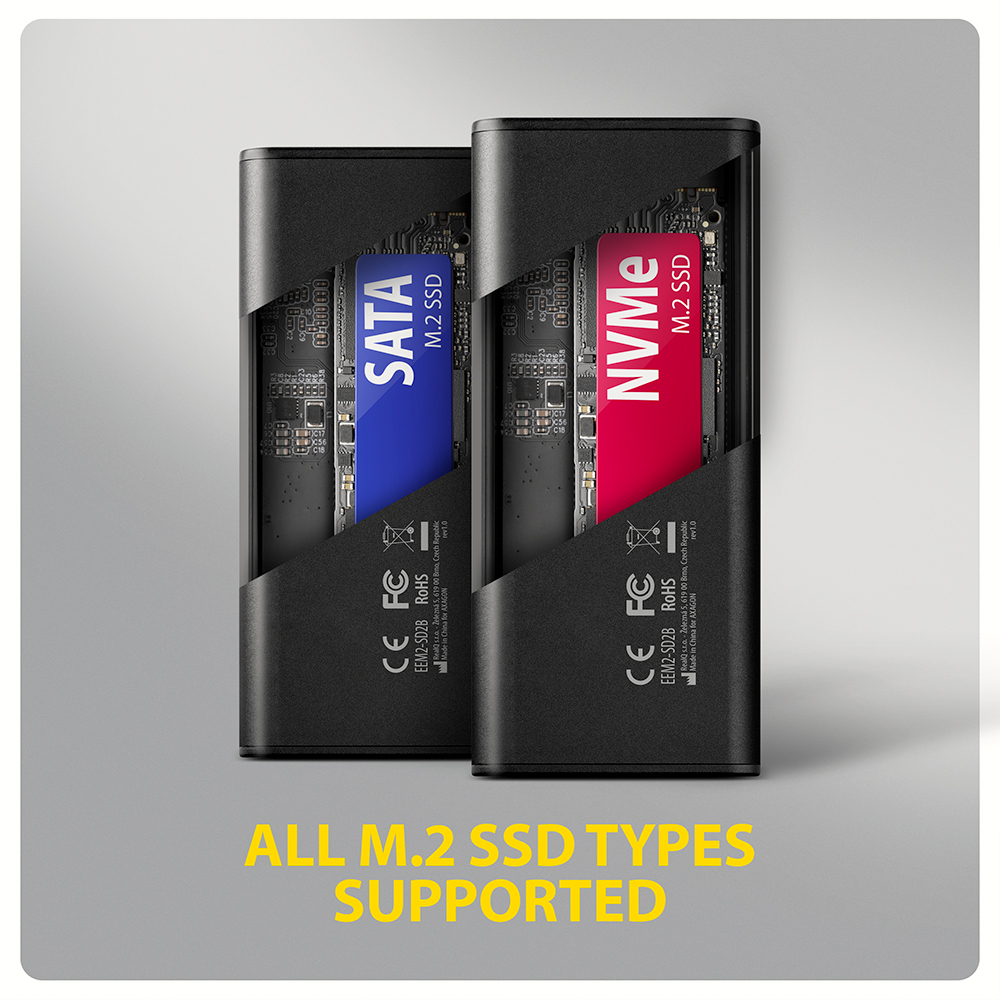
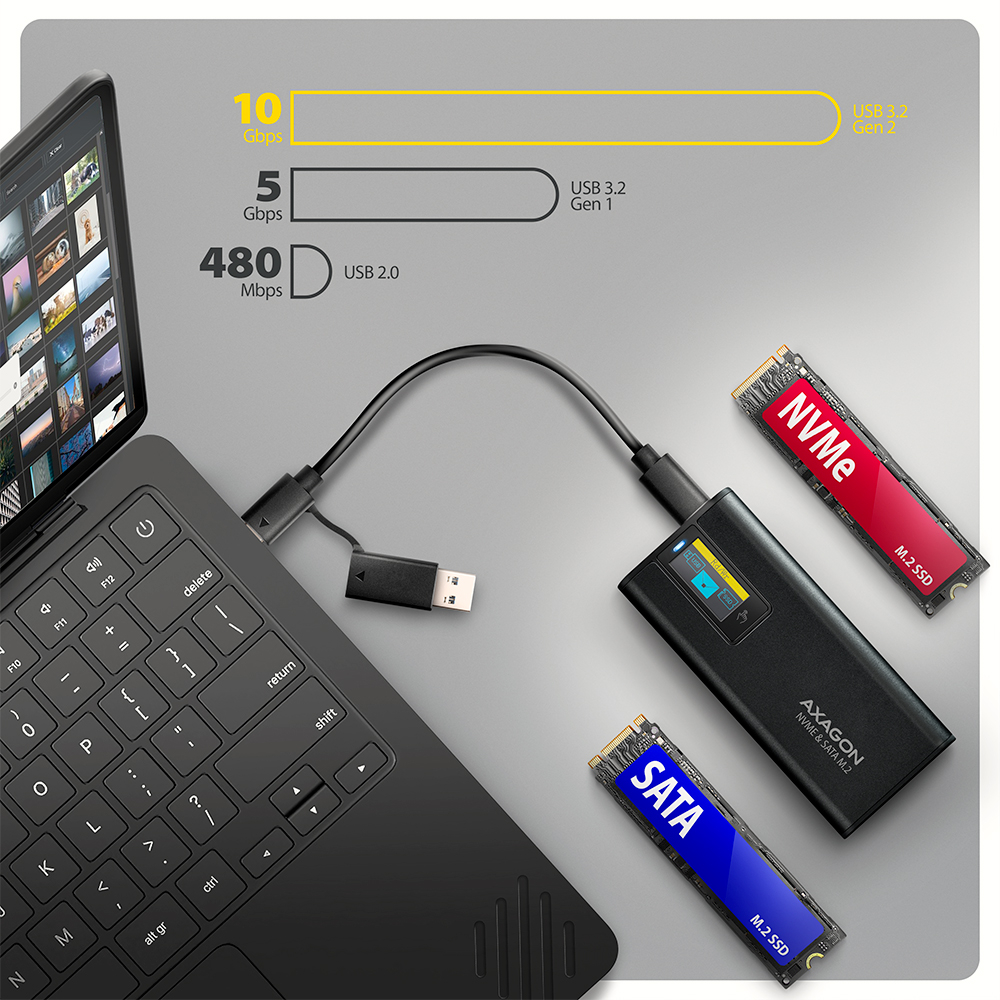
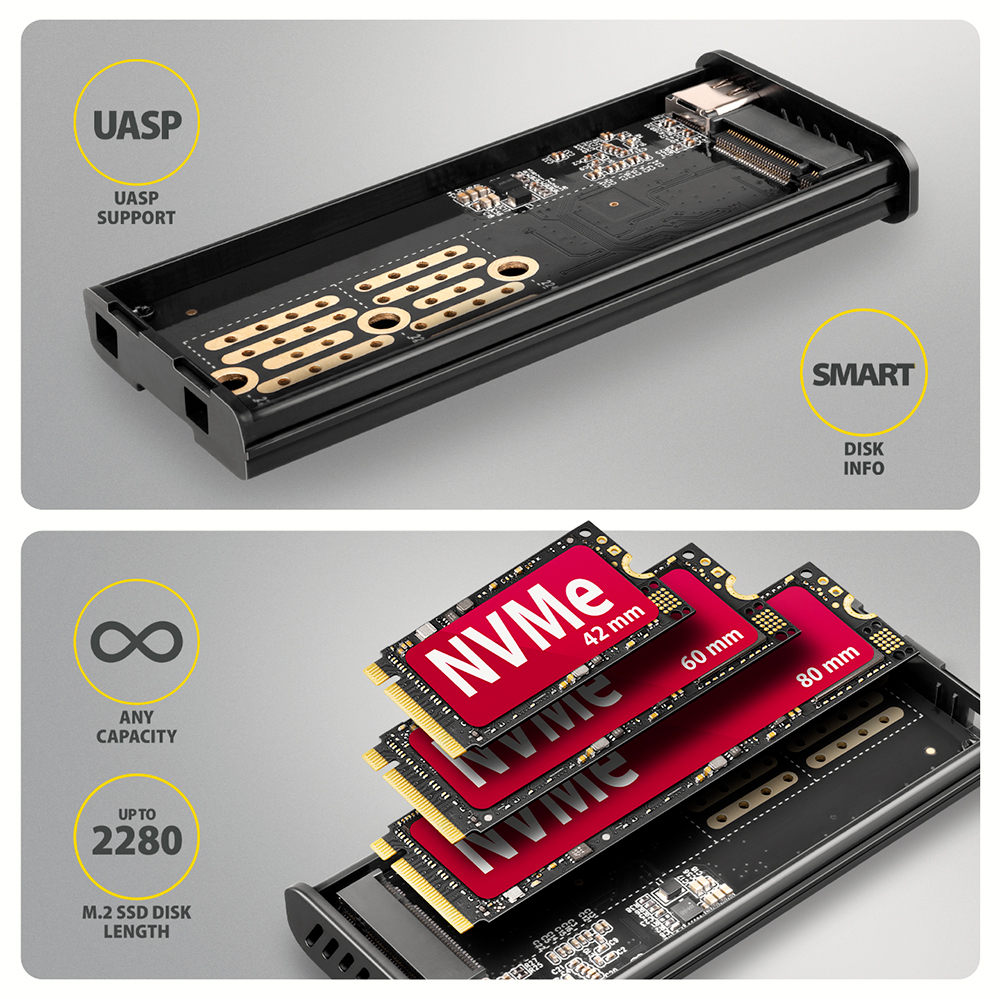
Grâce à l’interface USB 3.2 Gen 2, la vitesse de transfert atteint jusqu’à 10 Gbit/s. Ce boîtier M.2 externe prend également en charge d’autres fonctionnalités modernes telles que le UASP, TRIM et permet la lecture des informations S.M.A.R.T. monitorant l’état du disque. Une caractéristique unique, grâce au chipset utilisé, est la prise en charge des disques M.2 NVMe et SATA. Vous n’avez donc pas à vous soucier du type de disque M.2 inséré dans le boîtier. Le boîtier permet de fixer des SSD de trois longueurs différentes — 42, 60 et 80 mm. Les cartes M.2 peuvent être simple ou double face, sans aucune limitation de capacité du disque SSD.
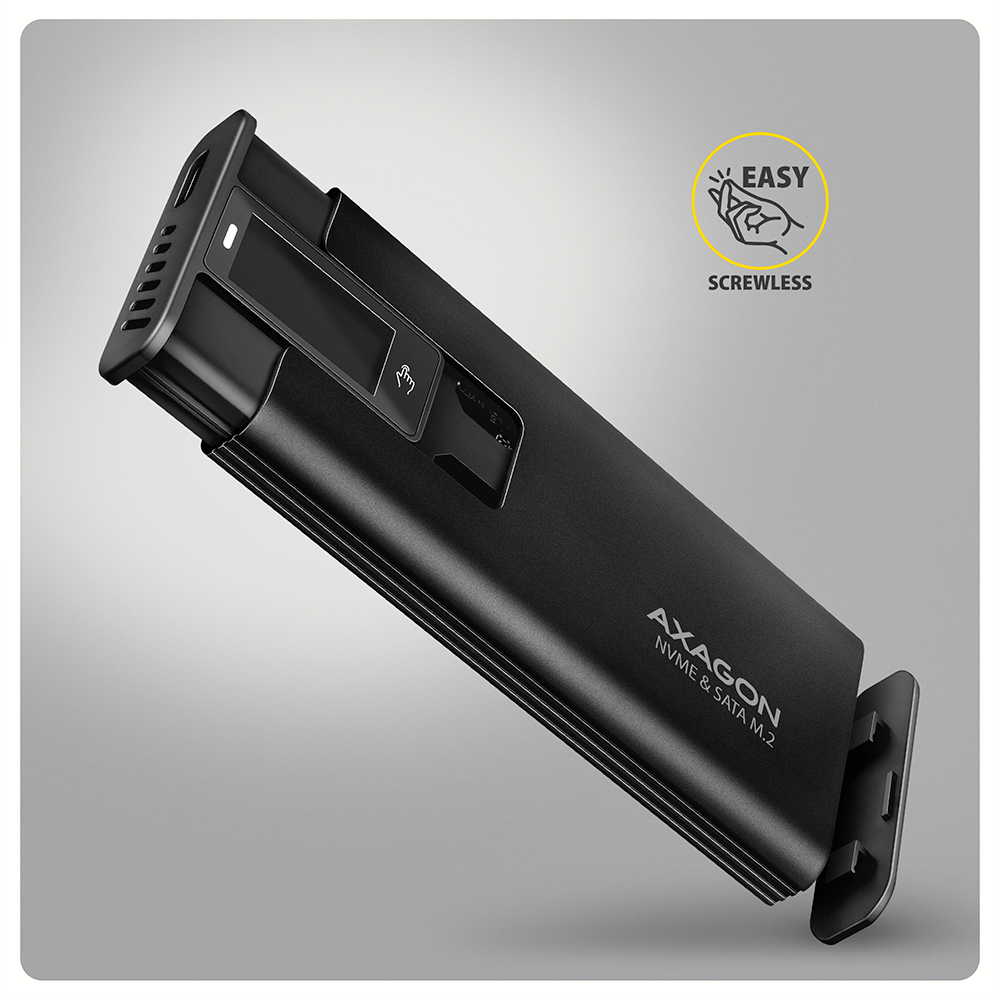
L’ouverture sans vis du boîtier facilite le montage et le démontage du SSD M.2. Le changement de disque est rapide et simple, élargissant les possibilités d’utilisation du boîtier, par exemple pour la migration des données, les tests, etc. Le boîtier extérieur métallique est de couleur noire avec une surface élégante empêchant les traces de doigts indésirables. Le corps en aluminium du boîtier et le tampon thermique garantissent un refroidissement optimal du SSD M.2 inséré. Cela prolonge sa durée de vie et évite la réduction de la vitesse due au phénomène de Thermal Throttling.
En insérant un disque SSD M.2 dans ce boîtier, vous créez facilement un disque externe rapide, compact et universel qui peut être utilisé non seulement avec des ordinateurs et des portables, mais aussi avec des téléphones mobiles et des tablettes.
Entrée :
• USB 10 Gbit/s (USB 3.2 Gen 2), connecteur USB-C femelle.
• Compatible avec USB 5 Gbit/s, USB 20 Gbit/s, USB4 et Thunderbolt 3/4/5.
Appareils pris en charge :
• Disques SSD NVMe M.2,
• Disques SSD SATA M.2,
• conçu pour les cartes format M key ou B+M key,
• emplacement NGFF 75 broches M key pour disques M.2.
L’affichage LED montre :
• Recognizing - reconnaissance du disque (affiché lors de la connexion du boîtier à l’appareil)
• Partition - affiche le système de fichiers, la taille et le nom système du disque
• Idle - veille (informations sur le disque - interface utilisée et taille du disque, vitesse du bus connecté, standard de partition du disque)
• Disk info - affiche les informations sur le disque (référence fabriquant, température réelle, état de santé, volume de données écrites / lues, durée totale de fonctionnement, nombre de retraits du disque sans éjection sécurisée)
• Monitor - température du disque en temps réel via un graphique
• Rd/Wr - transfert de données (possibilité de basculer entre les sections lors du transfert)
• Sleep - mode veille du disque
Autres caractéristiques :
• Prise en charge des vitesses de transfert 10 000 / 5 000 / 480 Mbit/s.
• Prise en charge des disques NVMe (PCI-Express) M key ou B+M key ainsi que SATA (AHCI) SSD M.2 sans limitation de capacité maximale.
• Compatible avec les disques M.2 aux dimensions 2242, 2260, 2280 mm.
• Prise en charge des disques M.2 simple et double face.
• Conforme à la spécification PCI Express Base Specification Révision 3.1a.
• Conforme à la spécification NVM Express 1.3.
• Conforme à la spécification Serial ATA 3.2 (SATA/600), vitesses jusqu’à 6 Gbit/s (600 Mo/s).
• Conforme à la spécification USB Mass Storage Class.
• La bande passante / vitesse de transfert totale est limitée par l’interface USB utilisée (théoriquement jusqu’à 10 Gbit/s).
• La bande passante / vitesse réelle est d’environ 1000 Mo/s (1 Go/s), limitée par l’interface USB 3.2 Gen 2.
• Prise en charge BOT (Bulk-Only Transport).
• Prise en charge UASP (USB Attached SCSI) pour un transfert plus rapide sous Windows 8 et versions ultérieures.
• Prise en charge de la fonction TRIM pour limiter la dégradation progressive des performances SSD.
• Prise en charge S.M.A.R.T. (Self-Monitoring, Analysis, and Reporting Technology) pour la surveillance de l’état du disque.
• Prise en charge du démarrage depuis un SSD dans un boîtier externe.
• Possibilité de connexion à chaud grâce à la prise en charge du Hot Plug.
• Prise en charge complète Plug and Play.
• Prise en charge du mode économie d’énergie.
• Alimenté via le bus USB jusqu’à 900 mA depuis un port USB unique, suffisant dans tous les cas.
• LED bleue discrète indiquant la connexion au port USB de l’ordinateur et le transfert de données (allumée en continu).
• Boîtier en aluminium robuste et tampon thermique favorisent un meilleur refroidissement du SSD M.2.
• Température de surface supérieure du boîtier n’est pas un défaut – grâce au corps en aluminium, la chaleur générée par le fonctionnement du disque est mieux dissipée.
• Connexion via connecteur USB 3.2 Gen 2 type C femelle.
• Le câble USB type C mâle / USB type C mâle de 25 cm ainsi que l’adaptateur USB type C femelle / USB type A mâle sont inclus.
Autres données :
• Dimensions du boîtier 96 x 42 x 12 mm.
• Poids du boîtier 46 g (sans câble, adaptateur et disque M.2).
Systèmes d’exploitation pris en charge :
• Windows 7 / 8.1 / 10 / 11 et versions ultérieures, macOS, iPadOS, iOS, Linux, Chrome OS et Android.
• La compatibilité dépend de la mise à jour du système d’exploitation et de la prise en charge par le fabricant de l’appareil.
• Note : Pour une utilisation sous Windows 7, vérifiez la prise en charge par le fabricant du disque SSD M.2 et la disponibilité des pilotes.
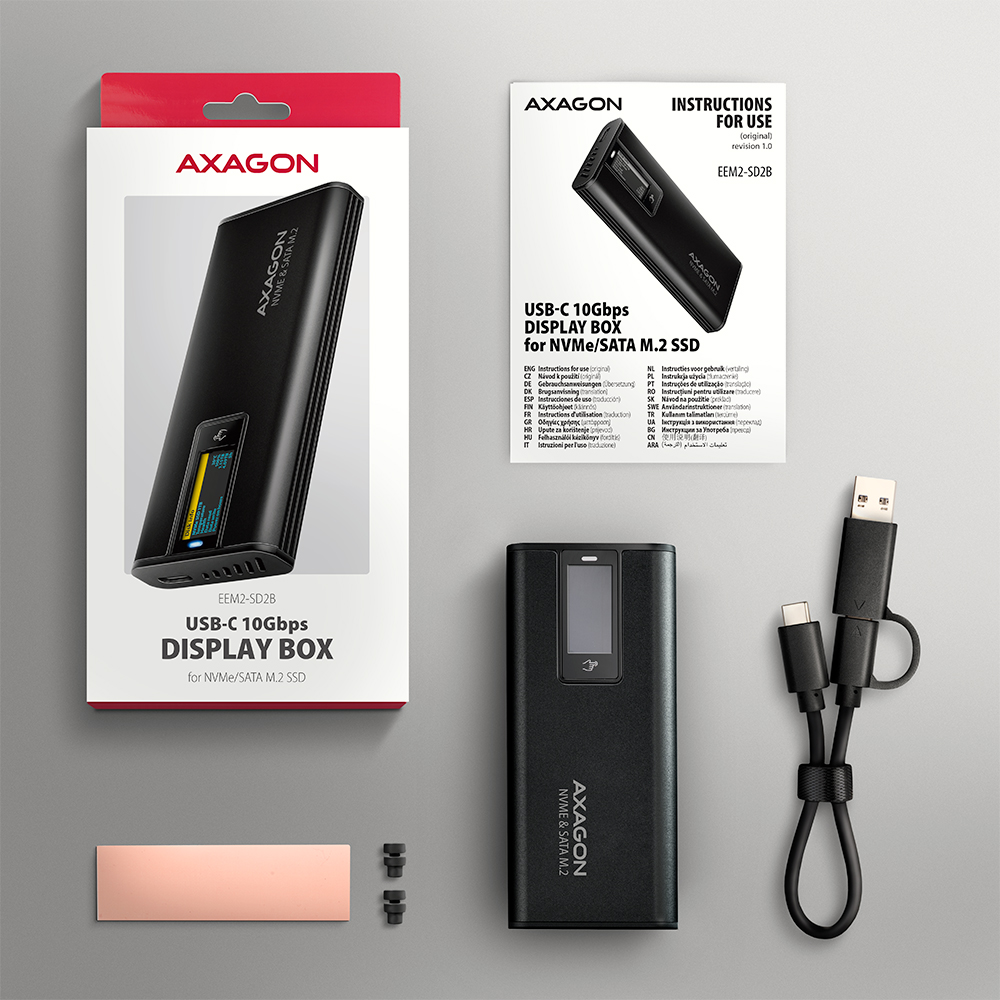
Contenu de l’emballage :
• Boîtier externe USB-C 10 Gbit/s pour SSD M.2,
• Câble USB-C - USB-C de 25 cm avec adaptateur USB-C - USB-A,
• 1 tampon thermique,
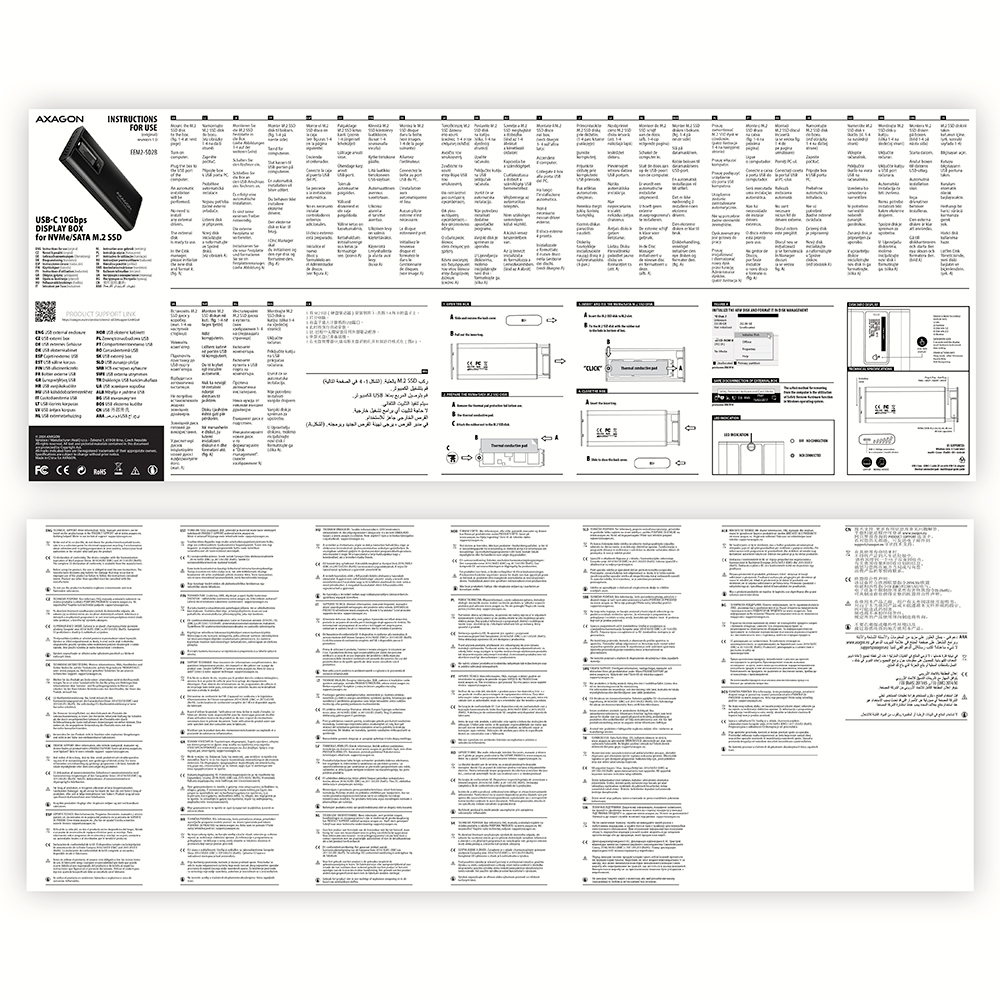
• manuel multilingue CZ / DE / DK / ENG / ESP / EST / FIN / FR / GR / HR / HU / IT / LT / LV / NL / NOR / PL / PT / RO / SK / SLO / SRB / SWE / TR / UA / ALB / BG / BOS / CN / ARA,
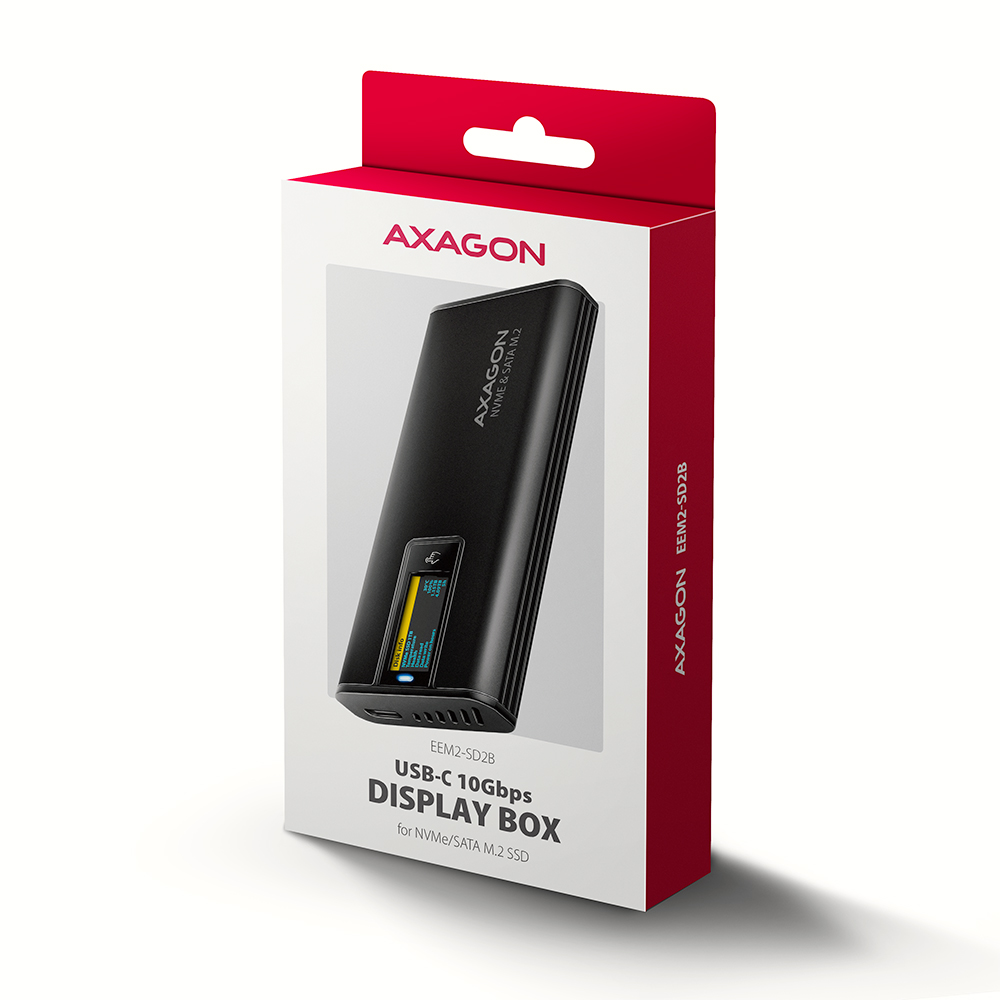
• emballé dans une boîte en carton avec œillet pour suspension.

- Boîtier externe USB-C 10Gbps pour SSD M.2
- Câble USB-C - USB-C de 25 cm avec
réducteur USB-C vers USB-A
- 1 coussinet thermique
- manuel multilingue
- manuel multilingue CZ / DE / DK / ENG / ESP / EST / FIN / FR / GR / HR / HU / IT / LT / LV / NL / NOR / PL / PT / RO / SK / SLO / SRB / SWE / TR / UA / ALB / BG / BOS / CN / ARA
- boîte en carton avec trou pour suspension
- dimensions de l’emballage : 17,5 × 8,4 × 2,6 cm
- poids d'un emballage : 105 g
- EAN : 8595247909848
- nombre d’unités par carton : 50
- dimensions du carton : 19 × 31 × 37 cm
- poids total du carton : 5,6 kg G. W.
EEM2-SD2B – manuel multilingue – CZ / DE / DK / ENG / ESP / EST / FIN / FR / GR / HR / HU / IT / LT / LV / NL / NOR / PL / PT / RO / SK / SLO / SRB / SWE / TR / UA / ALB / BG / BOS / CN / ARA
Téléchargez si le boîtier externe ne détecte pas le disque M.2 et si la mise à jour du firmware du disque via l’utilitaire du fabricant n’a pas aidé. N’oubliez pas de vérifier que vous possédez un disque NVMe (ce boîtier n’est pas conçu pour les disques SATA M.2 ni mSATA).
A): Drivers are included with operating systems and are installed completely automatically. The external box is detected as a standard storage device, such as a USB flash disk, no other drivers are needed.
B): No other drivers need to be installed and are not even available. If you continue to have problems with your external box, check out more tips that can help you troubleshoot problems.
A): If the external box is not displayed in "Device Manager", there may be a USB port malfunction.
B): Try plugging the external box into another USB port. The external box should be detected and the drivers loaded automatically. If the problem persists, plug the external box into the USB port of another computer to verify its functionality.
A): By initializing the disk, you can set the mode in which the hard disk will work
B): You can use the partition with the master boot record (MBR) or the GUID partition table (GPT). For disk up to 2TB, use the MBR option, we recommend selecting GPT on a larger disk than 2TB. Subsequently, the initialized disk should be formatted.
A): If this happens, it means that the operating system failed to get the necessary information to install the drivers.
B): The cause may be a defective USB cable or damaged device. If the problem persists, plug the external box into the USB port of another computer to verify its functionality.
A): The newly purchased disk must be initialized before first use.
B): If the new disk is not initialized automatically, open "Disk Management", right-click on the desired disk and initialize it.
A): Drivers are included with operating systems and are installed completely automatically. The external box (adapter / docking station) is detected as a standard storage device, such as a USB flash disk, no additional drivers are needed.
B): No other drivers need to be installed and are not even available. If you continue to have problems with your external box (adapter / docking station), check out more tips that can help you troubleshoot problems.
A): If the external box (adapter / docking station) is not displayed in "Device Manager", there may be a USB port malfunction. It is also possible that your computer has a poor power supply to USB ports and the power is not sufficient to operate an external box (you can detect by listening that HDD is not spinning). This is a problem especially for older computers, where the source part already works at the limit of its parameters. In this case, it would help to use a USB hub, with an auxiliary power supply, by which the external box (adapter / docking station) would be connected to the computer.
B): Try plugging the external box (adapter / docking station) into another USB port, preferably on the back of your PC. The external box (adapter / docking station) should be detected and the drivers loaded automatically. If the problem persists, plug the external box (adapter / docking station) into the USB port of another computer to verify its functionality.
A): If this happens, it means that the operating system failed to get the necessary information to install the drivers.
B): The cause may be a defective USB cable or damaged device. If the problem persists, plug the external box (adapter / docking station) into the USB port of another computer to verify its functionality.
A): If this happens, it means that the Windows operating system did not assign a drive letter to the new storage device.
B): If the drive letter is not assigned, open "Disk Management", right-click on the desired drive and manually assign the drive letter. If the drive letter can not be assigned to the disk, it is possible that the disk is formatted as "dynamic". If you want to keep disk data, connect it to the original device and make a backup of the disk. Then convert it to a normal disk, initialize it to MBR (or GPT, see other points), and then perform Low Level Format (e.g. using the Low Level Format Tool)
A): The newly purchased disk must be initialized before first use.
B): If the new disk is not initialized automatically, open "Disk Management", right-click on the desired disk and initialize it.
A): By initializing the disk, you can set the mode in which the hard disk will work.
B): You can use the partition with the master boot record (MBR) or the GUID partition table (GPT). For disk up to 2TB, use the MBR option, we recommend selecting GPT on a larger disk than 2TB. Subsequently, the initialized disk should be formatted.
A): If the external box (adapter / docking station) with a 3.5“ HDD is not displayed in "Device Manager ", the inserted disk may not be powered.
B): Make sure you have the power supply plugged in and the external box (adapter / docking station) turned on with the power switch. If the disk is properly powered, it should spin (can be detected by listening).
A): The AXAGON external boxes (adapters / docking stations) are always equipped with the latest firmware to support disks of all capacities.
B): The 2TB limit is given as the maximum partition size when initializing a disk with the master boot record (MBR). If you want to create a larger partition on the HDD stored in the external box (e.g. 3TB or more), you must select the GUID partition table (GPT) when initializing the disk. Subsequently, the initialized disk should be formatted.
A): The external AXAGON boxes (adapters / docking stations) support the USB Mass Storage protocol making it easy to connect to TV.
B): When using a disk larger than 2TB, some TVs do not support GPT format. In such case, MBR format must be used when initializing a disk.
A): For proper spin-down setting, this feature must be supported by all components that are in the path between the operating system and the HDD, i.e. the USB controller, box electronics, and the disk itself. The spinning down of idle disks is set up by the operating system, but it is very complicated.
B): We recommend setting up using one of the freeware programs, where the procedure is mostly simplified. E.g. by HDDScan (http://hddscan.com/). The program has the ability to verify whether the disk and all components in the path support the feature. Select "Spindown" to test an immediate spin down of the disk. Set up the spindown time using a slider in the "Power Management" section.
A): Check if the M.2 disk type is NVMe (neither SATA M.2 drives nor mSATA drives are covered by this box)
B): Update the firmware of your NVMe M.2 drive using the manufacturer's utility
C): Update the firmware of the external box - download link
In the ACTIVE profile, set the hard drive sleep time for battery and mains power to 0 minutes / Never.
A) Path in Windows 10: Settings > System > Power & Sleep > Additional power settings > in the ACTIVE profile Change Schema Settings> Change advanced power settings > Hard drive > Turn off hard disk after
B) Path in Windows 11: Search for: Control Panel > Hardware and Sound > Power Options > in the ACTIVE profile Change Schema Settings> Change advanced power settings > Hard disk > Turn off hard disk after.
AXAGON M.2 SSD disk adapter is let say only HW connector change from M.2 into PCI-Express or SATA. Adapter itself do not have controller electronics and need no drivers. It is necessary to check M.2 disk driver availability for older OS like Windows 7.
Proper M.2 adapter function requires:
- computer mainboard support M.2 disks – SATA disks are more often supported than NVMe disks,
- computer mainboard support booting from PCI-Express bus – in case of OS installation to M.2 NVMe disk,
- driver availability for M.2 SSD disk – apply especially for NVMe disks on Windows 7 OS.
Please contact the motherboard manufacturer's technical support to determine support for motherboard M.2 drives. In some cases updating the BIOS/UEFI is sufficient.
Check the M.2 SSD driver availability on the manufacturer's website or contact the disk manufacturer's technical support.
The disks connected to the SATA motherboard controller are usually displayed In BIOS/UEFI. The NVMe disk is usually displayed in the "Disk Boot Order" menu.
This applies when the requirements of "Prerequisites for proper M.2 function" are met.
A): If the PC does not run with the card or the card is mistakenly detected in “Device Manager”, or if there is a yellow exclamation mark on the driver, or if “Device Manager” reports an error code “Code 10 - The device cannot start”, the card is in conflict with another device in your computer.
B): In most cases, this conflict can be solved by moving the card to another PCI (PCIe) slot, with the BIOS assigning other free resources to the card. If the move does not help, try the card separately, with no additional cards inserted. If the card cannot be moved to another slot, you can reset the BIOS of the computer (by jumper on the board or pulling out the backup battery, we recommend that you note all the original settings and reset everything to the required values). This will cause the IRQ, DMA, and I/O resources to be redistributed.
A): If the network card is not displayed in "Device Manager", a USB port (or a PCIe slot in the event of an internal network card) may be malfunctioning.
B): Try plugging the network card into another USB port (or another PCIe slot on the PC motherboard in the event of an internal network card, or temporarily disconnect all other PCIe cards). The network card should be detected and you should be prompted to install the drivers. If the problem persists, plug the network card into the USB port (PCIe slot) of another computer to verify its functionality.
A): The newly purchased disk must be initialized before first use.
B): If the new disk is not initialized automatically, open "Disk Management", right-click on the desired disk and initialize it.
A): First, try moving the card to another PCI-e slot in case there is a device conflict. The issue could also be caused by a poor-quality or damaged SATA cable.
B): Check whether your SSD partition is properly aligned (using a program that displays this information, e.g., ASS SSD Benchmark). More information about this issue can be found here: http://pctuning.tyden.cz/software/ladeni-windows/17030-optimalizace-windows-7-pro-ssd-co-funguje-a-co-ne?start=2
A): By initializing the disk, you can set the mode in which the hard disk will work.
B): You can use the partition with the master boot record (MBR) or the GUID partition table (GPT). For disk up to 2TB, use the MBR option, we recommend selecting GPT on a larger disk than 2TB. Subsequently, the initialized disk should be formatted.
Test
A): The lead time is naturally longer by the time it takes to detect the controller and connected disks. The start time can be shortened in the MB BIOS by enabling the "Quick Boot" feature. For newer boards, this feature is labeled "Fast boot". The lead time depends, of course, also on the disk used for the SSD/HDD operating system and the number of peripherals connected to the computer.
B): In the case of newer motherboards, it is more practical to use the spin down (instead of turn off) feature.
A): The ADSA-ST clones disks bit by bit, regardless of their content. This creates an identical copy of the disk. A requirement for cloning is that the source disk must not contain any bad sectors (otherwise, the cloning process will stop). If the target HDD is smaller than the source HDD, cloning will not start.
B): For cloning, the target HDD must be the same size or larger than the source HDD. If the target HDD is larger than the source HDD, a partition equal to the size of the source HDD will be created on the target disk, and the remaining space will stay unallocated. After cloning, you can extend the partition to include the unallocated space or create a new partition using Windows Disk Management.
A): The connectors are compatible, but inside the USB 3.0 connector has five more contacts. The USB 3.2 Gen 1 (USB 3.0) connector is usually identified by the use of blue (exceptionally black) plastic.
B): The main difference is the speed of data transmission. USB 2.0 reaches a maximum speed of about 30 MB/s, while USB 3.2 Gen 1 (USB 3.0) is able to achieve a theoretical speed of up to 600 MB/s. If you place a disk in the external box that has a read speed of 120 MB/s, you can only get a quarter speed, that is about 30 MB/s, in the box with USB 2.0.