Product code: ADSA-M2C
Category: Docking station for drives , Disk accessories , All products
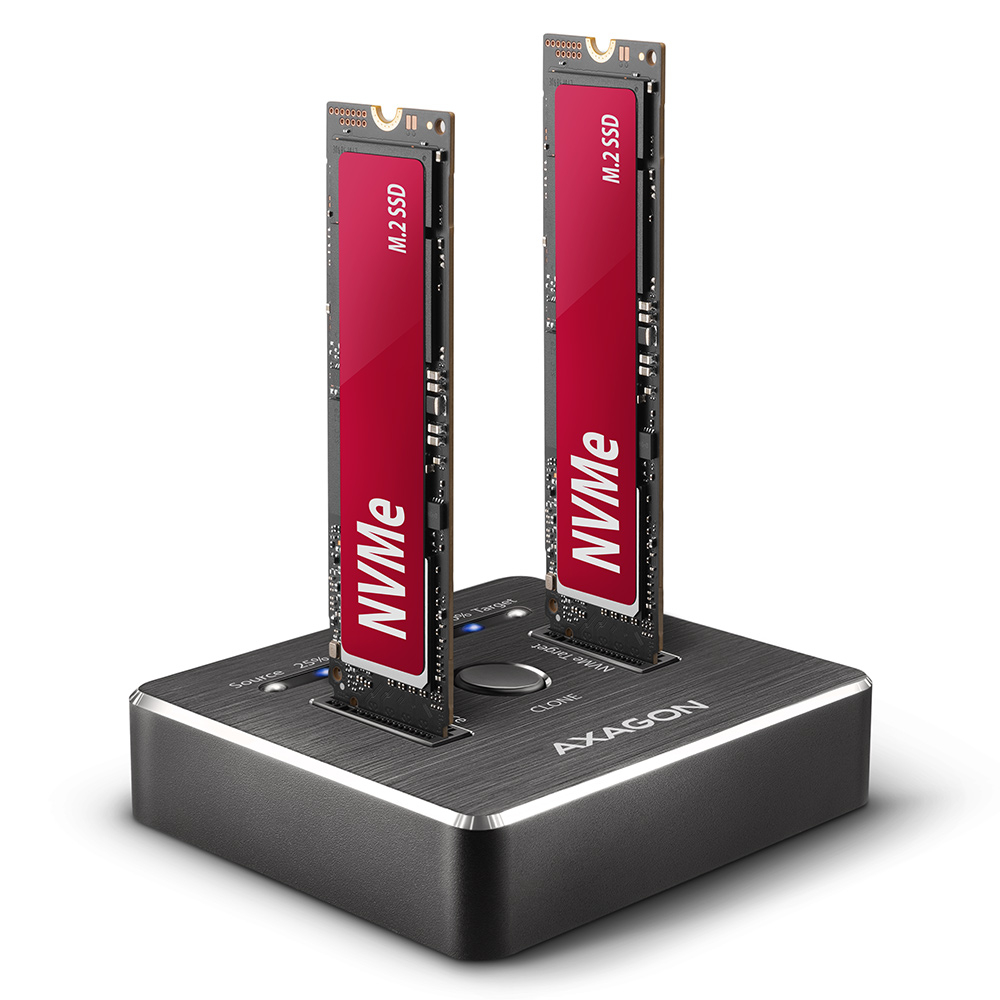
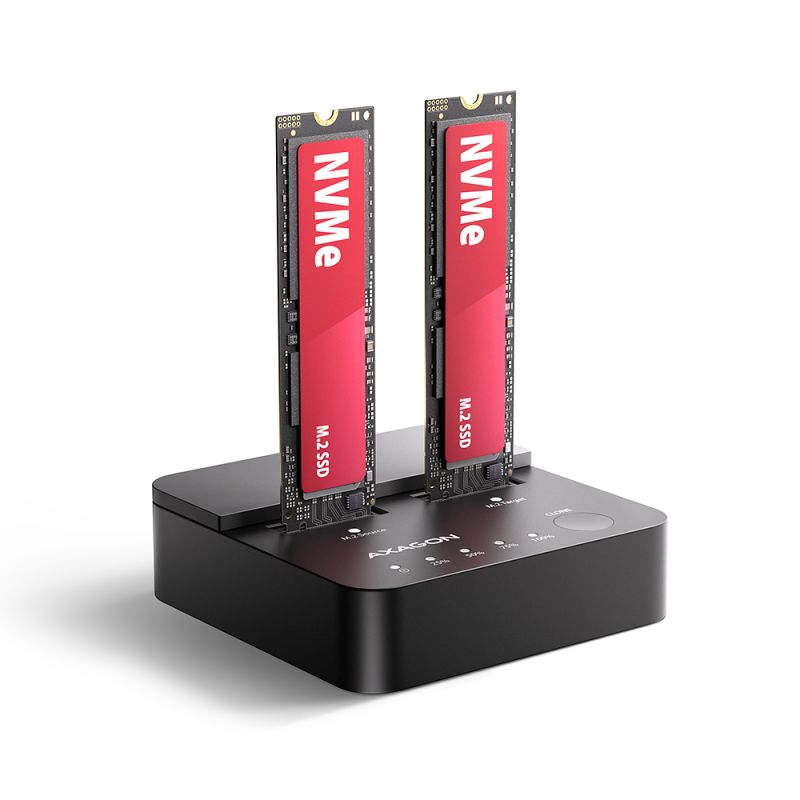
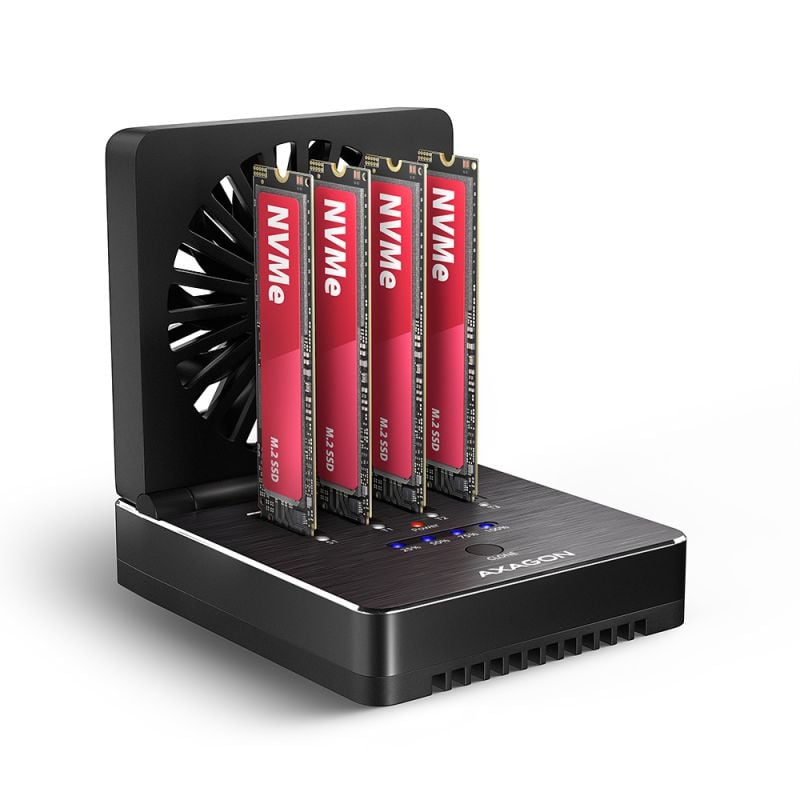
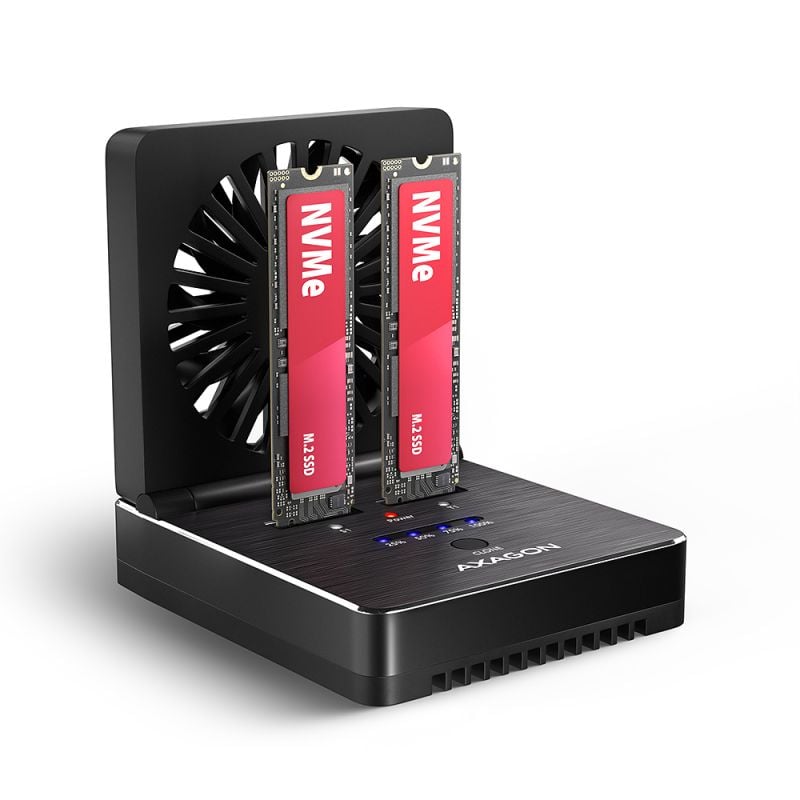
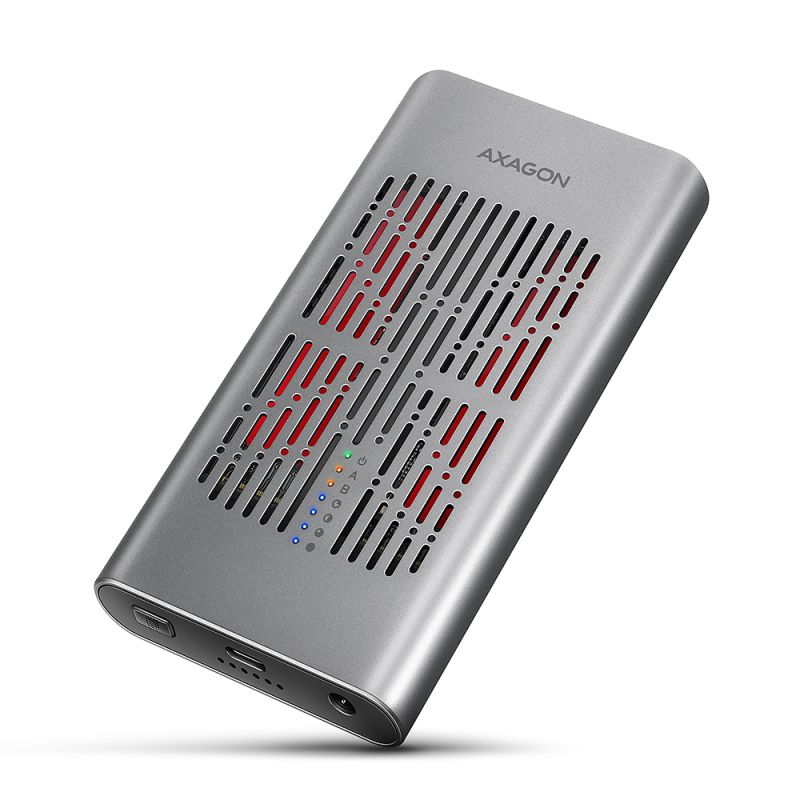
The fast AXAGON ADSA-M2C CLONE MASTER docking and cloning station with USB-C 10Gbps interface for working with up to two NVMe M.2 SSD drives. Cloning can be performed without connecting to a computer, from one source drive to another target drive. After connecting to a computer, you get up to two new storage drives at once. The station solves situations where you need to quickly format, erase, test, or prepare NVMe drive - for example during data migration, system installation, servicing, or backup. Stable operation is ensured by a chipset that maintains performance even under long-term load with minimal thermal throttling. A USB-C and USB-A 10Gbps cable is also included in the package.
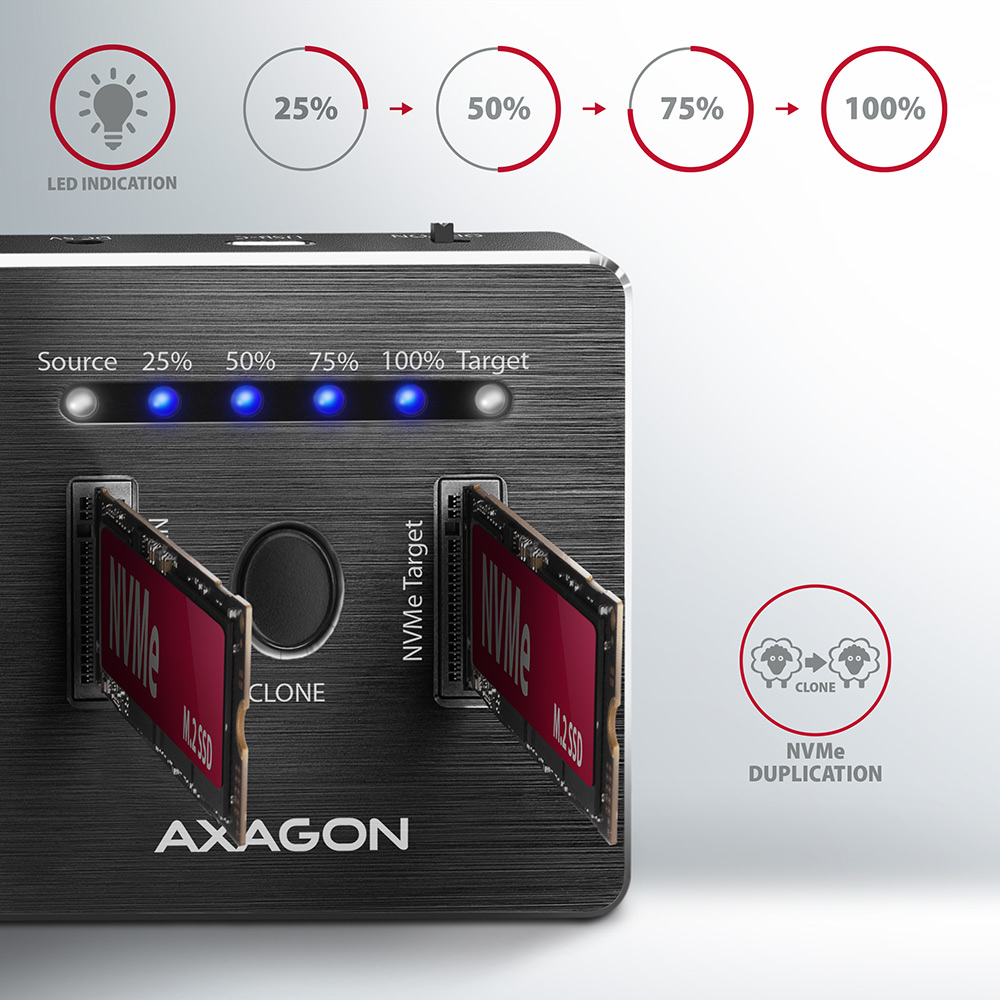
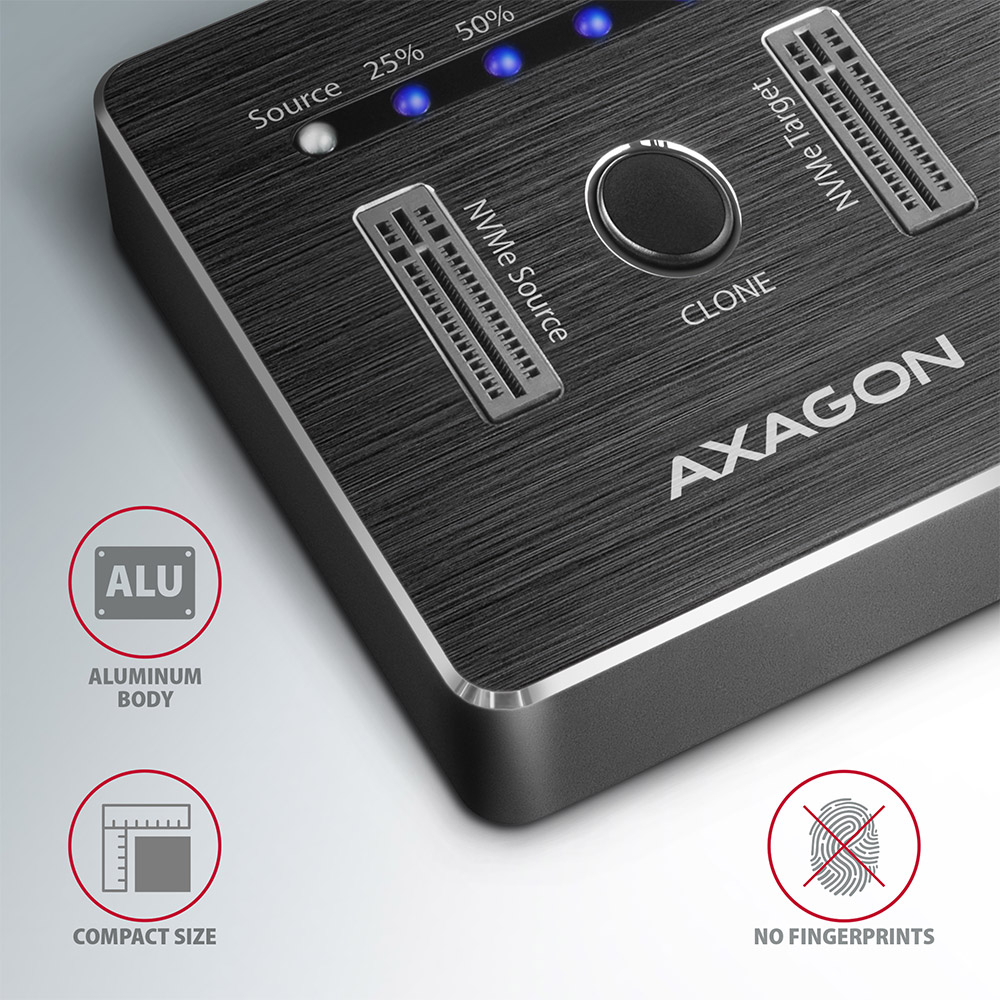
The station allows you to clone one NVMe M.2 SSD to another drive without using a computer or laptop. Simply insert the source drive into the NVMe Source slot and the target drive into the NVMe Target slot, start cloning with the button, and monitor the progress on the LED indication. Thanks to standalone cloning without operating system intervention, the process is safe and stable - the data is not affected by OS intervention. Button activation also minimizes the risk of an unwanted operation. The result is an exact copy of the drive including the operating system (Windows, macOS, Linux). The station clones the entire drive content block by block (LBA), so the cloning time depends on the capacity of the source drive, not on the amount of stored data. The target drives must have the same or higher capacity than the source drive.
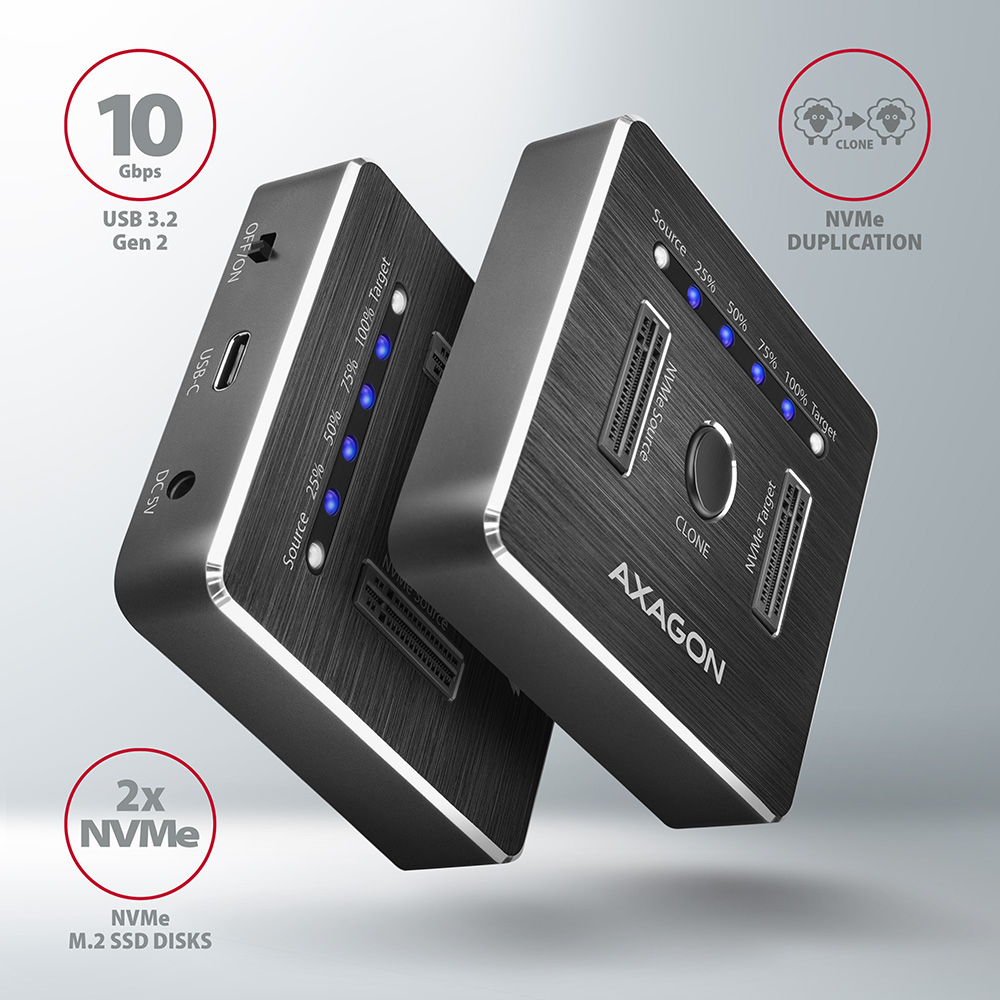
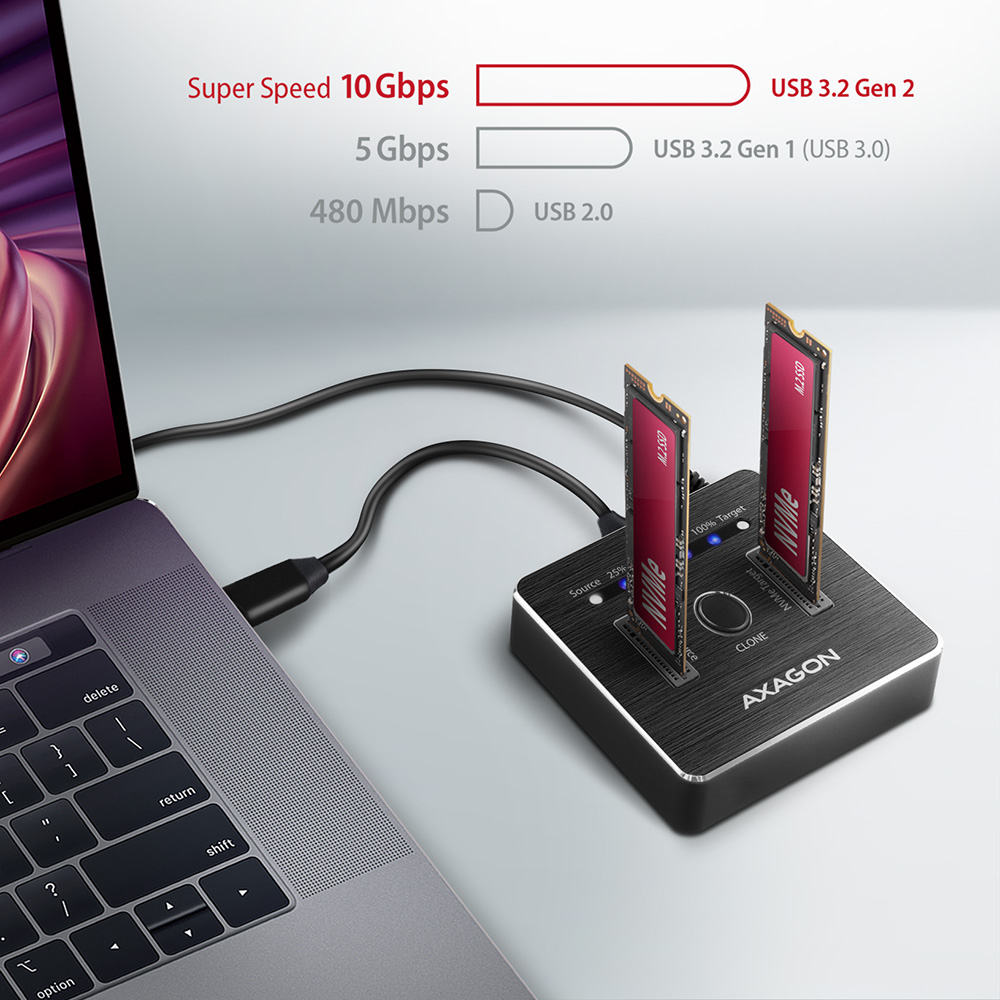
The USB 10Gbps (USB 3.2 Gen 2) interface offers a theoretical throughput of up to 10 Gb/s. The station performance is optimized for working with multiple SSD drives simultaneously, whether during cloning, data transfer, or everyday use. The achieved speed also depends on the type and generation of the M.2 SSD drives used. At the heart of the station is the modern ASMedia ASM2362 chipset, which helps maintain a stable transfer speed even under high load and during long-term operation. The result is smooth data transfer without significant fluctuations and efficient use of the performance of the connected SSD drives.
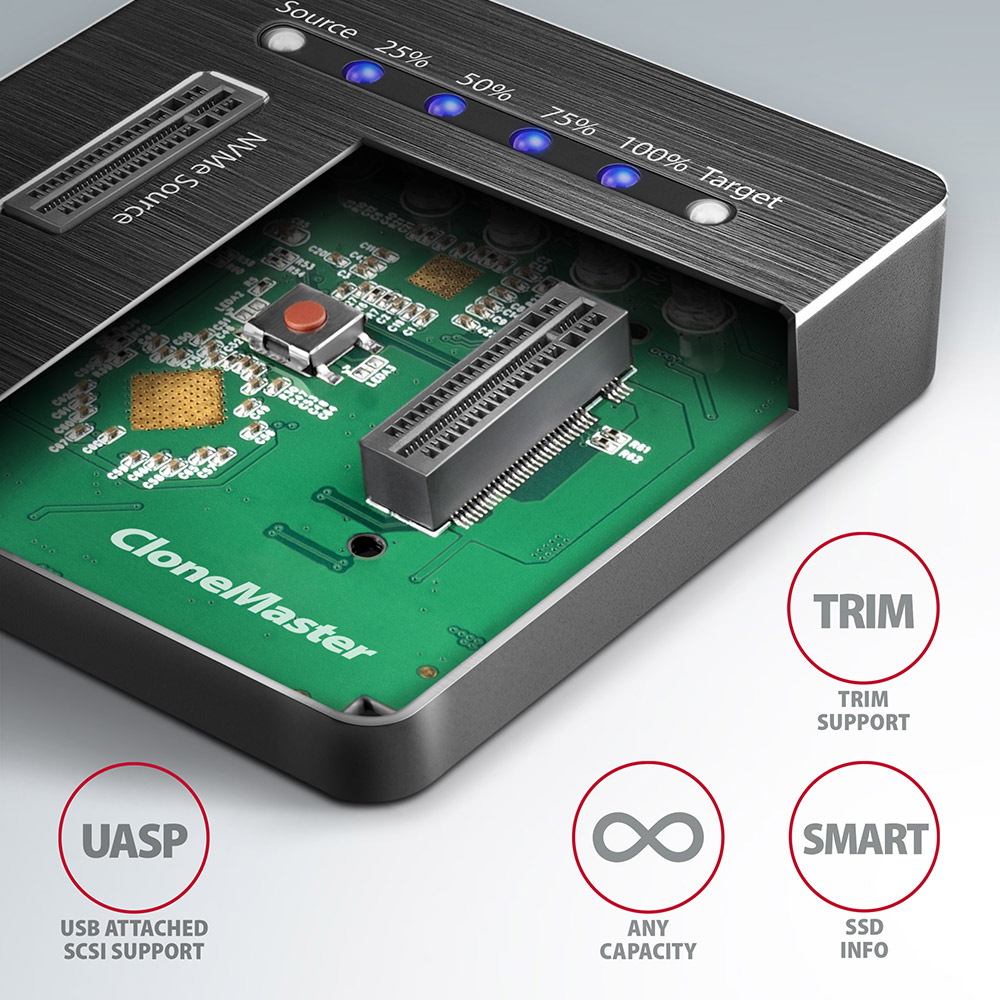
After connecting to a computer, both inserted drives appear as separate drives that you can work with independently and simultaneously, copy data, or use for storage management. The open design allows quick SSD replacement without screws, saving time when working with multiple drives. The two slots also make it possible to set up a software RAID, for example for higher data protection in Windows and macOS. To configure this protection, use the "Storage Spaces" tool in Windows or "RAID Assistant" in Disk Utility in macOS. The station is compatible with other USB standards and Thunderbolt 3, 4, 5 interfaces. It supports NVMe M.2 SSD drives with no capacity limitation and modern UASP, TRIM (NVMe DEALLOCATE), and S.M.A.R.T. technologies. Plug and Play and power-saving mode support are a matter of course.
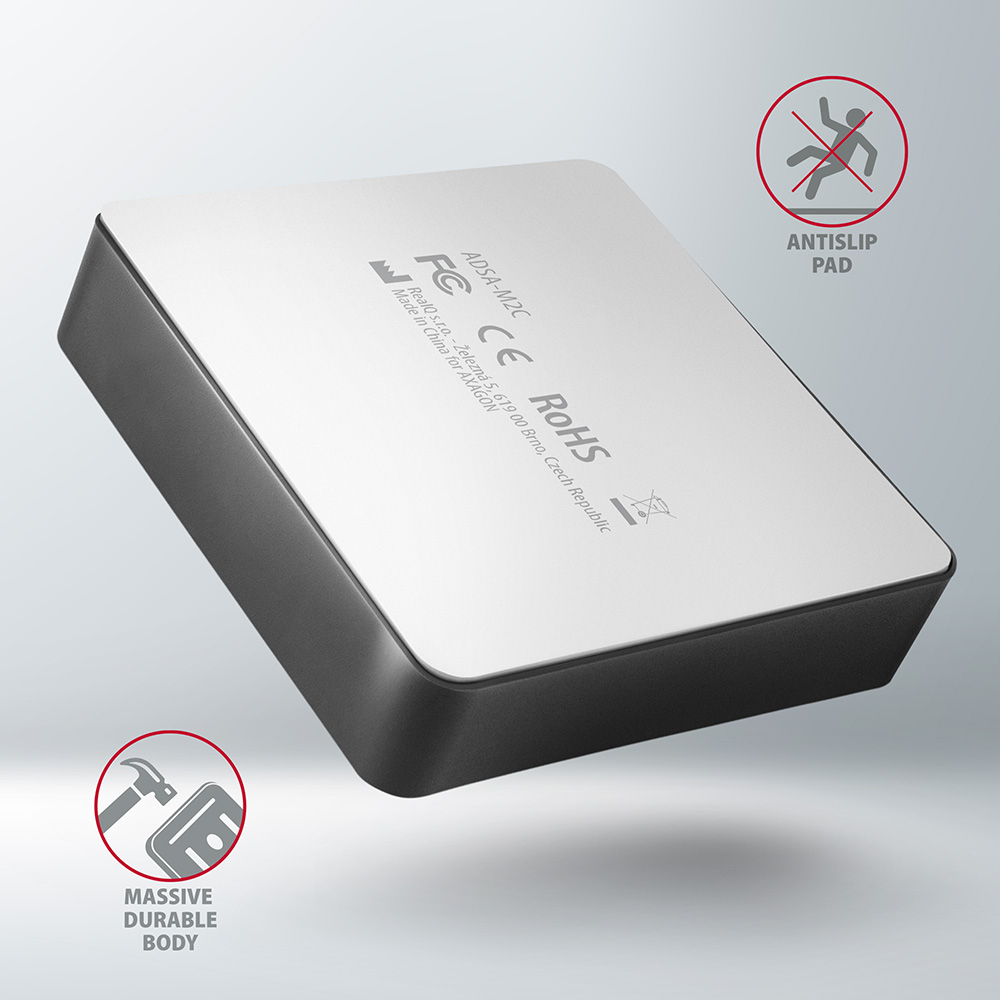
When working with NVMe SSD drives, the entire docking station is exposed to a higher thermal load. The aluminum body helps efficiently dissipate heat generated during station operation and contributes to better thermal stability of the device. The robust metal construction also supports reliable operation during long-term use and intensive data transfer. The rubberized bottom part reduces sliding of the station on the desk and ensures better stability during use.
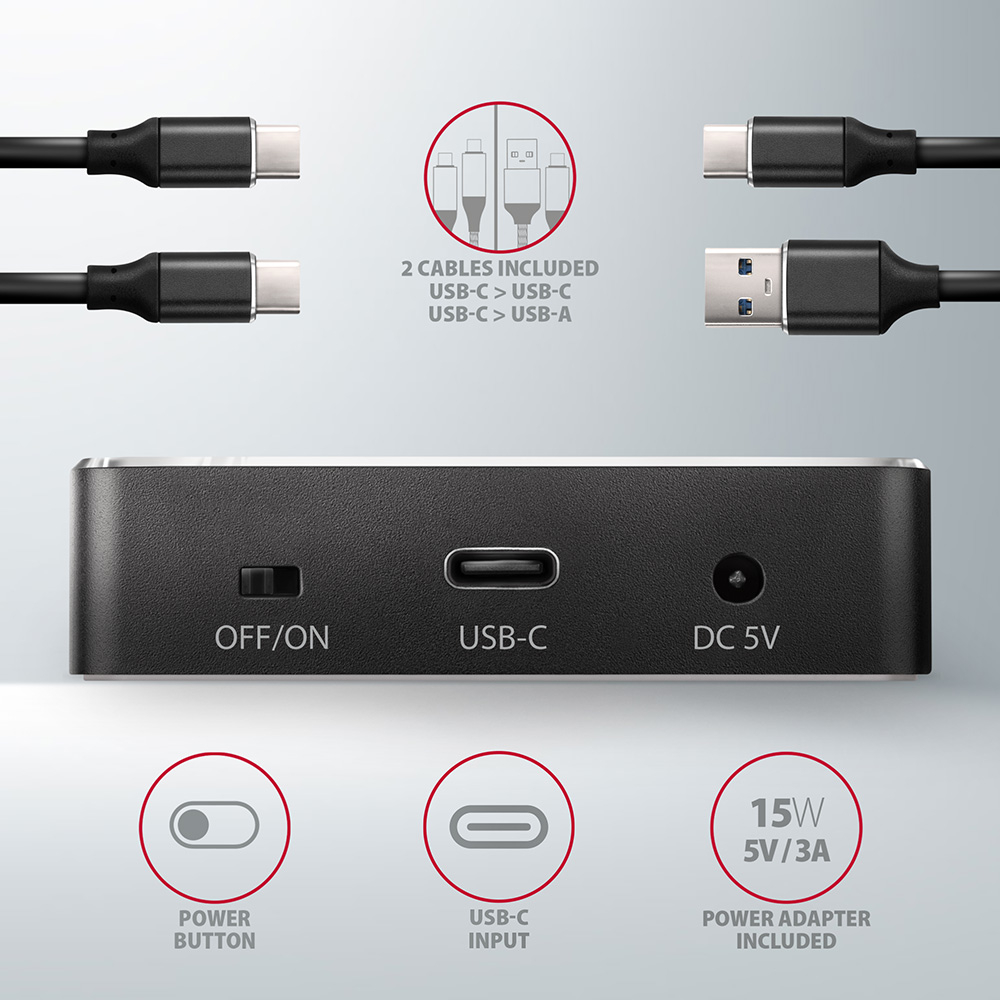
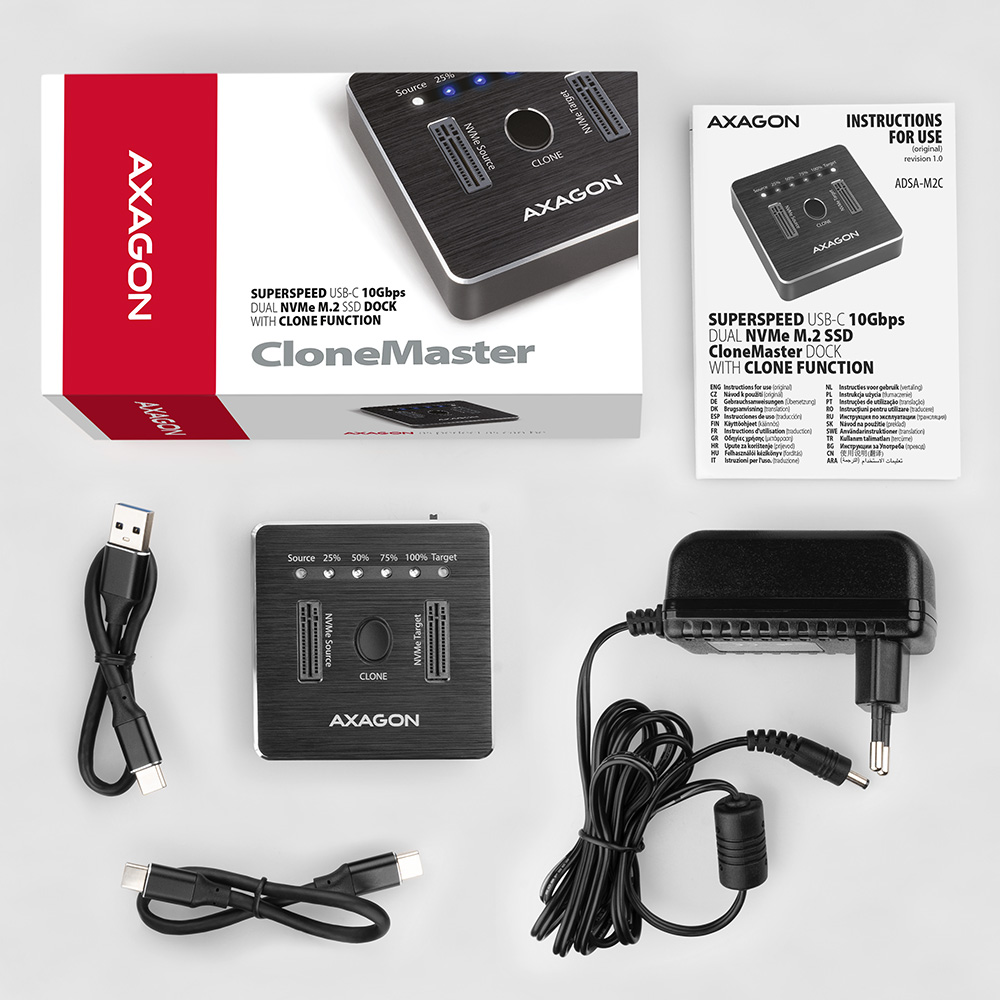
Cloning station, USB-C and USB-A 10Gbps cable for connecting to a computer, external power adapter and multilingual manual.
Input:
• USB 10Gbps (USB 3.2 Gen 2), USB-C female connector.
• Compatible with USB 5Gbps, USB 20Gbps, USB 40Gbps, Thunderbolt 3 / 4 / 5.
Device support:
• 2× NVMe M.2 SSD drives.
• Designed for M key or B+M key cards.
• 2× NGFF 75-pin M key slot for M.2 drives.
• No maximum drive capacity limitation.
Drive content cloning function:
• Cloning takes place without connecting the station to a computer.
• NVMe Source slot - for connecting the source drive.
• NVMe Target slot - for connecting the target drive.
• The target drive must have the same or larger capacity than the source drive, otherwise cloning cannot be started.
• SSD cloning speed up to 1000 MB/s.
• The total drive cloning time depends on the speed of the drives used and the capacity of the source drive, not on the amount of data on the drive.
• Approximate cloning time for 1 TB of data: 1->1 drive approx. 18 min (tested with a PCIe 4.0 NVMe M.2 SSD with speed over 4000 MB/s and large cache memory).
USB 10Gbps chipset for NVMe M.2 SSD:
• ASMedia ASM2362 chipset.
• Maximum docking station throughput up to 10 Gbit/s.
• When working with both drives simultaneously, performance is shared up to 5 Gbit/s for each drive.
Maximum theoretical supported speeds and compatibility with USB controllers (ports):
• Laptop / PC with USB 10Gbps (USB 3.2 Gen 2) port: max. speed 10 Gbit/s.
• Laptop / PC with USB 5Gbps (USB 3.2 Gen 1 / USB 3.0) port: max. speed 5 Gbit/s.
• Compatibility with USB 20Gbps, USB 40Gbps, Thunderbolt 3 / 4 / 5 ports: max. speed 10 Gbit/s.
• The real throughput / transfer speed of the docking station around 1000 MB/s (1 GB/s) is given by the limits of the USB 3.2 Gen 2 interface.
Other features:
• Support for M.2 drive sizes - 2230, 2242, 2260, 2280, 22110 mm.
• Support for single-sided and double-sided M.2 SSD drives.
• Compliant with PCI Express Base Specification Revision 3.1a.
• Compliant with NVM Express 1.3c Specification.
• Compliant with USB Mass Storage Class Specification.
• BOT (Bulk-Only Transport) support.
• UASP (USB Attached SCSI) support for faster data transfer in Windows 8 and later.
• TRIM command support (via UNMAP and NVMe DEALLOCATE operations) to limit gradual degradation of SSD performance over time.
• S.M.A.R.T. (Self-Monitoring, Analysis, and Reporting Technology) support, a system monitoring drive condition.
• SSD boot support.
• Full Plug and Play support.
• Higher surface temperature of the docking station is not a defect - thanks to the aluminum body, heat generated by drive operation is dissipated better and transferred to the surroundings.
• Compatible with software Windows RAID (Storage Spaces) and macOS RAID (Disk Utility RAID Assistant).
Other information:
• Docking station dimensions 68 × 68 × 17 mm (W × D × H).
• Docking station weight 94 g (without cable, without drive).
Power:
• Power supply using the included external AC/DC adapter 5V-3A with 150 cm long cable.
LED indication:
• 2× LED diode (Source, Target) for each drive indicates its connection (permanent light) and data transfer (blinking).
• 4× LED diode indicating the gradual cloning progress 25 % - 50 % - 75 % - 100 %. After cloning is complete, the diodes remain permanently lit.
Supported operating systems:
• Windows 8.1 / 10 / 11 and later, macOS, iPadOS, iOS, Linux, Chrome OS and Android.
• Compatibility depends on the updated operating system and support from the device manufacturer.
Package contains:
• USB-C 10Gbps docking station for 2x NVMe M.2 SSD,
• USB-C / USB-C cable length 25 cm,
• USB-C / USB-A cable length 25 cm,
• power adapter 100-240V / 5V-3A,
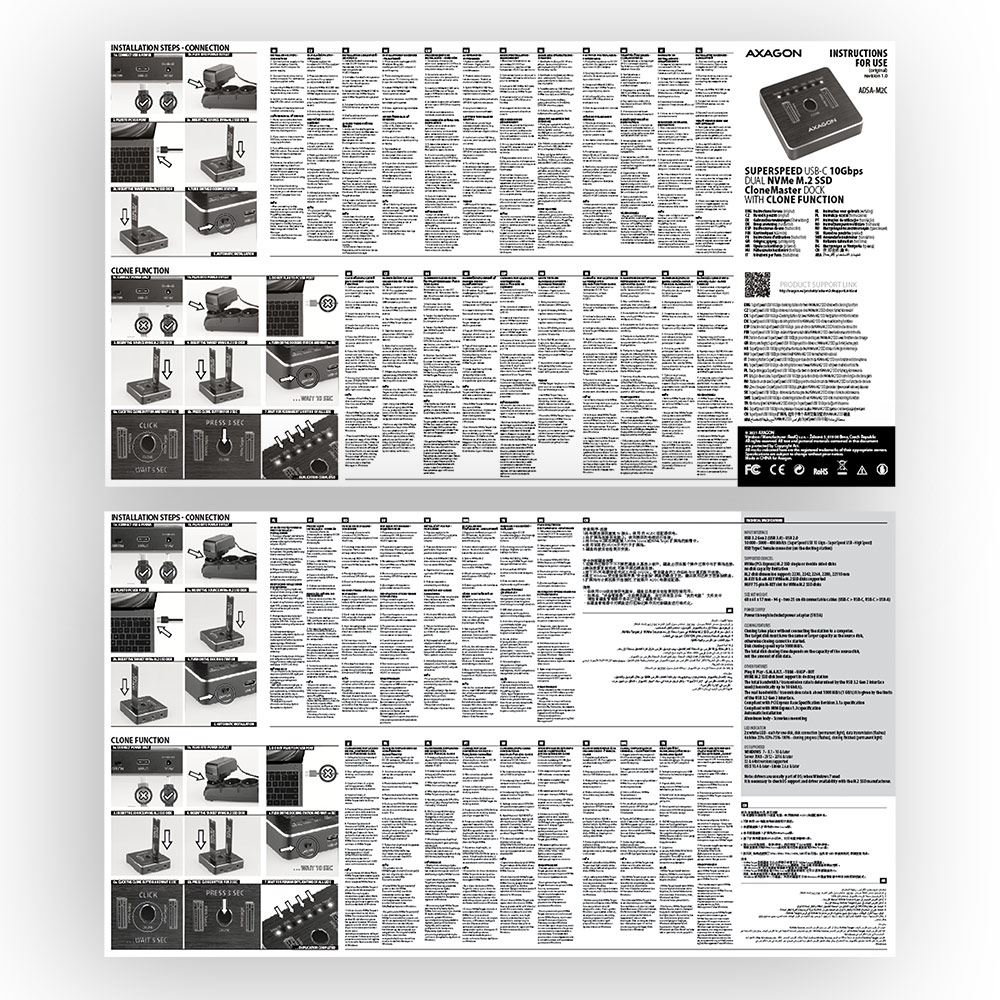
• multilingual manual CZ / DE / DK / ENG / ESP / FIN / FR / GR / HR / HU / IT / NL / PL / PT / RO / RU / SK / SWE / TR / BG / CN / ARA,
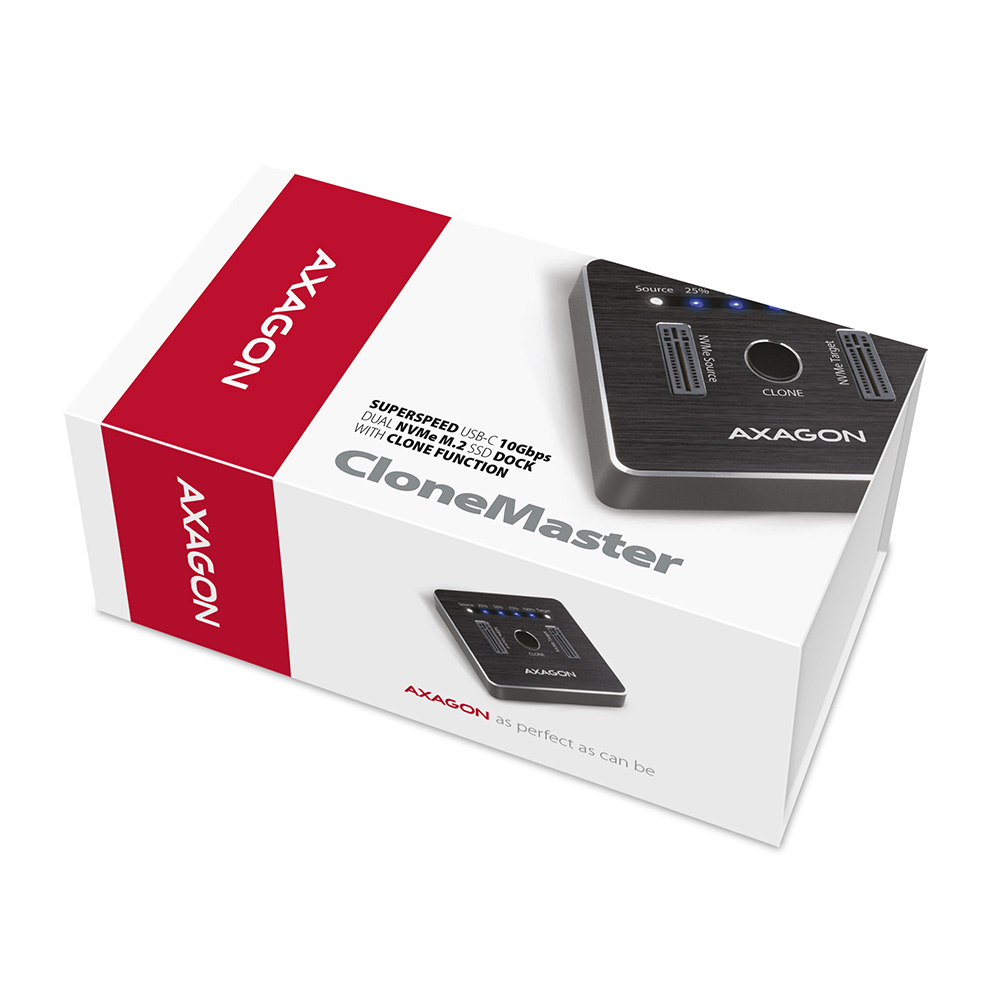
• packed in a cardboard box.

- USB-C 10Gbps docking station for 2x NVMe M.2 SSD
- USB-C / USB-C cable length 25 cm
- USB-C / USB-A cable length 25 cm
- power adapter 100-240V / 5V-3A
- multilingual manual
- printed installation manual CZ / DE / DK / ENG / ESP / FIN / FR / GR / HR / HU / IT / NL / PL / PT / RO / RU / SK / SWE / TR / BG / CN / ARA
- cardboard box
- package dimensions: 17 × 9.3 × 6.5 cm
- weight of 1 pc package: 353 g
- EAN: 8595247906496
- number of pieces in the box: 40
- total weight of the box: 14.9 kg G.W.
- box dimensions: 38.5 × 35.2 × 35 cm
ADSA-M2C - Safety instruction - CZ / DE / DK / ENG / ESP / FIN / FR / GR / HR / HU / IT / NL / PL / PT / RO / RU / SK / SWE / TR / BG / CN / ARA
ADSA-M2C - installation instructions - CZ / DE / DK / ENG / ESP / FIN / FR / GR / HR / HU / IT / NL / PL / PT / RO / RU / SK / SWE / TR / BG / CN / ARA
A): Drivers are included with operating systems and are installed completely automatically. The external box (adapter / docking station) is detected as a standard storage device, such as a USB flash disk, no additional drivers are needed.
B): No other drivers need to be installed and are not even available. If you continue to have problems with your external box (adapter / docking station), check out more tips that can help you troubleshoot problems.
A): If the external box (adapter / docking station) is not displayed in "Device Manager", there may be a USB port malfunction. It is also possible that your computer has a poor power supply to USB ports and the power is not sufficient to operate an external box (you can detect by listening that HDD is not spinning). This is a problem especially for older computers, where the source part already works at the limit of its parameters. In this case, it would help to use a USB hub, with an auxiliary power supply, by which the external box (adapter / docking station) would be connected to the computer.
B): Try plugging the external box (adapter / docking station) into another USB port, preferably on the back of your PC. The external box (adapter / docking station) should be detected and the drivers loaded automatically. If the problem persists, plug the external box (adapter / docking station) into the USB port of another computer to verify its functionality.
A): If this happens, it means that the operating system failed to get the necessary information to install the drivers.
B): The cause may be a defective USB cable or damaged device. If the problem persists, plug the external box (adapter / docking station) into the USB port of another computer to verify its functionality.
A): If this happens, it means that the Windows operating system did not assign a drive letter to the new storage device.
B): If the drive letter is not assigned, open "Disk Management", right-click on the desired drive and manually assign the drive letter. If the drive letter can not be assigned to the disk, it is possible that the disk is formatted as "dynamic". If you want to keep disk data, connect it to the original device and make a backup of the disk. Then convert it to a normal disk, initialize it to MBR (or GPT, see other points), and then perform Low Level Format (e.g. using the Low Level Format Tool)
A): The newly purchased disk must be initialized before first use.
B): If the new disk is not initialized automatically, open "Disk Management", right-click on the desired disk and initialize it.
A): By initializing the disk, you can set the mode in which the hard disk will work.
B): You can use the partition with the master boot record (MBR) or the GUID partition table (GPT). For disk up to 2TB, use the MBR option, we recommend selecting GPT on a larger disk than 2TB. Subsequently, the initialized disk should be formatted.
A): The external AXAGON boxes (adapters / docking stations) support the USB Mass Storage protocol making it easy to connect to TV.
B): When using a disk larger than 2TB, some TVs do not support GPT format. In such case, MBR format must be used when initializing a disk.
Yes. Both Windows and macOS offer tools for creating software RAID. In Windows, this is the Storage Spaces tool; in macOS, it is the RAID Assistant in Disk Utility.
A): The ADSA-ST clones disks bit by bit, regardless of their content. This creates an identical copy of the disk. A requirement for cloning is that the source disk must not contain any bad sectors (otherwise, the cloning process will stop). If the target HDD is smaller than the source HDD, cloning will not start.
B): For cloning, the target HDD must be the same size or larger than the source HDD. If the target HDD is larger than the source HDD, a partition equal to the size of the source HDD will be created on the target disk, and the remaining space will stay unallocated. After cloning, you can extend the partition to include the unallocated space or create a new partition using Windows Disk Management.
A): If the external box (adapter / docking station) with a 3.5“ HDD is not displayed in "Device Manager ", the inserted disk may not be powered.
B): Make sure you have the power supply plugged in and the external box (adapter / docking station) turned on with the power switch. If the disk is properly powered, it should spin (can be detected by listening).
A): The AXAGON external boxes (adapters / docking stations) are always equipped with the latest firmware to support disks of all capacities.
B): The 2TB limit is given as the maximum partition size when initializing a disk with the master boot record (MBR). If you want to create a larger partition on the HDD stored in the external box (e.g. 3TB or more), you must select the GUID partition table (GPT) when initializing the disk. Subsequently, the initialized disk should be formatted.
A): The connectors are compatible, but inside the USB 3.0 connector has five more contacts. The USB 3.2 Gen 1 (USB 3.0) connector is usually identified by the use of blue (exceptionally black) plastic.
B): The main difference is the speed of data transmission. USB 2.0 reaches a maximum speed of about 30 MB/s, while USB 3.2 Gen 1 (USB 3.0) is able to achieve a theoretical speed of up to 600 MB/s. If you place a disk in the external box that has a read speed of 120 MB/s, you can only get a quarter speed, that is about 30 MB/s, in the box with USB 2.0.
A): For proper spin-down setting, this feature must be supported by all components that are in the path between the operating system and the HDD, i.e. the USB controller, box electronics, and the disk itself. The spinning down of idle disks is set up by the operating system, but it is very complicated.
B): We recommend setting up using one of the freeware programs, where the procedure is mostly simplified. E.g. by HDDScan (http://hddscan.com/). The program has the ability to verify whether the disk and all components in the path support the feature. Select "Spindown" to test an immediate spin down of the disk. Set up the spindown time using a slider in the "Power Management" section.
AXAGON M.2 SSD disk adapter is let say only HW connector change from M.2 into PCI-Express or SATA. Adapter itself do not have controller electronics and need no drivers. It is necessary to check M.2 disk driver availability for older OS like Windows 7.
Proper M.2 adapter function requires:
- computer mainboard support M.2 disks – SATA disks are more often supported than NVMe disks,
- computer mainboard support booting from PCI-Express bus – in case of OS installation to M.2 NVMe disk,
- driver availability for M.2 SSD disk – apply especially for NVMe disks on Windows 7 OS.
Please contact the motherboard manufacturer's technical support to determine support for motherboard M.2 drives. In some cases updating the BIOS/UEFI is sufficient.
Check the M.2 SSD driver availability on the manufacturer's website or contact the disk manufacturer's technical support.
The disks connected to the SATA motherboard controller are usually displayed In BIOS/UEFI. The NVMe disk is usually displayed in the "Disk Boot Order" menu.
This applies when the requirements of "Prerequisites for proper M.2 function" are met.
A): If the PC does not run with the card or the card is mistakenly detected in “Device Manager”, or if there is a yellow exclamation mark on the driver, or if “Device Manager” reports an error code “Code 10 - The device cannot start”, the card is in conflict with another device in your computer.
B): In most cases, this conflict can be solved by moving the card to another PCI (PCIe) slot, with the BIOS assigning other free resources to the card. If the move does not help, try the card separately, with no additional cards inserted. If the card cannot be moved to another slot, you can reset the BIOS of the computer (by jumper on the board or pulling out the backup battery, we recommend that you note all the original settings and reset everything to the required values). This will cause the IRQ, DMA, and I/O resources to be redistributed.
A): If the network card is not displayed in "Device Manager", a USB port (or a PCIe slot in the event of an internal network card) may be malfunctioning.
B): Try plugging the network card into another USB port (or another PCIe slot on the PC motherboard in the event of an internal network card, or temporarily disconnect all other PCIe cards). The network card should be detected and you should be prompted to install the drivers. If the problem persists, plug the network card into the USB port (PCIe slot) of another computer to verify its functionality.
A): By initializing the disk, you can set the mode in which the hard disk will work
B): You can use the partition with the master boot record (MBR) or the GUID partition table (GPT). For disk up to 2TB, use the MBR option, we recommend selecting GPT on a larger disk than 2TB. Subsequently, the initialized disk should be formatted.
A): The newly purchased disk must be initialized before first use.
B): If the new disk is not initialized automatically, open "Disk Management", right-click on the desired disk and initialize it.
A): If this happens, it means that the operating system failed to get the necessary information to install the drivers.
B): The cause may be a defective USB cable or damaged device. If the problem persists, plug the external box into the USB port of another computer to verify its functionality.
A): The newly purchased disk must be initialized before first use.
B): If the new disk is not initialized automatically, open "Disk Management", right-click on the desired disk and initialize it.
A): First, try moving the card to another PCI-e slot in case there is a device conflict. The issue could also be caused by a poor-quality or damaged SATA cable.
B): Check whether your SSD partition is properly aligned (using a program that displays this information, e.g., ASS SSD Benchmark). More information about this issue can be found here: http://pctuning.tyden.cz/software/ladeni-windows/17030-optimalizace-windows-7-pro-ssd-co-funguje-a-co-ne?start=2
A): By initializing the disk, you can set the mode in which the hard disk will work.
B): You can use the partition with the master boot record (MBR) or the GUID partition table (GPT). For disk up to 2TB, use the MBR option, we recommend selecting GPT on a larger disk than 2TB. Subsequently, the initialized disk should be formatted.
Test
A): The lead time is naturally longer by the time it takes to detect the controller and connected disks. The start time can be shortened in the MB BIOS by enabling the "Quick Boot" feature. For newer boards, this feature is labeled "Fast boot". The lead time depends, of course, also on the disk used for the SSD/HDD operating system and the number of peripherals connected to the computer.
B): In the case of newer motherboards, it is more practical to use the spin down (instead of turn off) feature.
A): Check if the M.2 disk type is NVMe (neither SATA M.2 drives nor mSATA drives are covered by this box)
B): Update the firmware of your NVMe M.2 drive using the manufacturer's utility
C): Update the firmware of the external box - download link