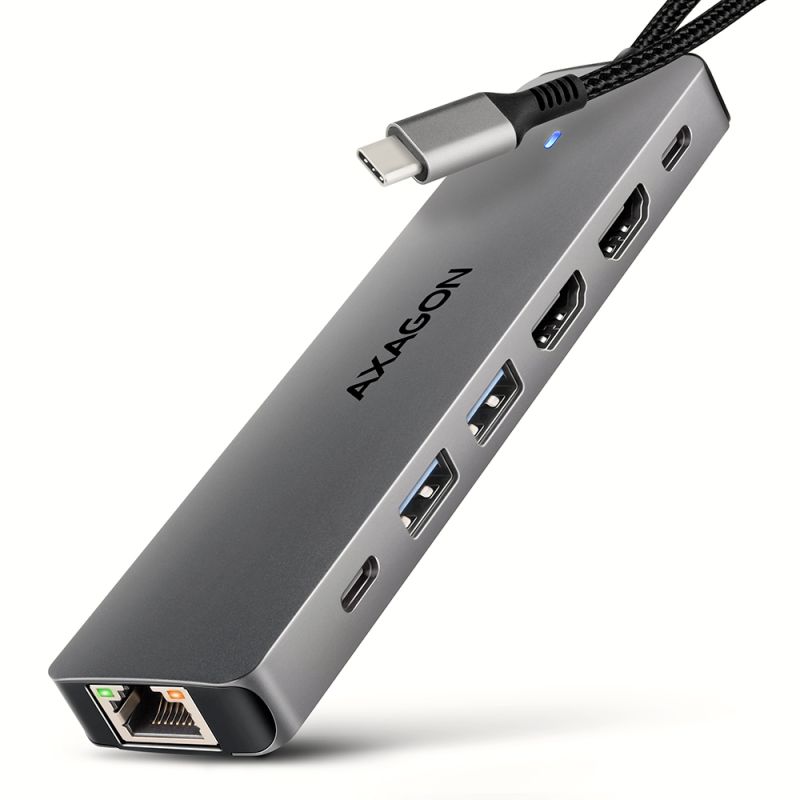
Product code: HMC-DL-KVM
Category: Docking stations , Combined & multipurpose , Multiple video outputs + LAN , All products
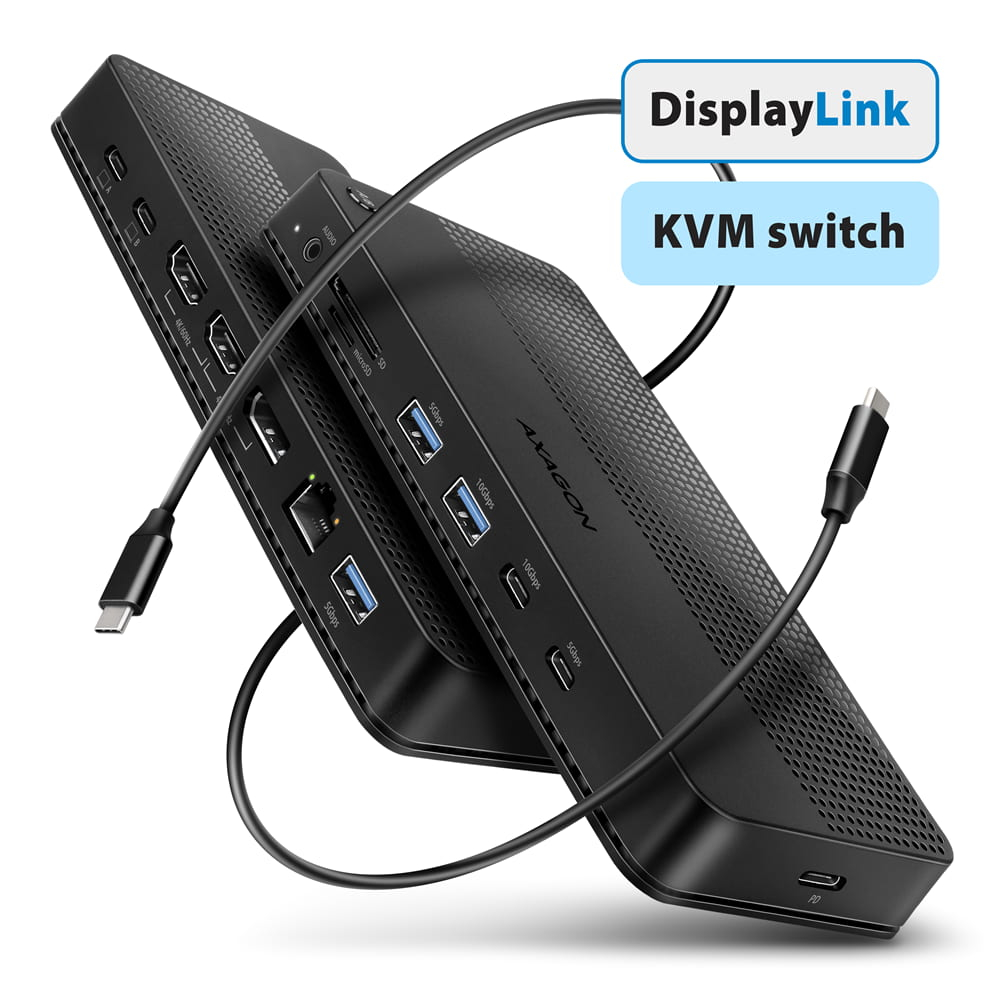
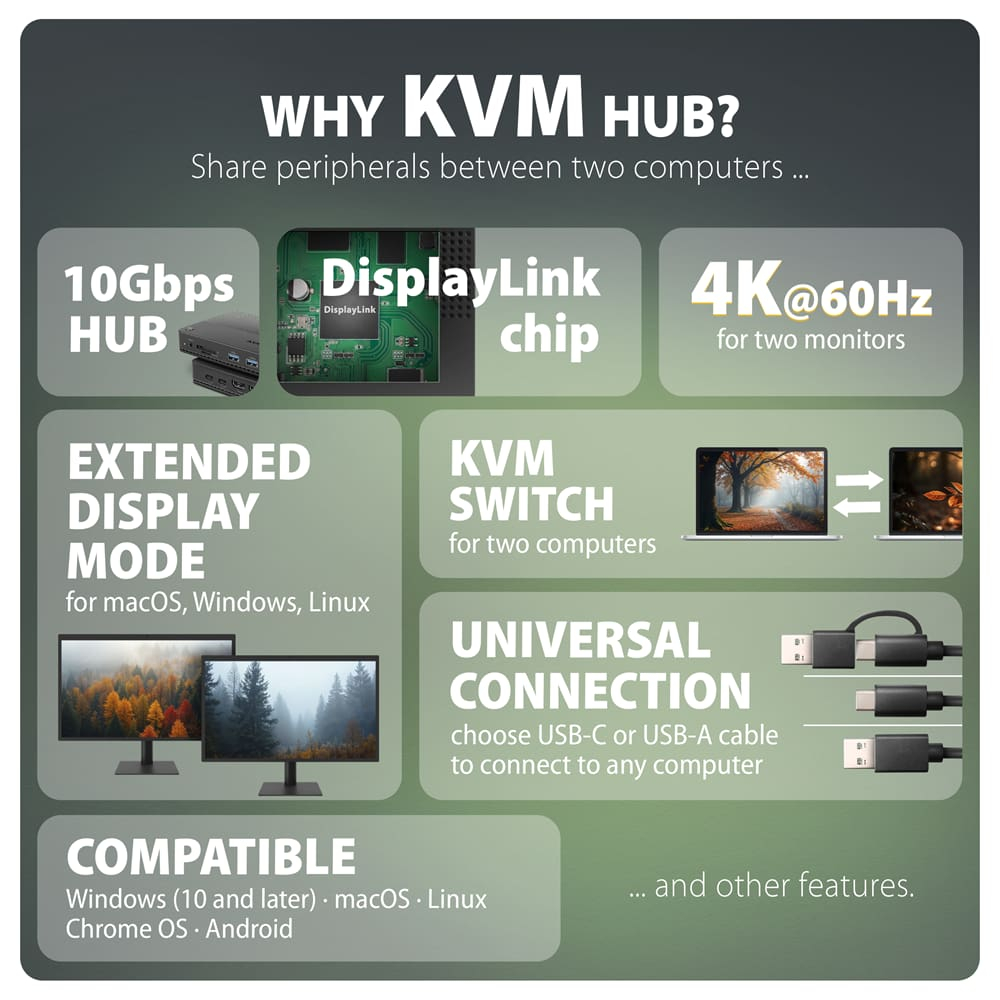
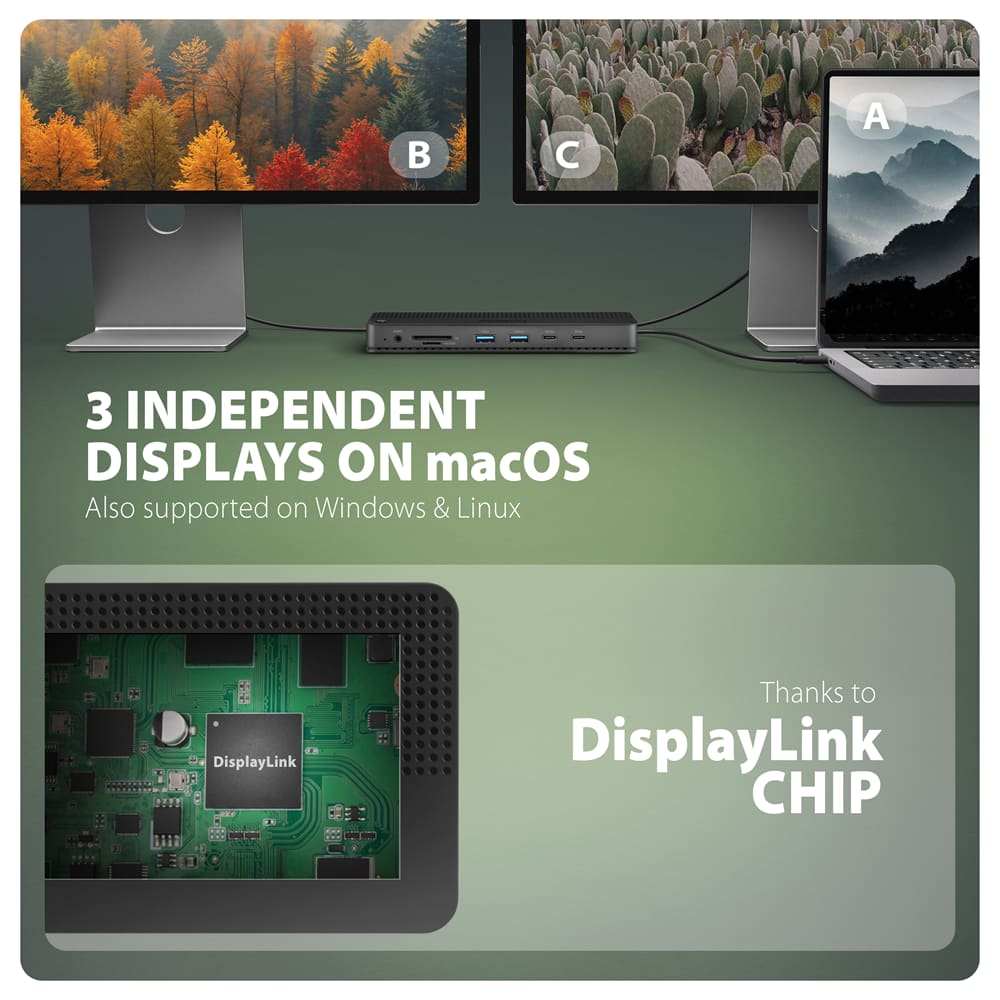
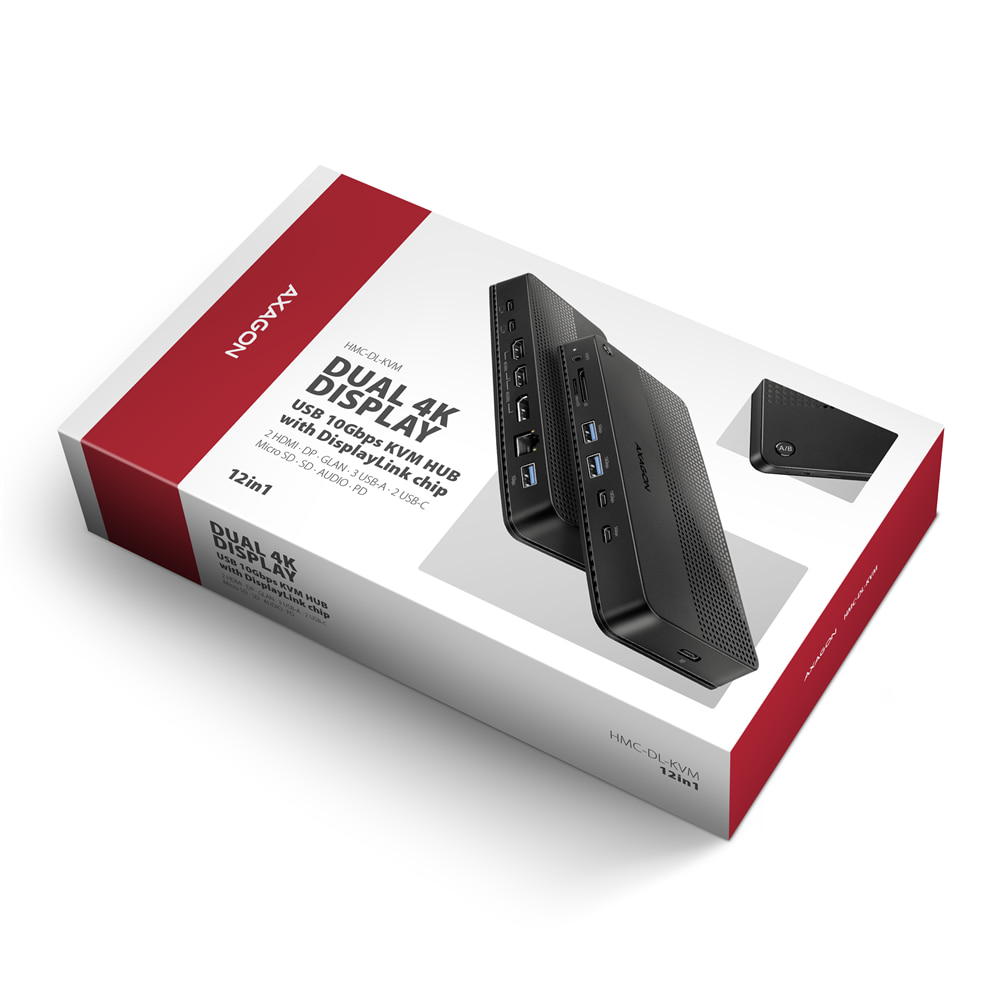
The multifunctional docking station AXAGON HMC-DL-KVM combines DisplayLink technology, a KVM switch, and a USB-C 10Gbps hub in one device. Thanks to DisplayLink, it supports connection of two independent external monitors with resolution up to 4K/60Hz, even for MacBooks that natively support only one external monitor, or PCs without DisplayPort Alt Mode support. The integrated KVM switch allows sharing a single workstation between two computers – for example, a work and a personal laptop, two company laptops, or a MacBook and a Windows PC. With the press of a button, you switch the monitors, keyboard, mouse, USB peripherals and network connection between computers without the need to reconnect cables. The setup is completed with Power Delivery up to 100 W to power the connected laptop.
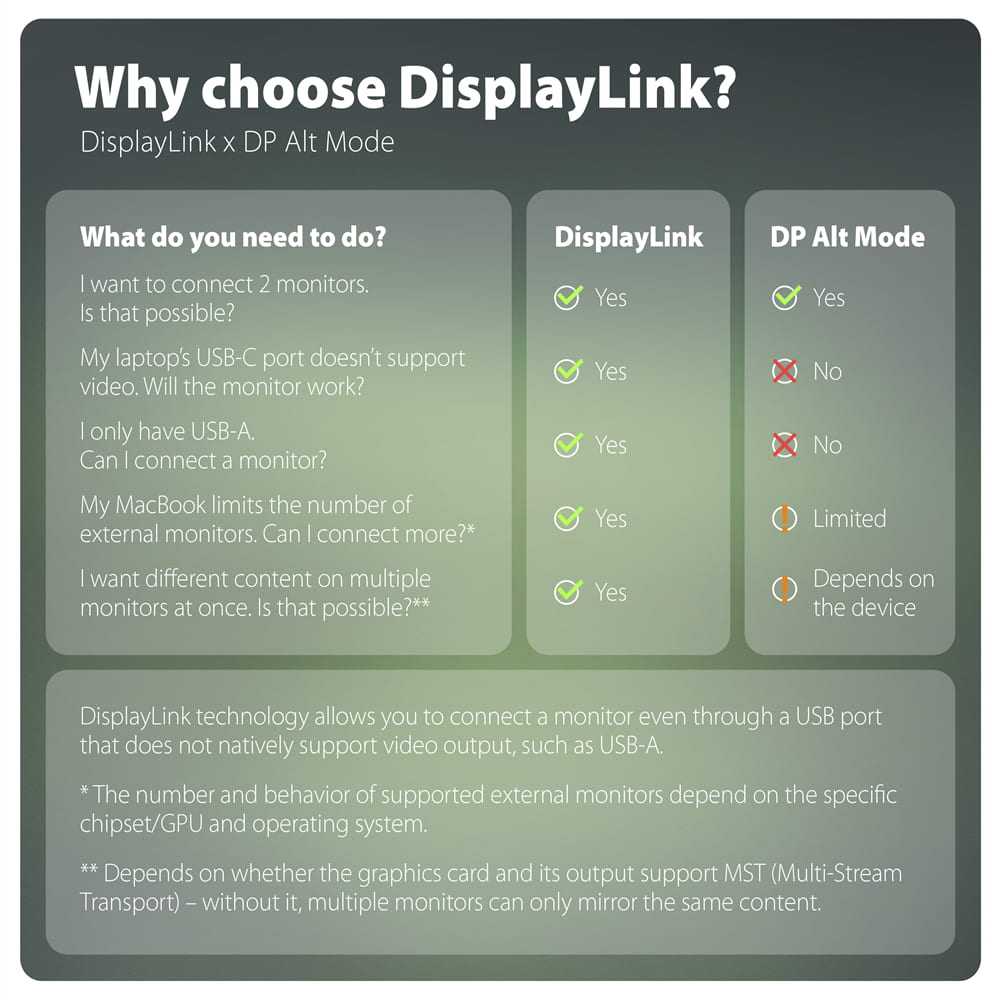
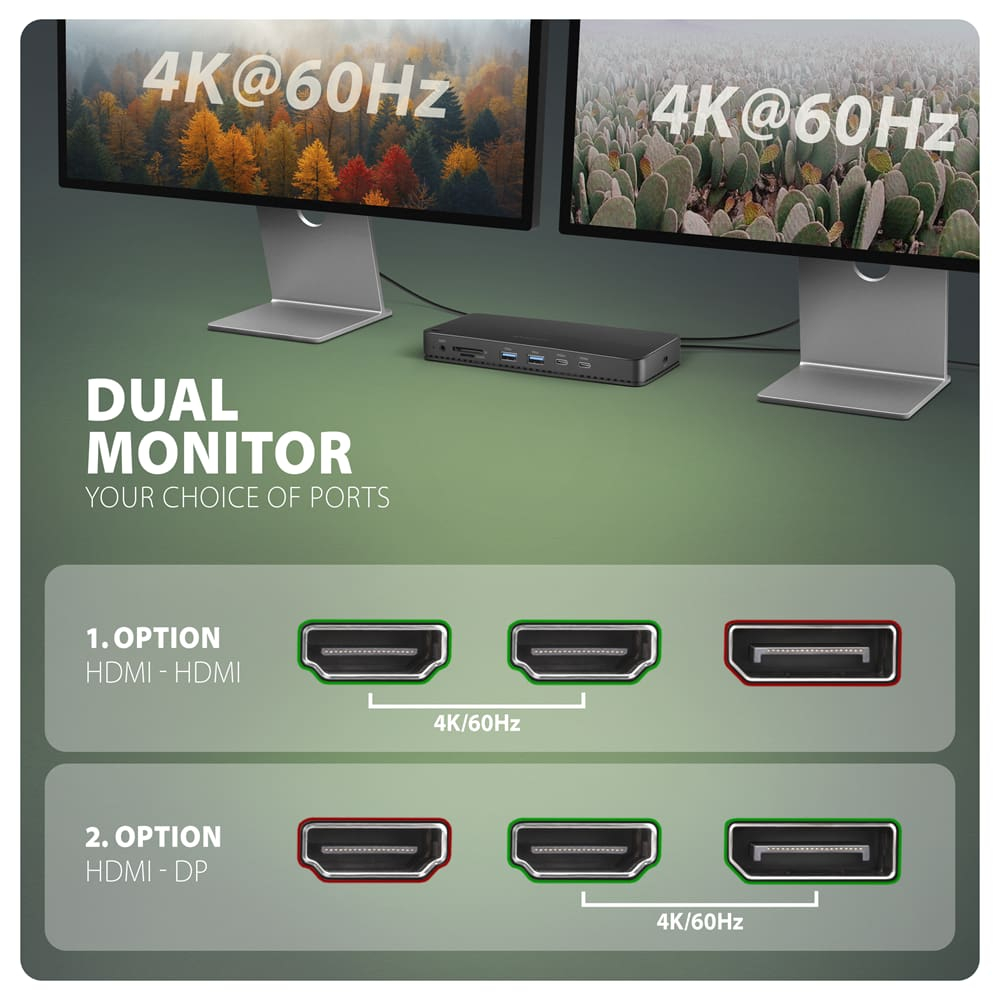
Need to connect two external monitors but your computer’s USB port does not support video output via DisplayPort Alternate Mode? The solution is DisplayLink technology, which transmits video over a USB data connection – DP Alt Mode is not necessary to connect monitors. Just one USB C-C or USB C-A cable between the computer and the docking station gives you two external monitors with up to 4K resolution at 60 Hz simultaneously. There are two HDMI ports and one DisplayPort, and monitors can be combined as HDMI + HDMI or HDMI + DisplayPort. The left HDMI output is shared with the DisplayPort output and cannot be used at the same time.
If you want to connect two external monitors to your MacBook but your model natively supports only one, DisplayLink technology allows connecting two independent external monitors with up to 4K/60 Hz resolution also to compatible MacBooks with limited native external display support. Monitors can be used in extended desktop mode showing different content on each. To use DisplayLink video outputs, installation of the DisplayLink Manager app is required.
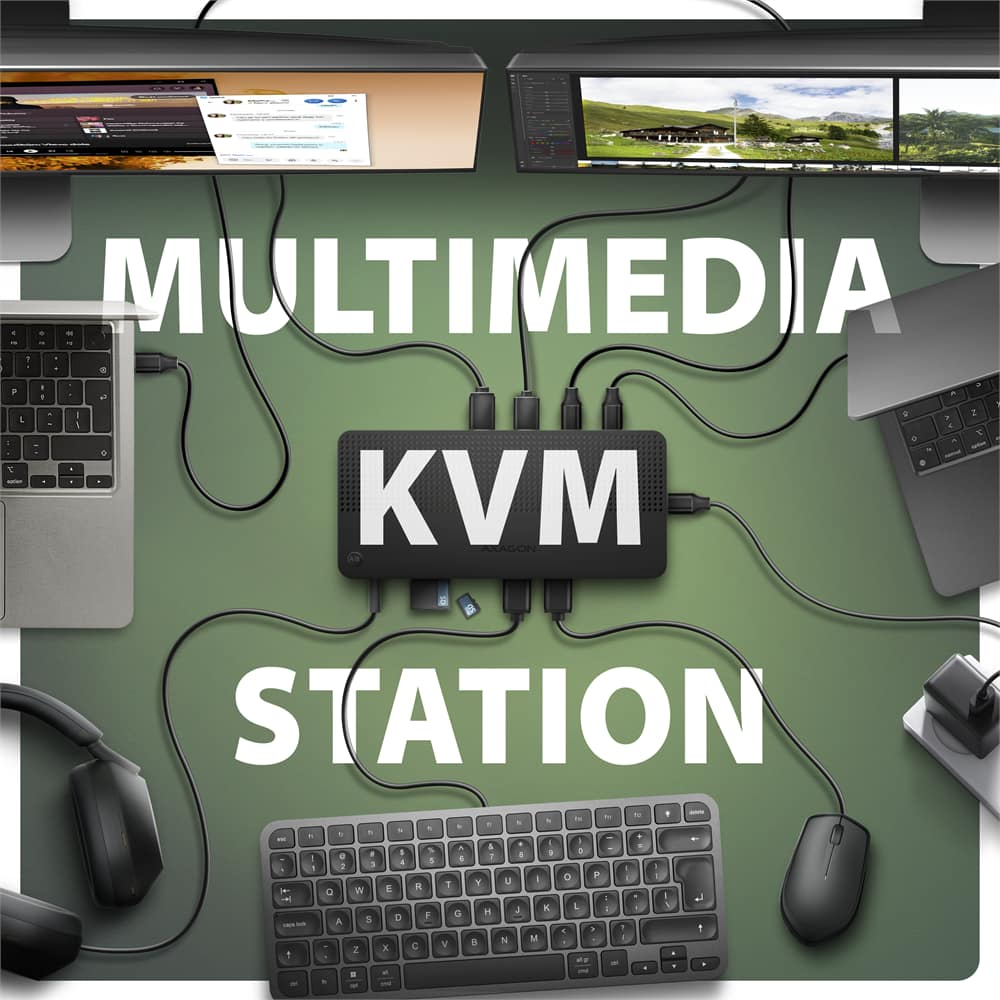
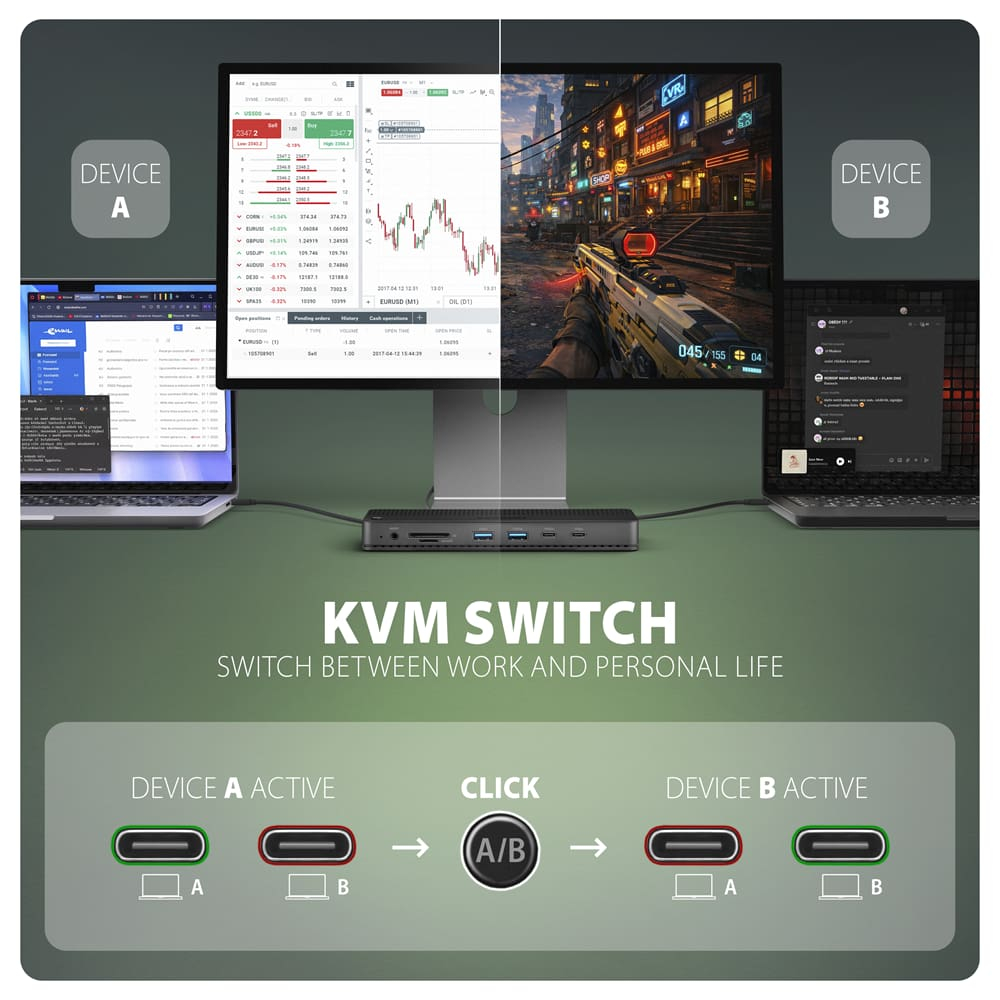
Your work laptop, home PC, or even two company laptops no longer need separate monitors and peripherals. The integrated KVM switch (Keyboard-Video-Mouse) lets you control two computers with one set of monitors, keyboard, and mouse, while sharing connected USB devices and other peripherals between them. Using the A/B button, you simply select which computer will currently use the full workstation. With a single press, you switch your entire workspace without disconnecting and reconnecting individual cables.
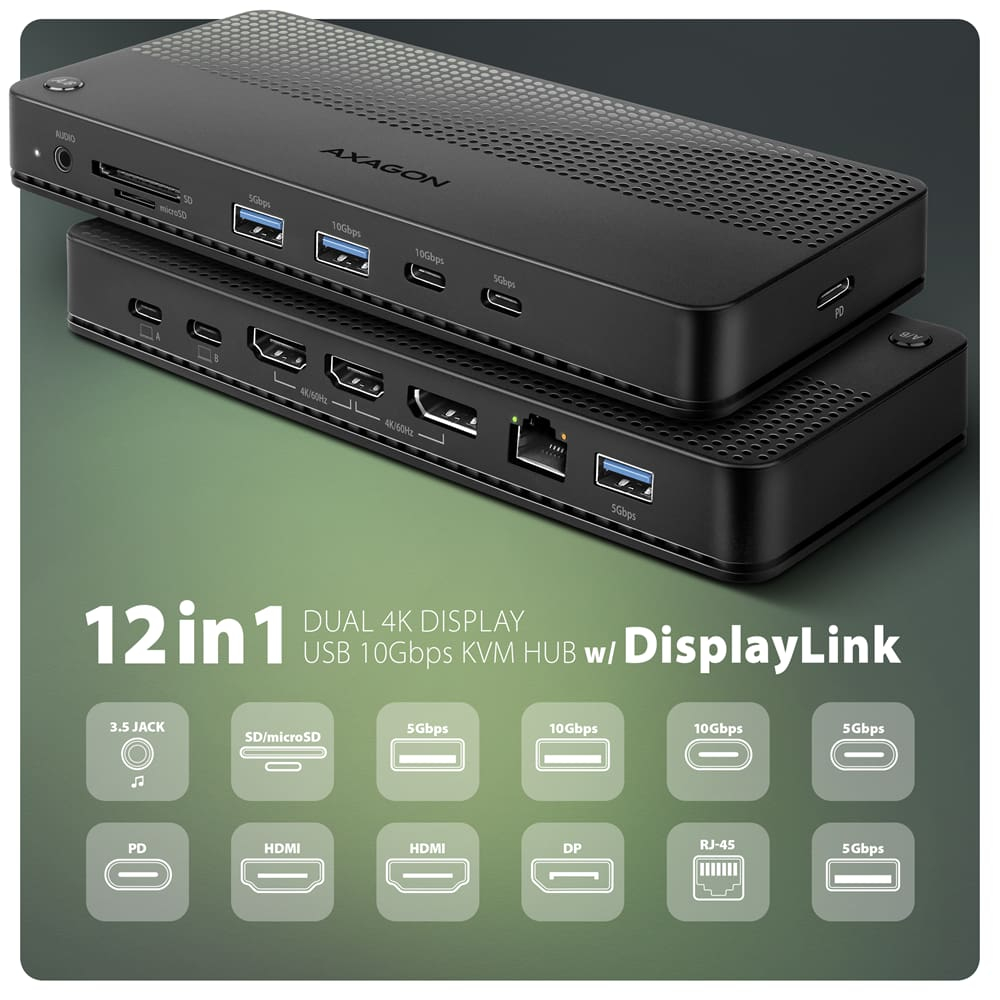
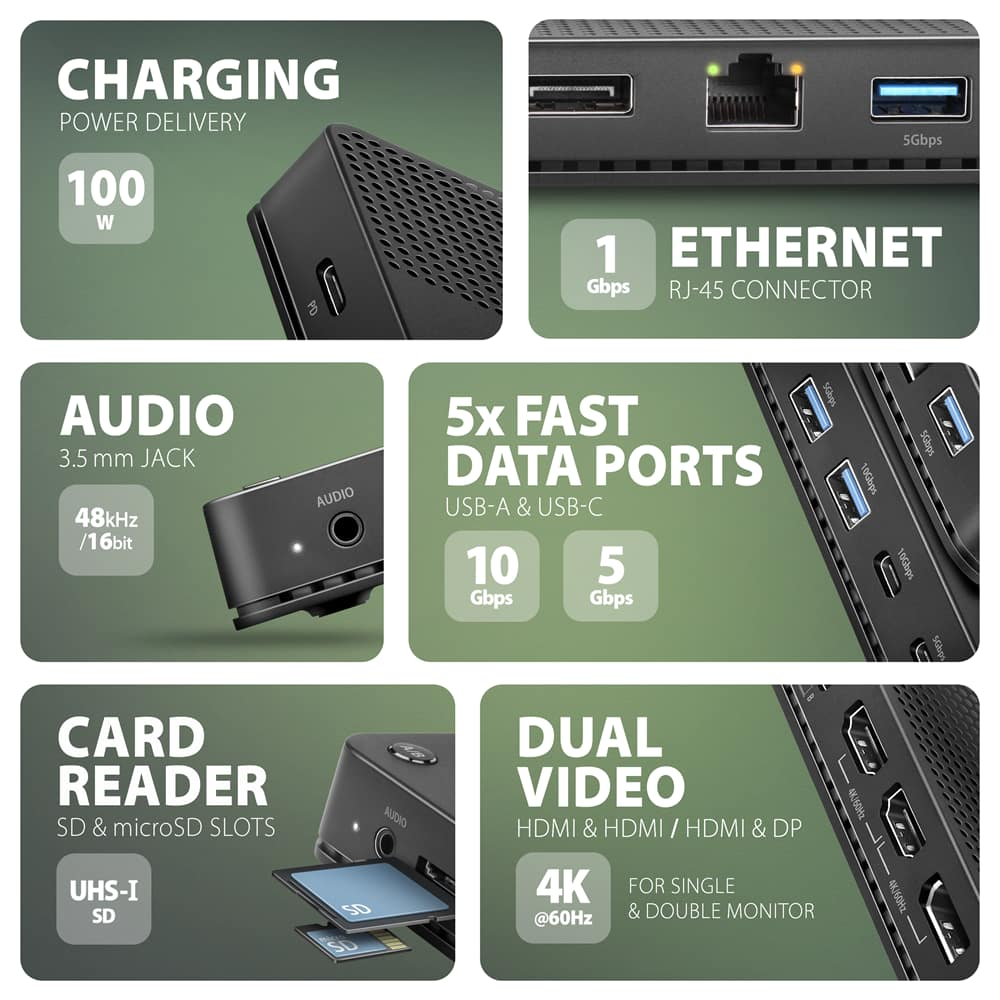
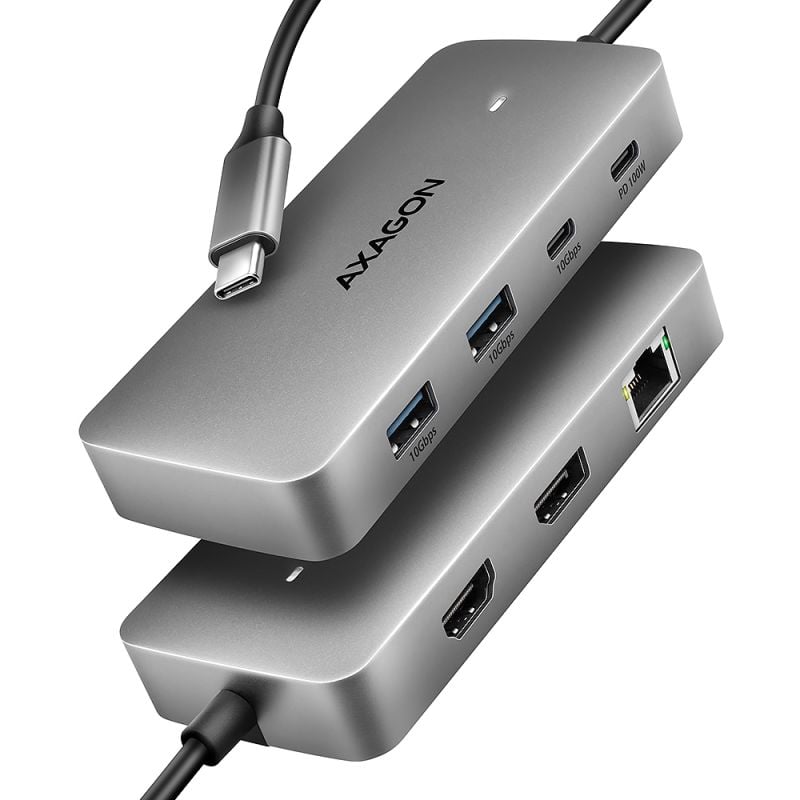
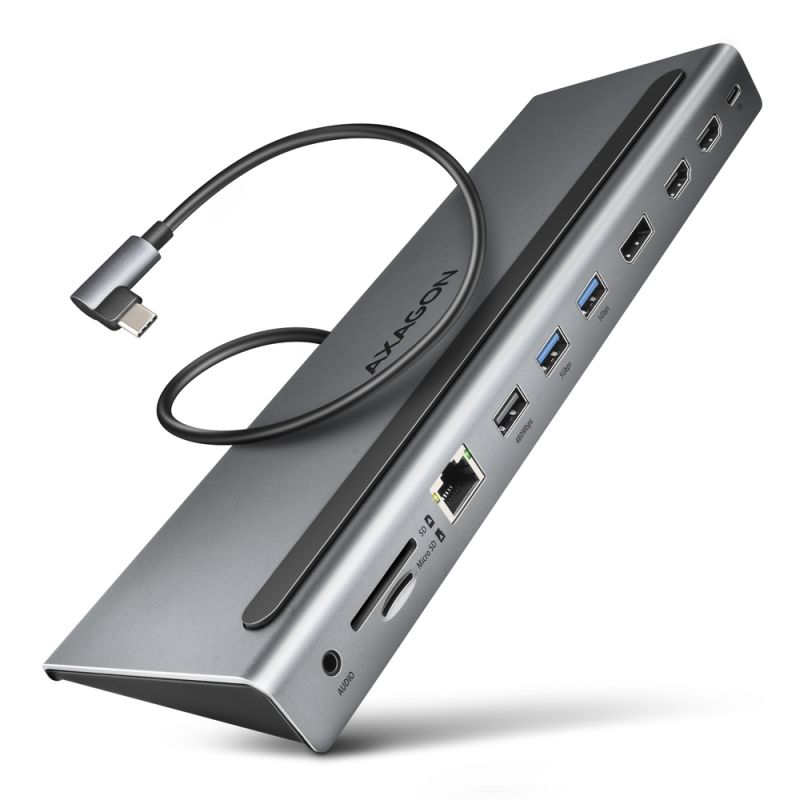
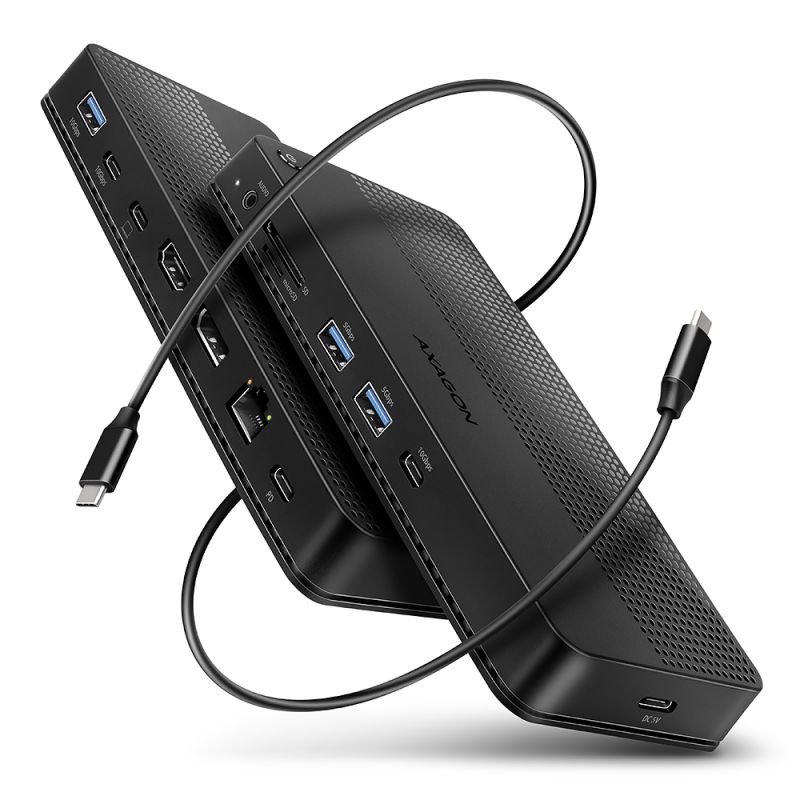
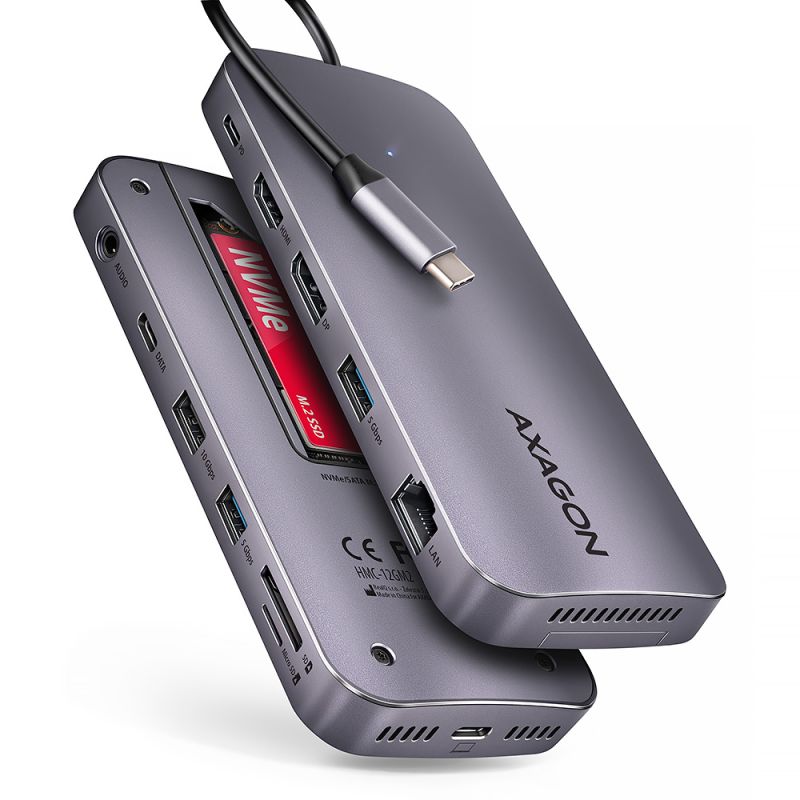
Instead of several adapters, you get one central hub for connecting your full workspace. The docking station offers 12 ports, including five USB-A and USB-C data ports with speeds up to 5 or 10 Gb/s, Gigabit Ethernet, SD and microSD card readers, and a 3.5mm audio jack. Via the USB-C Power Delivery input, an active laptop can be powered with up to 100 W. Included cables allow both host inputs to connect to computers with USB-C or USB-A, enabling you to combine devices with different connector types.
Included are cables for various docking station connection methods to computers with USB-C and USB-A. This makes the KVM setup adaptable to a combination of two modern laptops or workplaces where a USB-C computer is used alongside an older USB-A device. Also included is a power cable to ensure separate power supply to the docking station.
Video tutorial:
• Watch the video tutorial for the HMC-DL-KVM product at www.axagon.eu
Input (connection to computer or mobile device):
• 2x USB 10Gbps (USB 3.2 Gen 2), USB-C male connectors.
• Compatible with USB 480Mbps, USB 5Gbps, USB 20Gbps, USB 40Gbps, Thunderbolt 3 / 4 / 5.
Input (power):
• 1x USB-C (combined power), female connector.
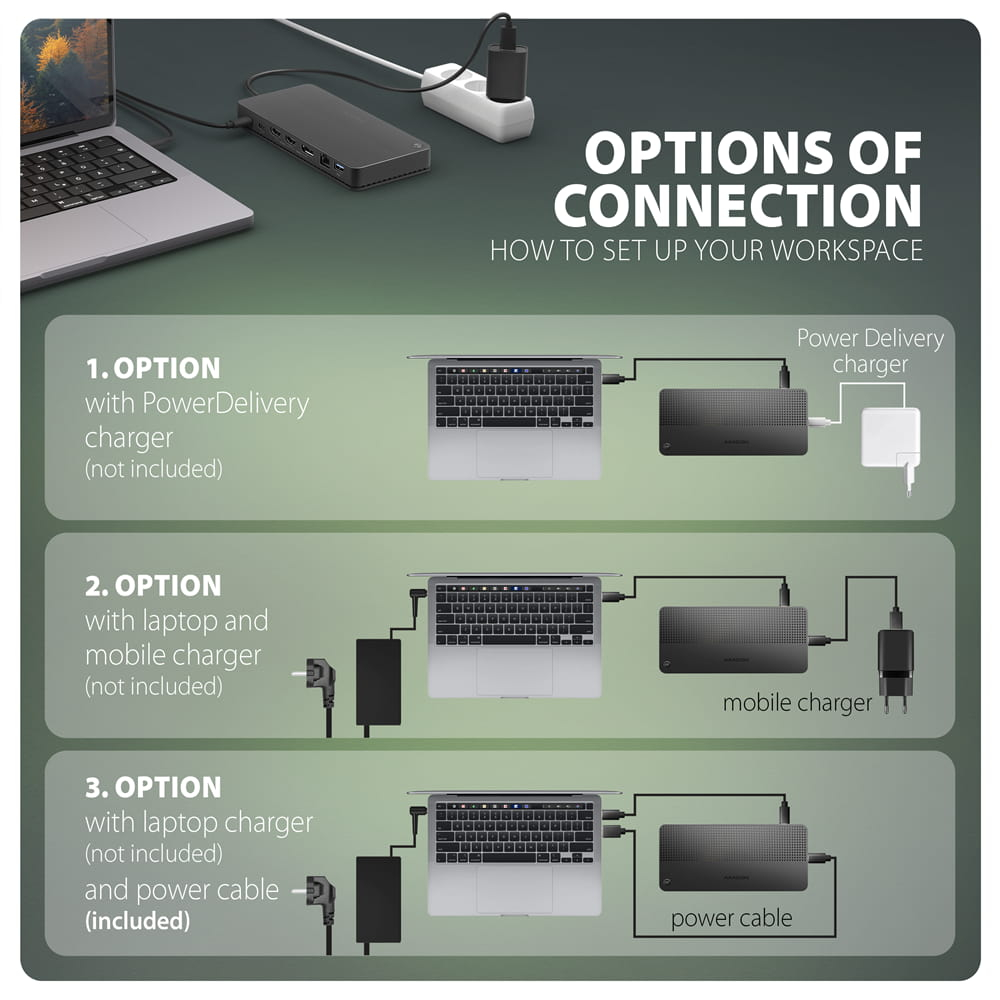
• The docking station requires power for its operation.
1. Power via USB bus power:
• Through power cable and the computer’s USB port (“Power Cable” included in package).
• Via mobile charger (not included).
2. Power via USB Power Delivery:
• PD 3.0 port - 100 W
• Via PD charger/adapter (not included).
• PD power supply must be supported by the laptop (tablet, phone), cable, and charger.
Note:
The docking station does not function without connected power. Besides the data connection to the computer, it is necessary to connect one of the power supply options to its USB-C power input (see above). Data cable connection alone is not sufficient.
USB outputs:
• 2x USB 5Gbps ports, USB-A female connectors.
• 1x USB 5Gbps port, USB-C female connector.
• 1x USB 10Gbps port, USB-A female connector.
• 1x USB 10Gbps port, USB-C female connector.
• USB-C dock supports connecting multiple external drives simultaneously.
Video outputs:
• 2x HDMI ports, HDMI A female connectors.
• 1x DP port, DisplayPort female connector.
• Left HDMI and DisplayPort are shared and cannot be used together.
• The DisplayLink Manager app must be installed to enable video outputs.
DisplayLink chipset for USB video transmission:
• DisplayLink DL-6950-N chipset.
• Support for video output over USB-A and USB-C.
• Support for connecting up to two external monitors in extended desktop mode on macOS.
• Support for connecting up to two external monitors in extended desktop mode on Windows / Linux.
Maximum supported resolution:
• 1 monitor (HDMI) - up to 4K/60Hz Ultra HD, 2K/144Hz Quad HD, 1080p/240Hz Full HD
• 1 monitor (DisplayPort) - up to 4K/60Hz Ultra HD, 2K/144Hz Quad HD, 1080p/240Hz Full HD
• 2 monitors (HDMI + HDMI) - up to 4K/60Hz Ultra HD, 2K/144Hz Quad HD, 1080p/240Hz Full HD
• 2 monitors (HDMI + DisplayPort) - up to 4K/60Hz Ultra HD, 2K/144Hz Quad HD, 1080p/240Hz Full HD
• Achievable refresh rate depends on monitor specifications and dock compatibility. Smoothness may also be affected by USB bandwidth, load from other connected devices, and computer performance.
Video features:
• On Apple devices with macOS, maximum refresh rate is usually limited to 60Hz.
• Support for HPD (Hot-Plug-Detect).
• Support for TMDS (Transition Minimized Differential Signaling).
• Support for sampling frequency up to 48 kHz and 16-bit stereo sound – depends on source and output devices (laptop/phone and TV/monitor/AV receiver).
Card reader – two slots:
• microSD slot: microSD, microSDHC, microSDXC, TransFlash.
• SD slot: SD, SDHC, SDXC, MMC, MMC mobile, RS-MMC.
• Support for SD/microSD UHS-I. Speeds up to 104 MB/s.
• Support for SD 1.0 to SD 3.0 (SDXC - Secure Digital eXtended Capacity, up to 2TB).
• Hardware CRC function support.
• 2 LUN - reader appears as two drives. Allows copying from card to card.
• Realtek RTS5306 chipset.
Audio output/input:
• 1x 3.5 mm 4-pin jack for headset, headphones, or active speakers,
• 2-channel analog stereo output 48 kHz @ 16 bit for playback,
• Analog microphone input 48 kHz @ 16 bit for recording.
RJ-45 output:
• Gigabit Ethernet interface with RJ-45 connector for UTP or STP cable connection.
• Supported Ethernet transmission speeds 10/100/1000 Mb/s.
• Supported standards IEEE 802.3i 10Base-T, IEEE 802.3u 100Base-TX, IEEE 802.3ab 1000Base-T.
• 10/100/1000 Mb/s auto-detection.
• Realtek RTL8211F chipset.
KVM switch:
• Allows controlling two computers with one set of monitors, keyboard and mouse, while sharing connected USB devices and other peripherals.
• Switching between computers is done via A/B button.
Additional features:
• Hot plug support for device connection while running.
• Power saving mode support.
• A steady LED light indicates the dock is connected to the computer.
Additional information:
• Docking station dimensions: 180 × 80 × 20 mm (W × D × H).
• Docking station weight: 170 g (without cable).
Supported operating systems:
• Windows 10 / 11, macOS, Ubuntu / Linux, ChromeOS, and Android.
• Compatibility depends on operating system and device manufacturer support.
• Proper product function may also depend on DisplayLink chipset drivers. We recommend downloading the latest drivers.
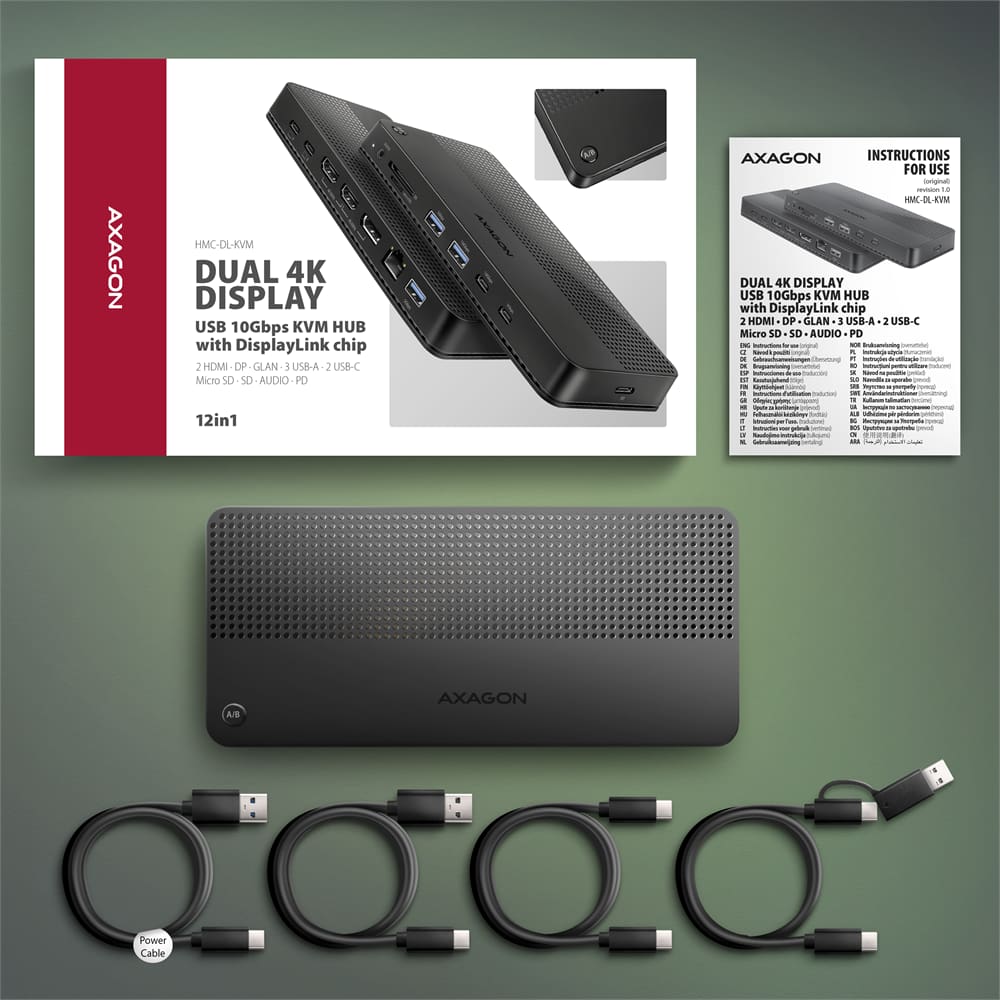
Package includes:
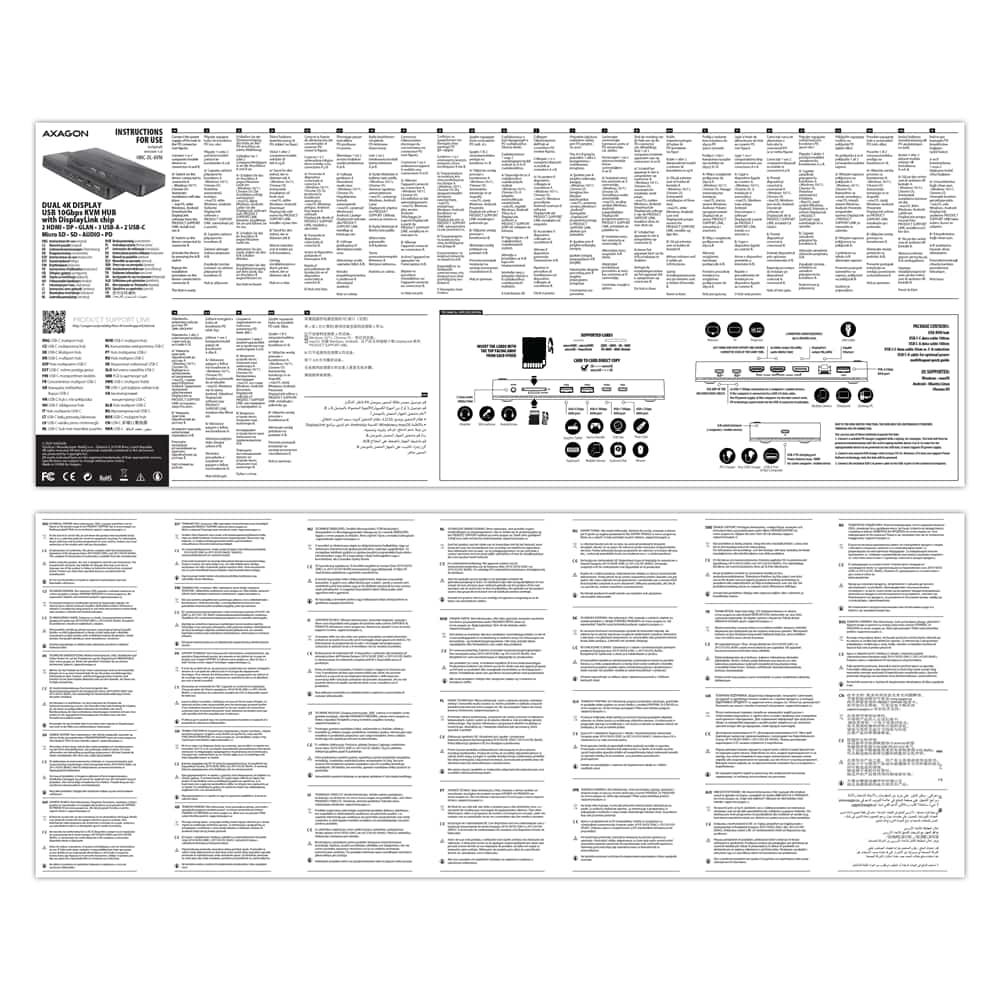
• USB-C KVM docking station,
• USB-C / USB-C data cable 100 cm,
• USB-C / USB-C data cable 30 cm with USB-C / USB-A adapter,
• USB-C / USB-A data cable 100 cm,
• USB-C / USB-A power cable 150 cm,
• multilingual manual CZ / DE / DK / ENG / ESP / EST / FIN / FR / GR / HR / HU / IT / LT / LV / NL / NOR / PL / PT / RO / SK / SLO / SRB / SWE / TR / UA / ALB / BG / BOS / CN / ARA,
• packed in a cardboard box.

- USB-C KVM docking station
- USB-C / USB-C data cable, 100 cm long,
- USB-C / USB-C data cable, 30 cm long with USB-C / USB-A adapter
- USB-C / USB-A data cable, 100 cm long
- USB-C / USB-A power cable, 150 cm long
- multilingual manual
- multilingual manual CZ / DE / DK / ENG / ESP / EST / FIN / FR / GR / HR / HU / IT / LT / LV / NL / NOR / PL / PT / RO / SK / SLO / SRB / SWE / TR / UA / ALB / BG / BOS / CN / ARA
- a cardboard box
- package dimensions: 22.6 × 13.6 × 4.9 cm
- weight of 1 pc package: 539 g
- EAN: 8595247909084
- number of pieces in the box: 20
- box dimensions: 25 × 29 × 52 cm
- total weight of the box: 11.7 kg
A): The necessary drivers are already included in all operating systems and install completely automatically, and no additional drivers are needed.
B): Plug the USB hub into another USB port (on the back of the computer where the USB ports are integrated directly into the motherboard). It should re-detect the USB hub and reinstall the drivers. Alternatively, try replacing the USB cable. The obsolete driver of the USB controller could also cause problems. Manufacturers of USB 3.0 chipsets often issue new versions of drivers to improve compatibility with different devices. If the problem with the USB bub persists, plug it into the USB port of another computer to verify its functionality.
A): Drivers are included with operating systems and are installed completely automatically. The card reader is detected as a standard storage device, such as a USB flash disk, no other drivers are available.
B): No other drivers need to be installed and are not even available. If you continue to have problems with your reader, check out more tips that can help you troubleshoot problems.
A): If the network card is not displayed in "Device Manager", a USB port (or a PCIe slot in the event of an internal network card) may be malfunctioning.
B): Try plugging the network card into another USB port (or another PCIe slot on the PC motherboard in the event of an internal network card, or temporarily disconnect all other PCIe cards). The network card should be detected and you should be prompted to install the drivers. If the problem persists, plug the network card into the USB port (PCIe slot) of another computer to verify its functionality.
A): If the card reader is not displayed in "Device Manager," there may be a USB port (or a 20-pin USB 3.0 connector on the PC motherboard in the case of an internal reader) malfunction.
B): Try plugging the reader into another USB port (or another 20-pin USB 3.0 connector on the PC motherboard, if available, in the case of an internal reader). The card reader should be detected and the drivers loaded automatically. If this does not solve the problem, try checking the USB controller status in "Device Manager" in the "USB Drivers" section. If the problem persists, plug the card reader into the USB port of another computer to verify its functionality.
A): If this happens, it means that the operating system failed to get the necessary information to install the drivers.
B): The cause may be a defective USB cable or damaged device. Another option is to remove the record of the connected USB device using "USBDeview". After connecting the reader, the drivers should be reloaded. If the problem is caused by a driver error, the problem should be eliminated. If the problem persists, plug the card reader into the USB port of another computer to verify its functionality.
A): If this happens, it means that the operating system failed to get the necessary information to install the drivers.
B): The cause may be a defective USB extension cable or damaged device. If the problem persists, plug the network card into the PCIe slot of another computer to verify its functionality.
A): If this happens, it means that the operating system failed to get the necessary information to install the drivers.
B): The cause may be a defective USB extension cable or damaged device. If the problem persists, plug the network card into the USB port of another computer to verify its functionality.
A): If this happens, it means that the Windows operating system did not assign a drive letter to the new storage device.
B): If the drive letter is not assigned, open "Disk Management", right-click on the desired drive and manually assign the drive letter. Another option is that the correct formatting of the memory card is not performed. Format the card in "Disk Management" or in the device on which you are using the card (for example, the camera).
A): In the vast majority of cases, the USB hub can handle connection of one 2.5" external box. If more external boxes are connected, a higher current is needed that ordinary USB cannot deliver.
B): In this case, an auxiliary power supply is required. Use a USB hub with auxiliary power supply.
A): Before connecting the USB network card to an Android device (tablet), you first need to verify with the device manufacturer whether the device supports the Ethernet network feature and also whether the USB network card drivers are included in your specific ANDROID ROM installation.
B): Use a USB connector with OTG support to connect the USB network card to your tablet. If the device (tablet) is equipped with a Mini USB or Micro USB connector, use an OTG reduction or cable to connect it.
A): By initializing the disk, you can set the mode in which the hard disk will work
B): You can use the partition with the master boot record (MBR) or the GUID partition table (GPT). For disk up to 2TB, use the MBR option, we recommend selecting GPT on a larger disk than 2TB. Subsequently, the initialized disk should be formatted.
A): You can use a passive USB cable to connect a USB hub to your computer. However, with longer cables the USB hub may not work reliably.
B): In this case, we recommend using an active extension USB repeater cable, such as AXAGON ADR-205 or ADR-210.
A): The sound interference is probably caused by the wireless mouse transmitter.
B): We recommend placing the mouse transmitter as far away from the sound card as possible (preferably on the opposite side of the computer – connect the transmitter to a USB port on the front panel of the PC and the sound card to a USB port on the back panel – use a USB extension cable if necessary). In the case of a laptop, place one device on each side.
A): By initializing the disk, you can set the mode in which the hard disk will work.
B): You can use the partition with the master boot record (MBR) or the GUID partition table (GPT). For disk up to 2TB, use the MBR option, we recommend selecting GPT on a larger disk than 2TB. Subsequently, the initialized disk should be formatted.
A): The problem could be a lack of resources, check (when a problem occurs) the processor load and operating memory filling in "Task Manager".
B): If the CPU usage is 100% or memory is full, you need to find out what causes this situation. Another option is to connect a sound card to another computer to verify that the sound card is not damaged.
A): You probably have allowed to listen to the microphone in Microphone Properties.
B): To disable this feature, follow these steps: Start -> Control Panels -> Hardware and Sound -> Sound -> Recording -> Microphone (USB Sound Device) -> Properties -> Listen -> Listen to this device - uncheck this box and confirm with "Apply".
A): Yes, it is possible to play two different tracks simultaneously on one computer.
B): This is primarily a software matter, requiring a player that supports redirecting sound to a different audio output than the one set as the “default” in the operating system. Such functionality is supported, for example, by VLC media player.
A): If this happens, it means that the Windows operating system did not assign a drive letter to the new storage device.
B): If the drive letter is not assigned, open "Disk Management", right-click on the desired drive and manually assign the drive letter. If the drive letter can not be assigned to the disk, it is possible that the disk is formatted as "dynamic". If you want to keep disk data, connect it to the original device and make a backup of the disk. Then convert it to a normal disk, initialize it to MBR (or GPT, see other points), and then perform Low Level Format (e.g. using the Low Level Format Tool)
A): The newly purchased disk must be initialized before first use.
B): If the new disk is not initialized automatically, open "Disk Management", right-click on the desired disk and initialize it.
In the ACTIVE profile, set the hard drive sleep time for battery and mains power to 0 minutes / Never.
A) Path in Windows 10: Settings > System > Power & Sleep > Additional power settings > in the ACTIVE profile Change Schema Settings> Change advanced power settings > Hard drive > Turn off hard disk after
B) Path in Windows 11: Search for: Control Panel > Hardware and Sound > Power Options > in the ACTIVE profile Change Schema Settings> Change advanced power settings > Hard disk > Turn off hard disk after.
You need to set the function of the headphone buttons to track skipping/playback control.
A) Example setting for Xiaomi phones (HyperOS overlay):
1st option:
In the notification bar, when headphones are connected, Audio playback via USB > click > Change headphone buttons to Playback control.
2nd option:
Settings > Sounds & Vibration > Sound effects > Change headphone buttons to Playback control.
B) Example setting for Xiaomi phones (MIUI overlay): Settings > Sounds & Vibration > Headphones > Change headphone buttons to Playback – back/next.
The keyboard is set to Apple mode. Switch it using Fn+S (mode for Windows and Android).
The keyboard is set to Windows mode. Switch it with Fn+A (Apple mode).
A: Check if the USB-C in the device supports video output.
B: Leave the HUB connected to the device and turn off the HUB via the ON/OFF button. Wait 5 seconds and then turn it back on with the ON/OFF button.
A: Check if your charger and device support the Power Delivery protocol and if the charger has sufficient power.
B: Leave the HUB connected to the device and turn off the HUB via the ON/OFF button. Wait 5 seconds and then turn it back on with the ON/OFF button.