


 English
 Czech
Czech
 Slovak
 German
 Hungarian
 Polish
1/4

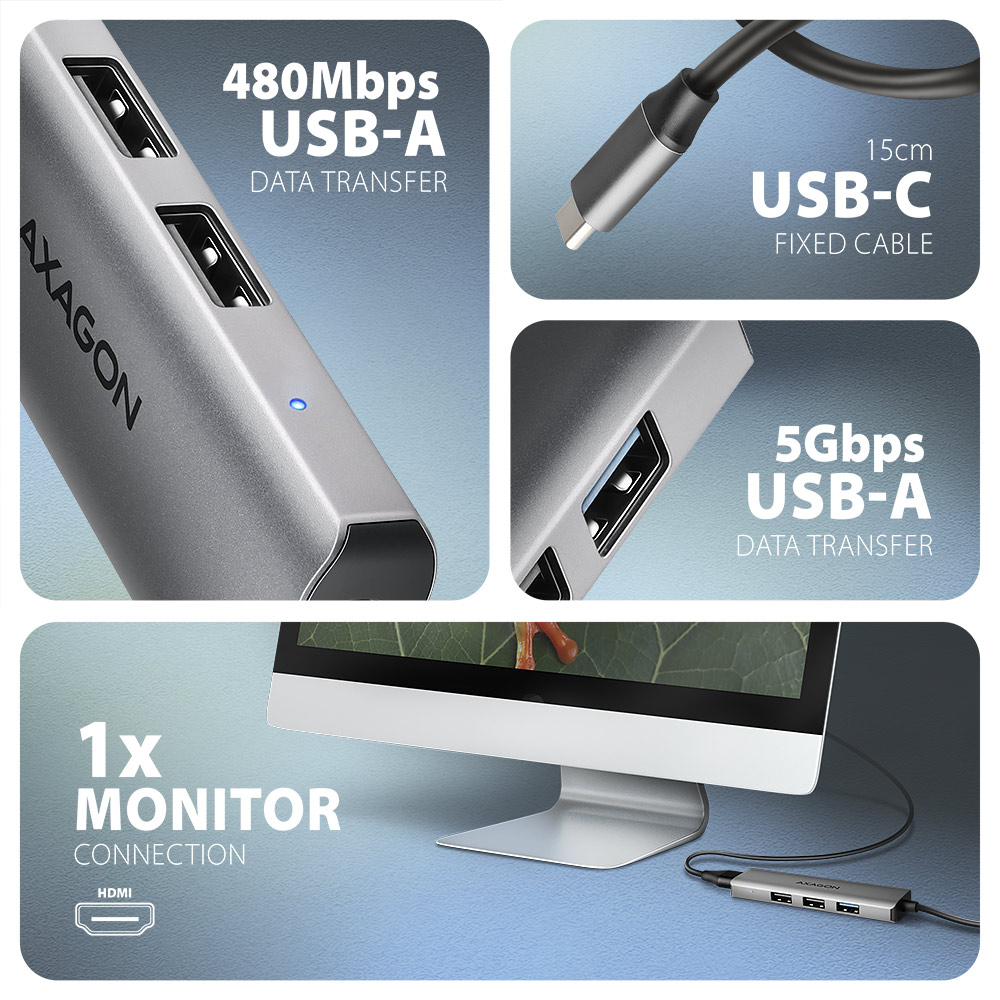
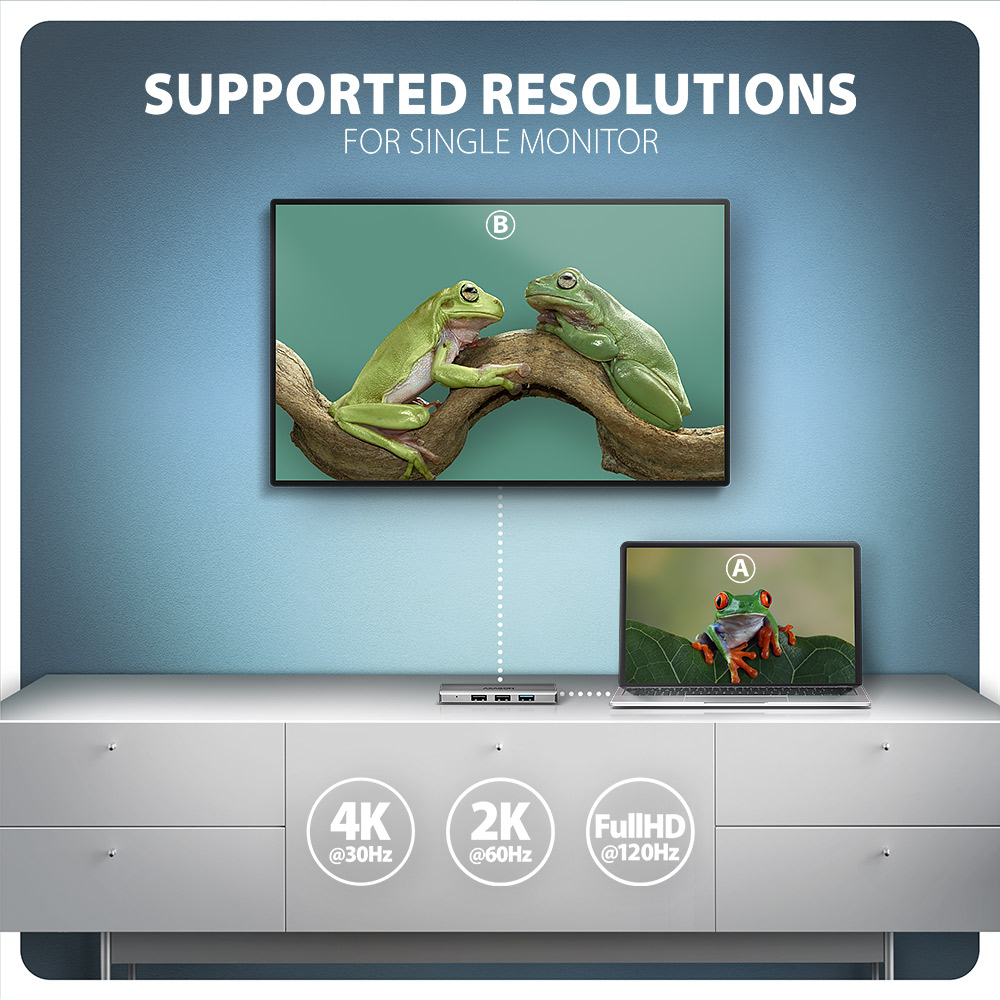
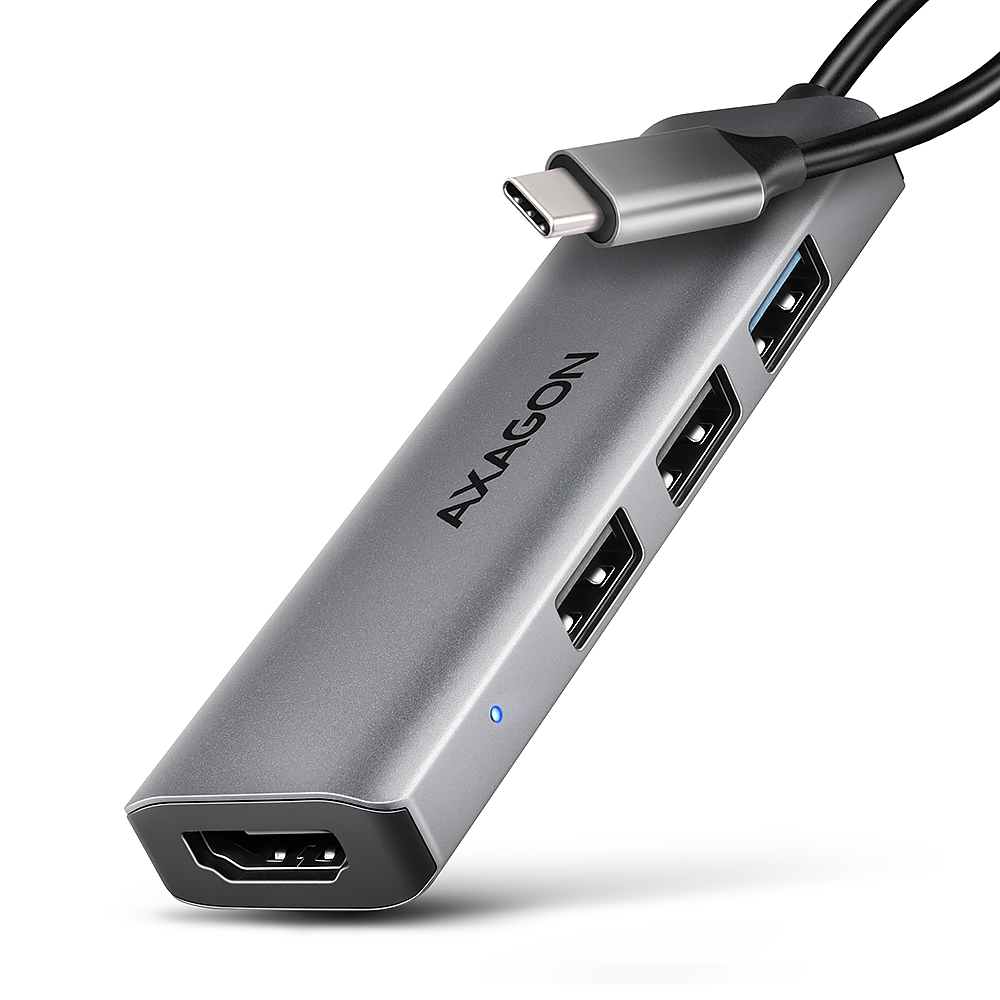
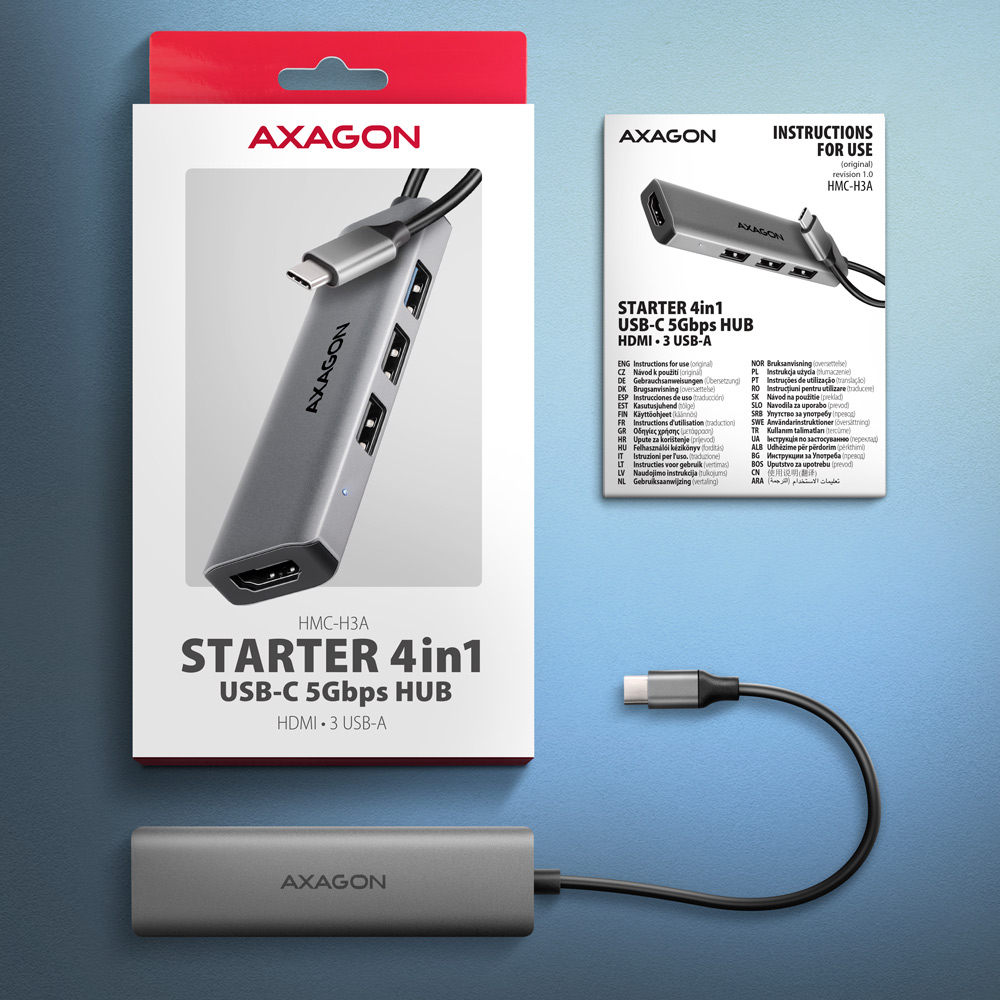
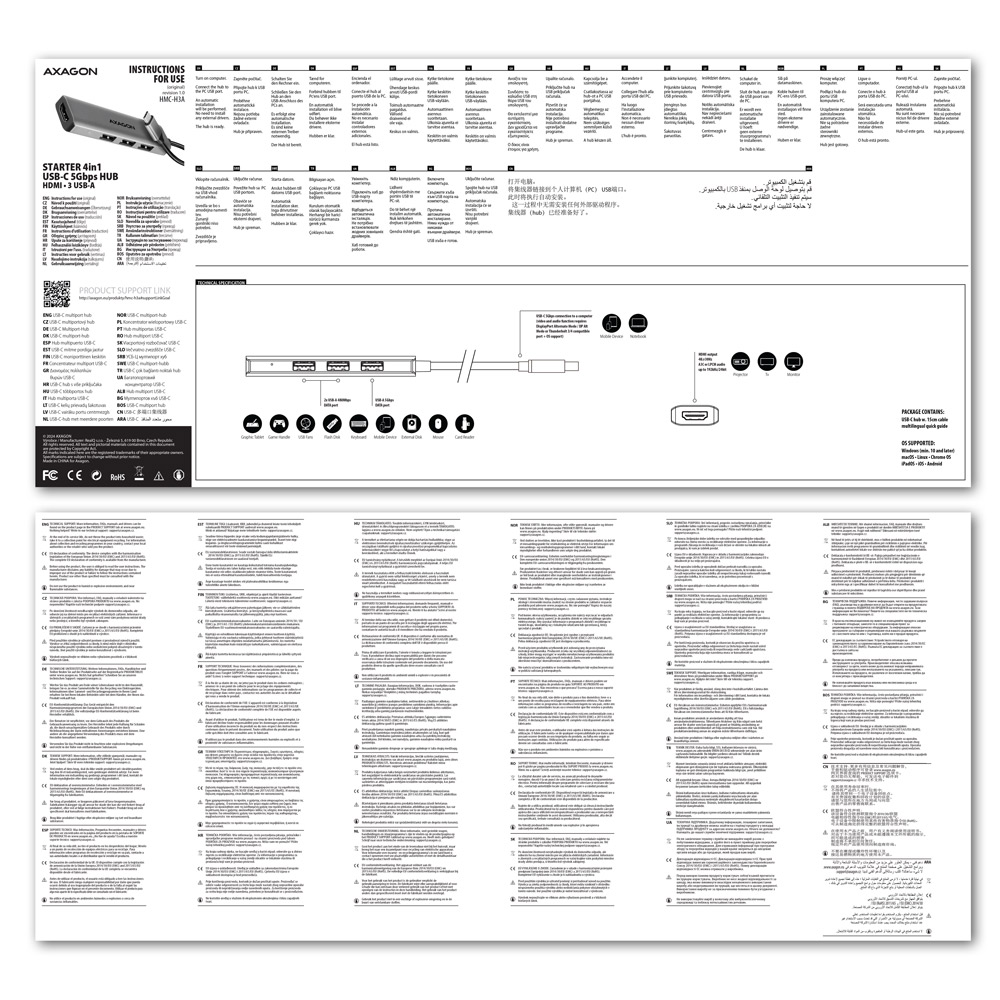
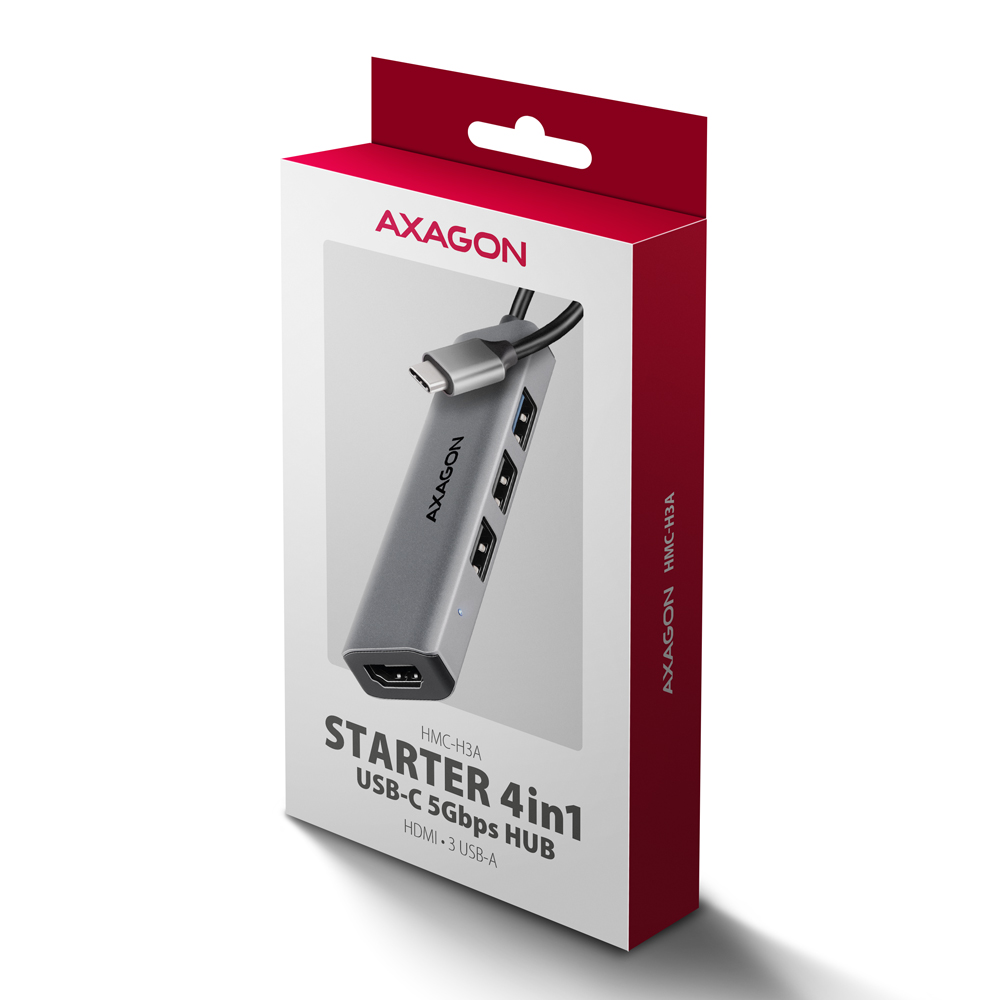
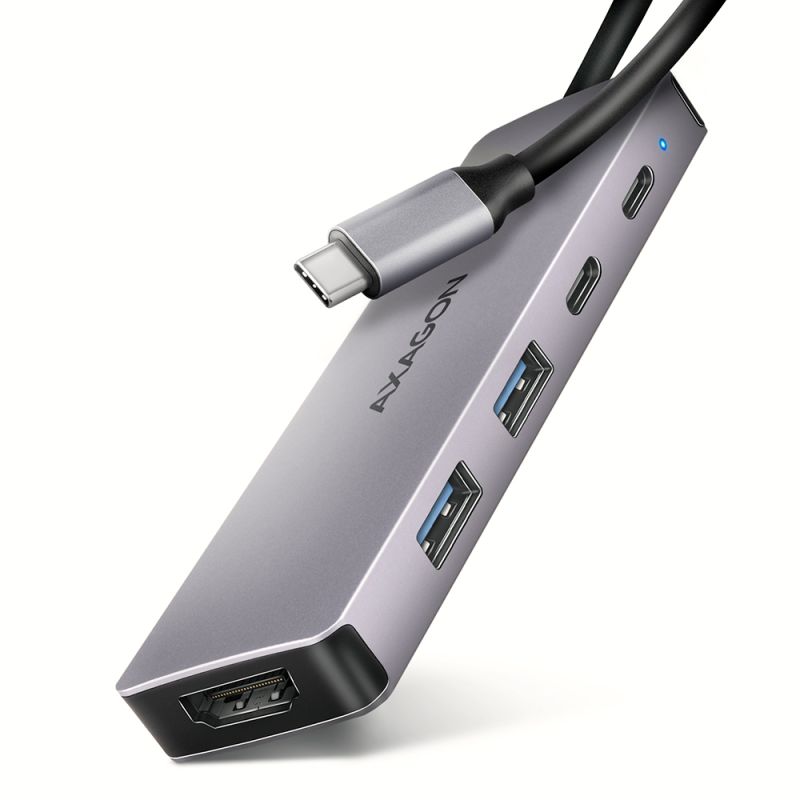
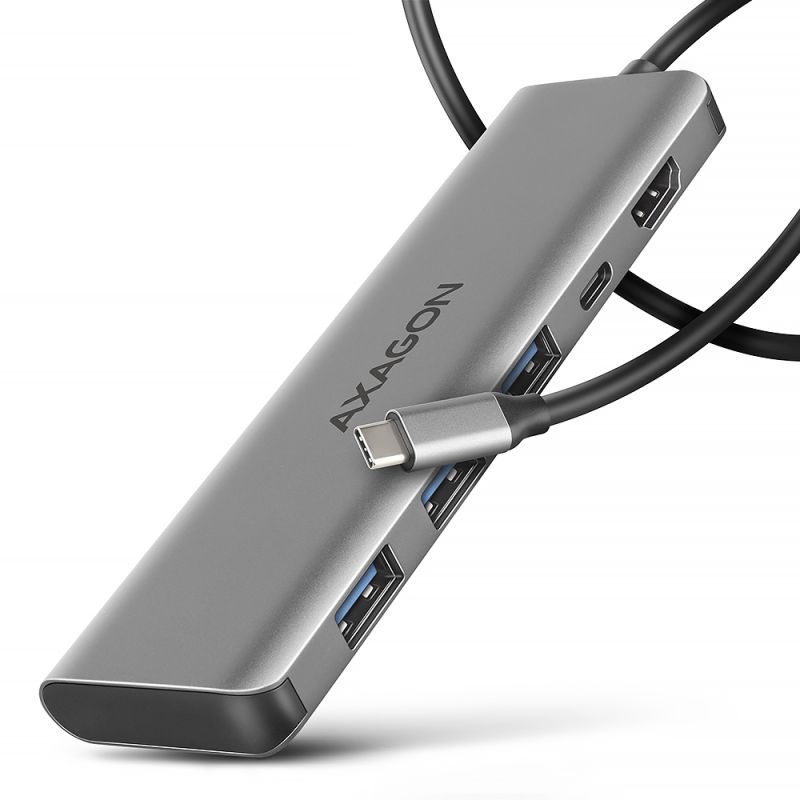
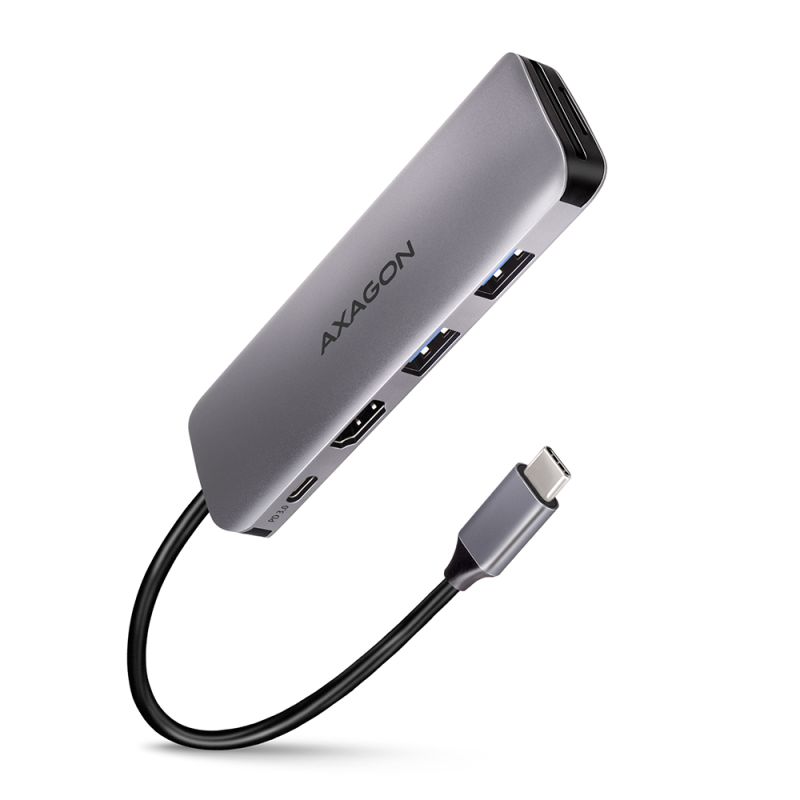
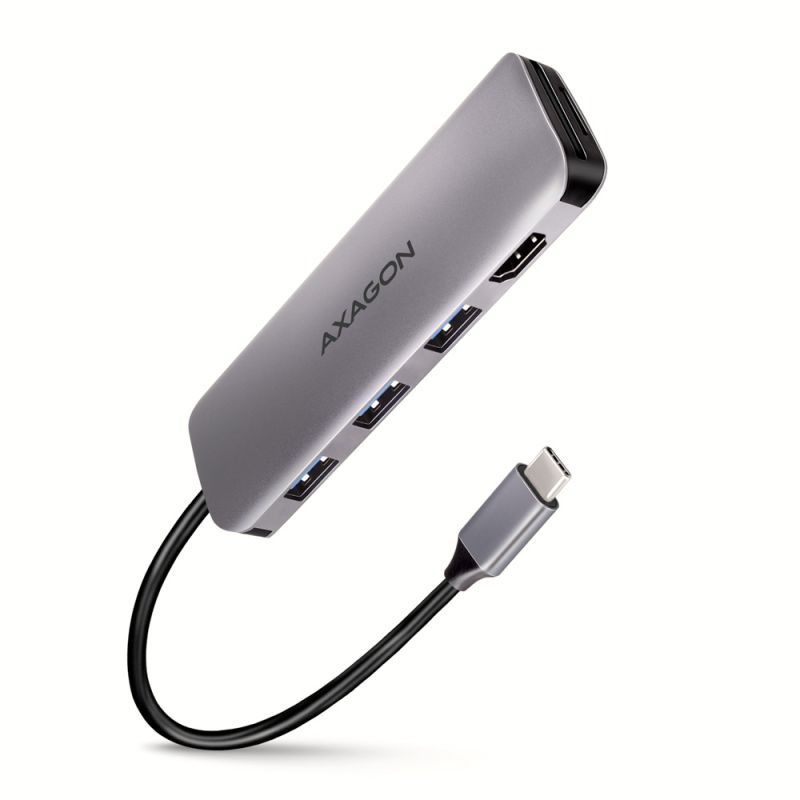
HMC-H3A USB-C 5Gbps STARTER 4in1 hub
Multiport USB-C 5Gbps hub with HDMI and 3 USB-A ports. USB-C cable 15 cm.
Product code: HMC-H3A
Category: Docking stations , One video output , All products
Similar products
Top
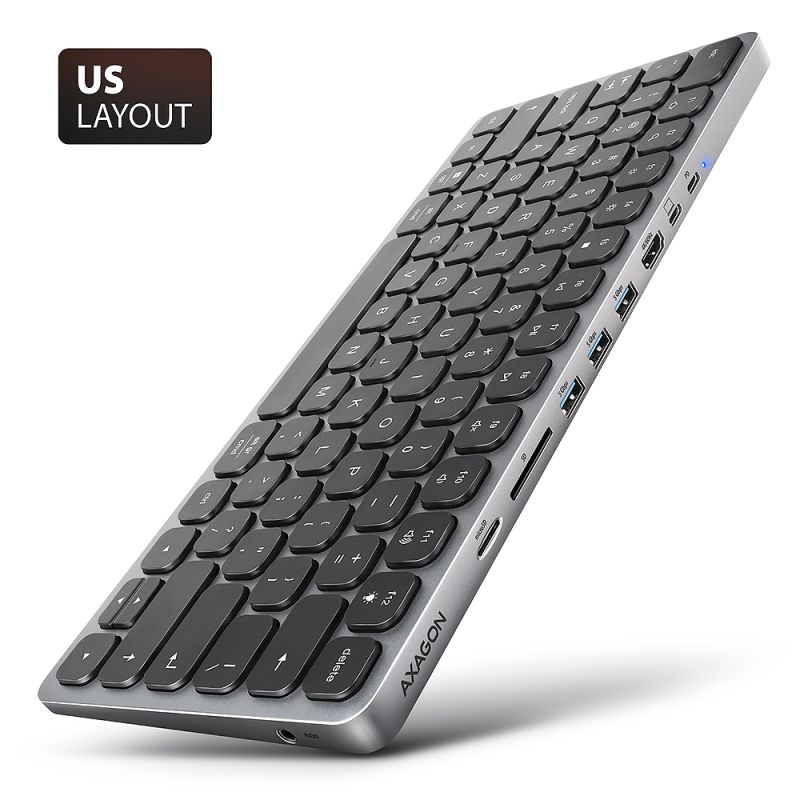
Multi-port USB-C 5Gbps hub with keyboard (US). HDMI, PD and 3 USB-A ports. USB-C cable 60 cm.
Clearance
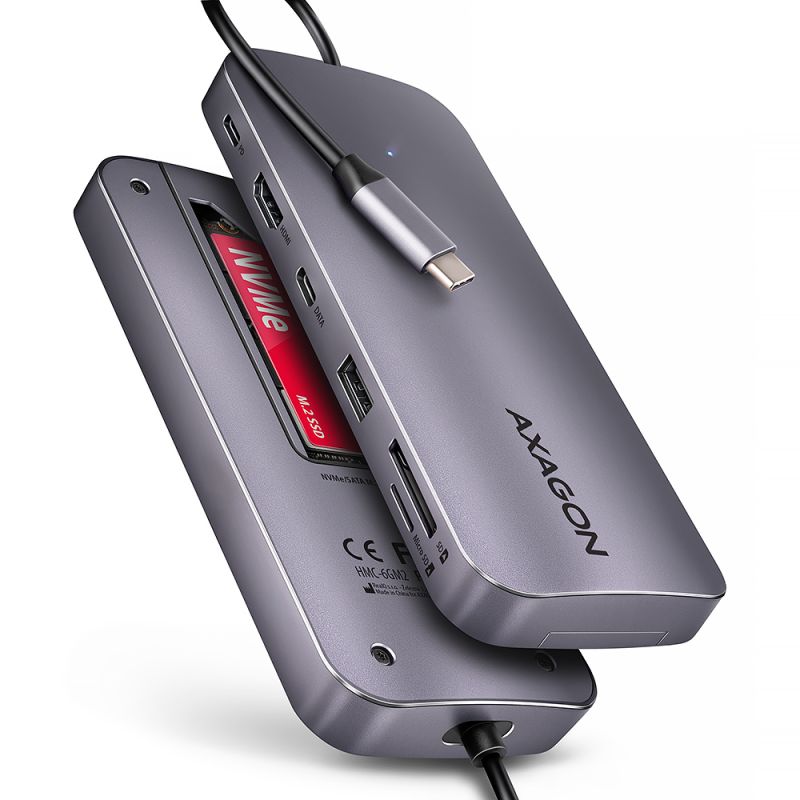
Multiport USB-C 10Gbps hub. NVMe/SATA M.2, HDMI, card reader and Power Delivery. Cable USB-C 20 cm.
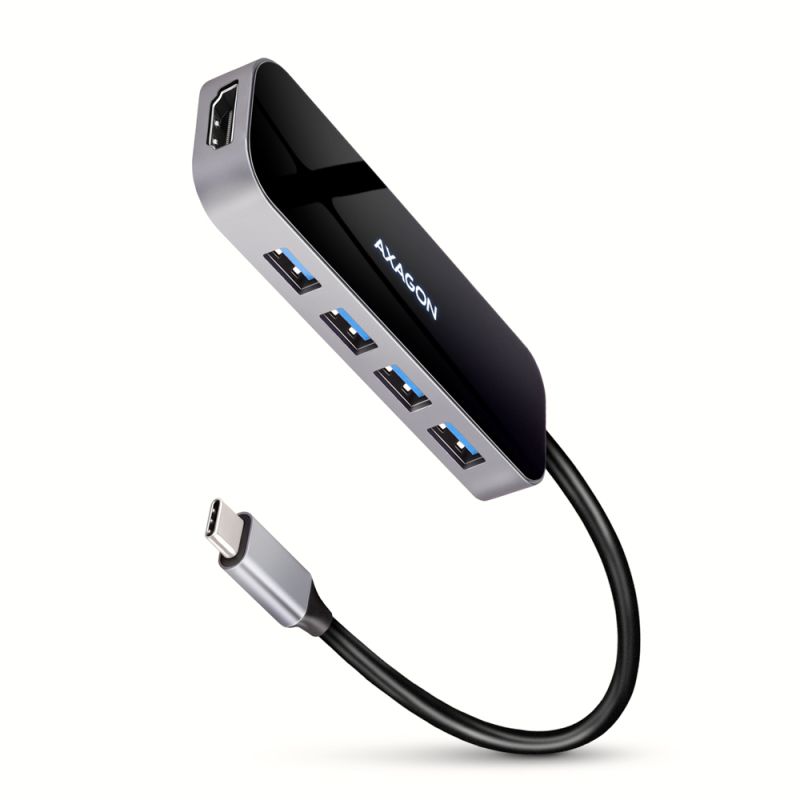
Multiport USB 3.2 Gen 1 hub. HDMI, four USB-A outputs and Power Delivery. Kabel USB-C 20cm.

Multi port USB-C 10Gbps hub. HDMI, 2 USB-A, USB-C, USB-C PD/DATA ports. USB-C cable 13 cm.
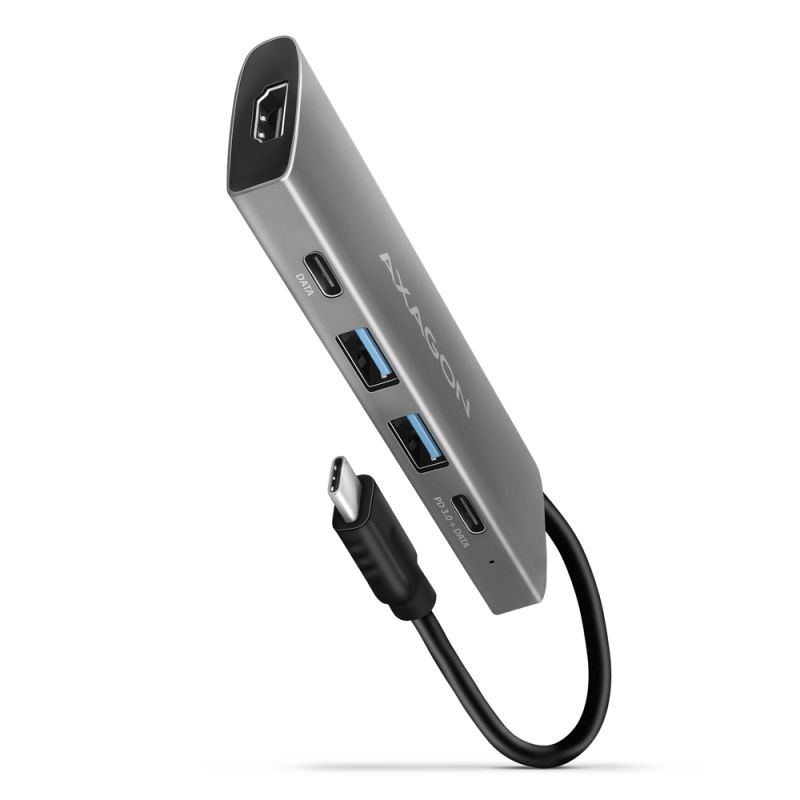
Multi-port USB-C 10Gbps hub. HDMI, 2× USB-A, USB-C, USB-C PD/DATA ports. 13 cm USB-C cable.
Clearance
Multi port USB-C 5Gbps hub. 8K HDMI, PD and USB outputs. Cable USB-C 15cm.
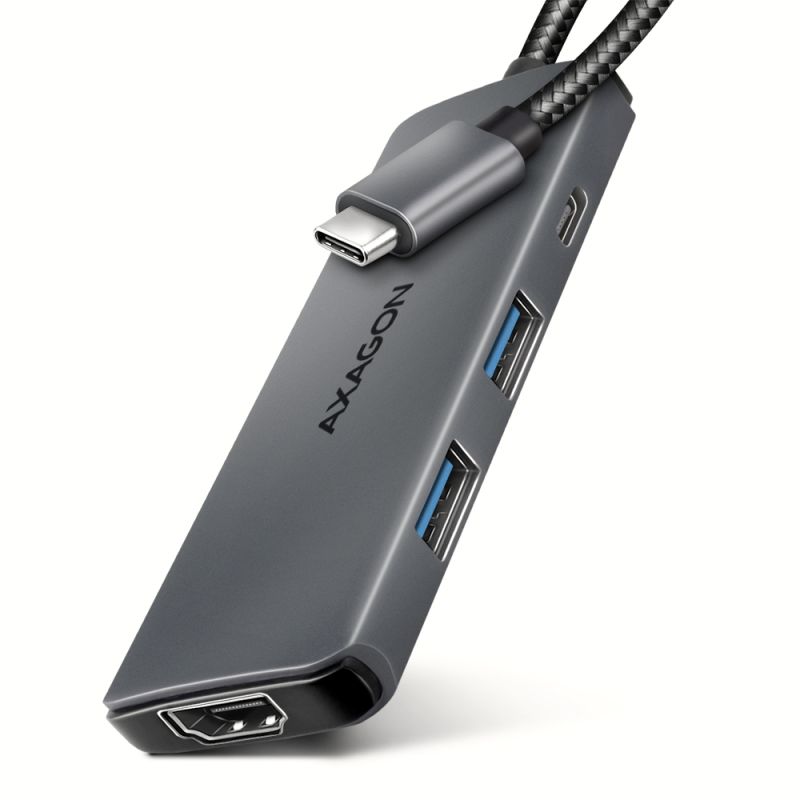
Multi port USB-C 5Gbps hub. HDMI, PD, 2 USB-A and 1 USB-C ports. USB-C cable 15 cm.
Multiport USB-C 5Gbps hub. HDMI, PD and 3 USB-A ports. USB-C cable 100 cm.
Multiport USB 3.2 Gen 1 hub. HDMI, card reader and Power Delivery. 20 cm USB-C cable.
Multiport USB 3.2 Gen 1 hub. HDMI, card reader and three USB-A outputs. Cable USB-C 20 cm.
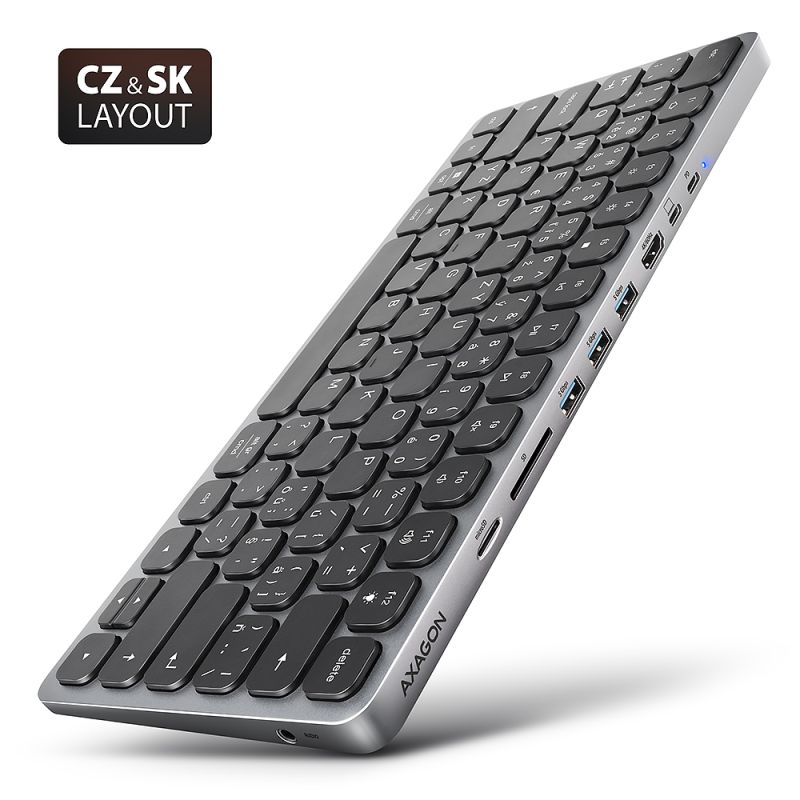
Multi-port USB-C 5 Gbps hub with keyboard. HDMI, PD and 3 USB-A ports. USB-C cable 60 cm.

Multi-port USB-C 5Gbps hub with keyboard (DE). HDMI, PD and 3 USB-A ports. USB-C cable 60 cm.
Follow!