Product code: ADSA-SN
Category: Docking station for drives , Disk accessories

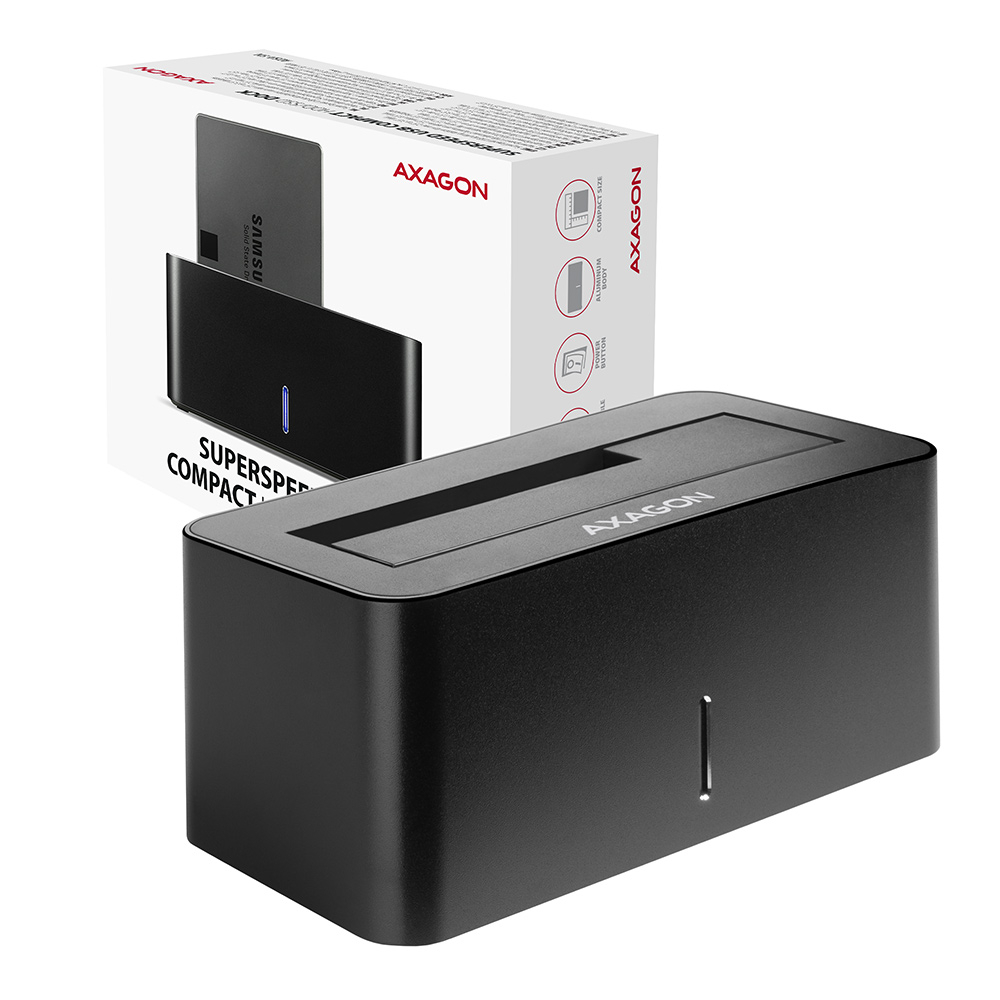
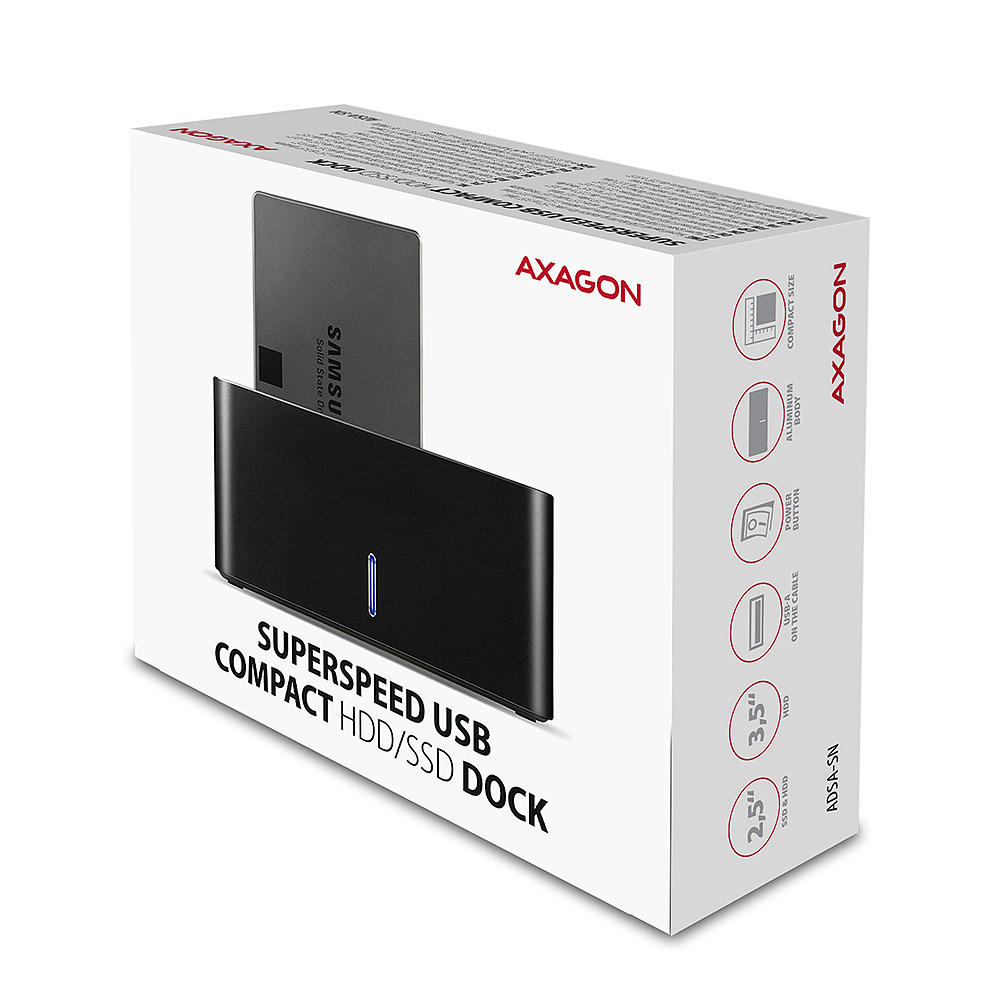
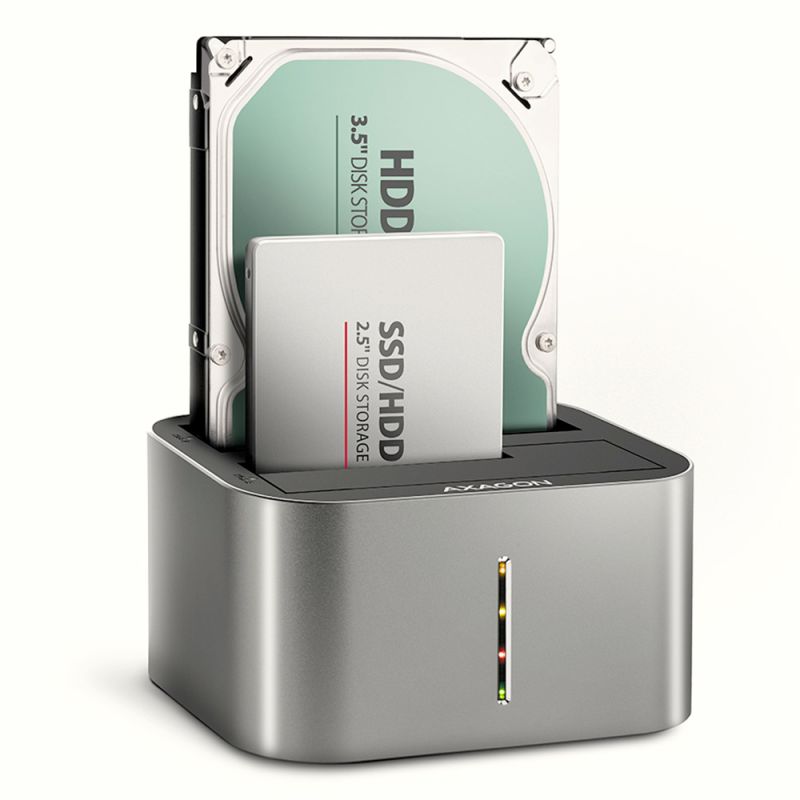
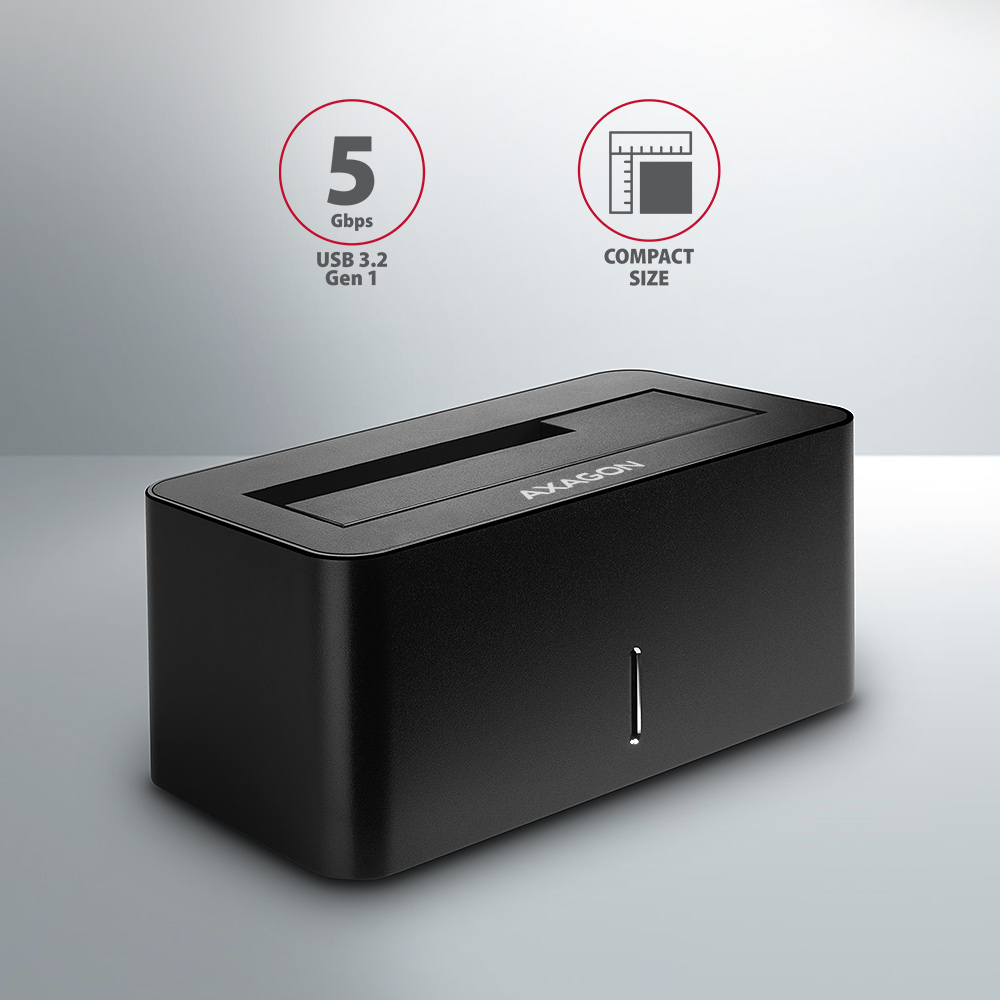
SuperSpeed USB AXAGON ADSA-SN COMPACT HDD/SSD DOCK docking station easily and quickly connects any SATA disk to your computer.
A handy helper for the easiest and fastest way of connecting SATA disks to your computer - just plug the disk into the base. Automatic installation can be done even by the layman.
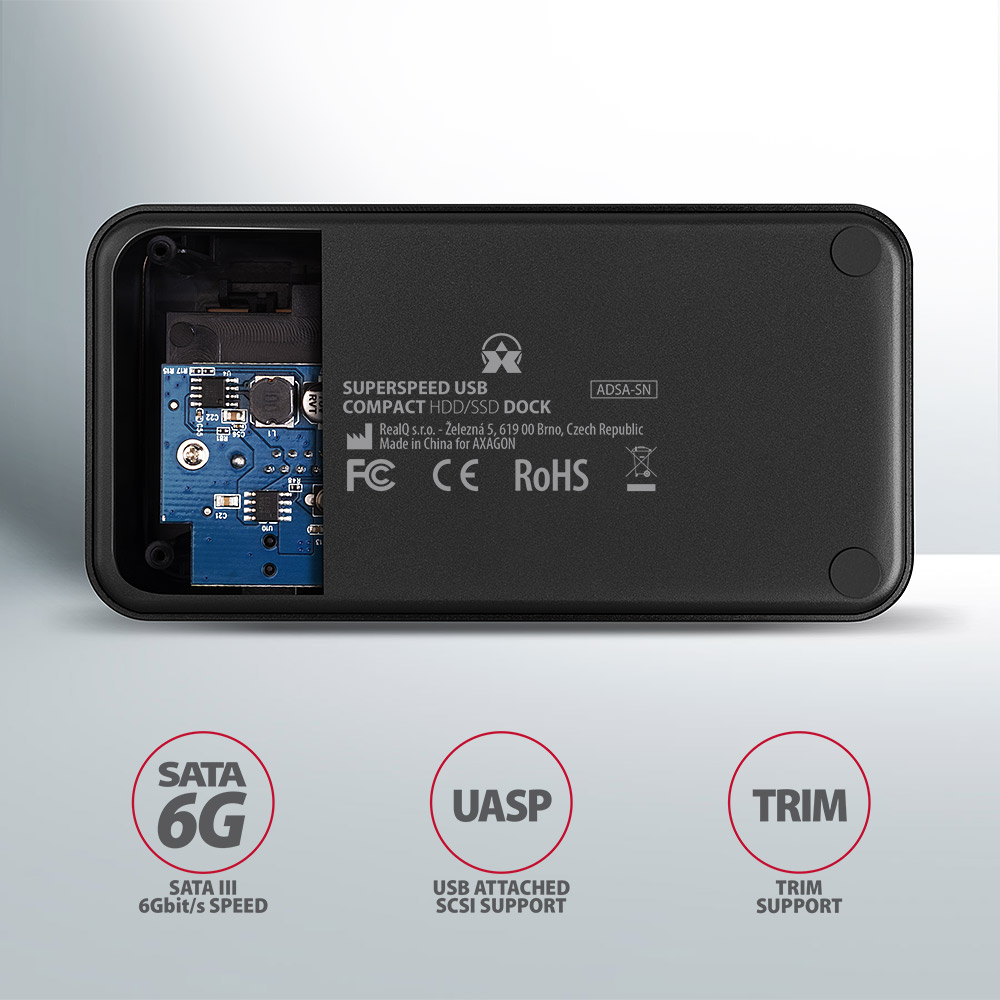
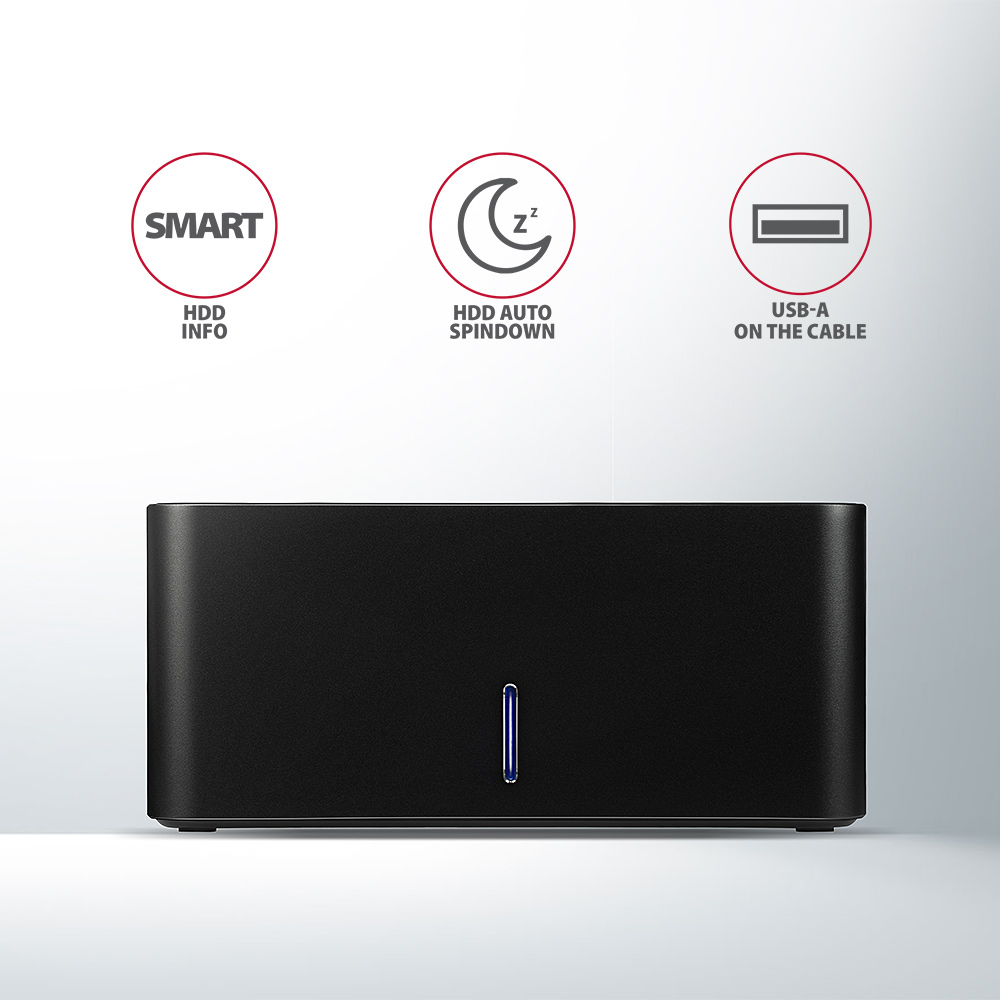
SATA 6G interface with UASP support allows you to enjoy the speed of modern SSD disks. The TRIM feature support limits the gradual degradation of SSD performance over time. Reading of S.M.A.R.T. information monitoring the condition of the connected disks. Supports sleeping of both the connected disks and station.
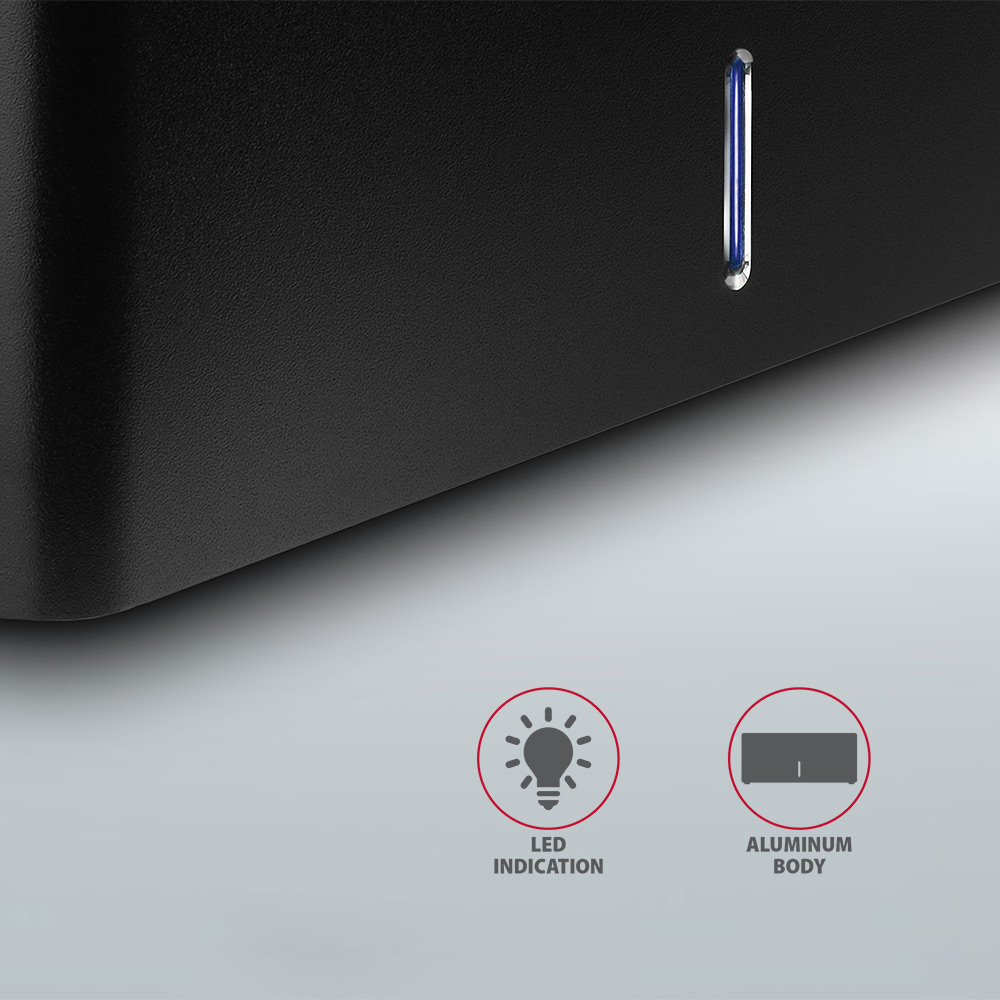
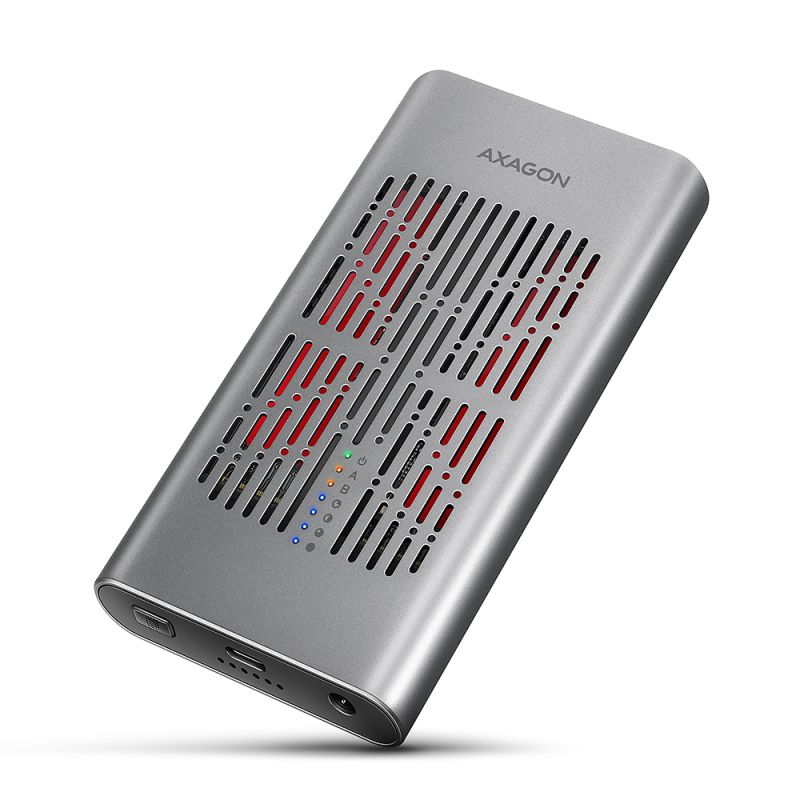
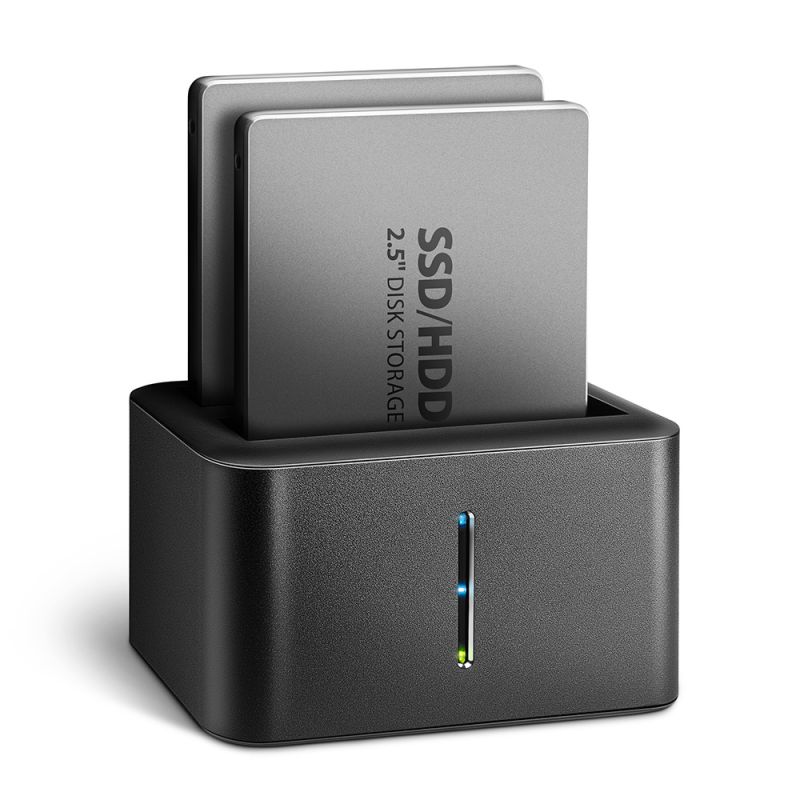
Low laid centre of gravity of the docking station for good stability. Rubber feet to reduce vibrations. Modern minimalist design of housing with aluminium casing.
Input:
• USB 3.2 Gen 1 (USB 3.1 Gen 1 / USB 3.0) SuperSpeed USB rate of up to 5 Gbit/s.
• Connection via micro USB type B female connector.
Device support:
• SATA III - 6 Gb/s (600 MB/s) interface,
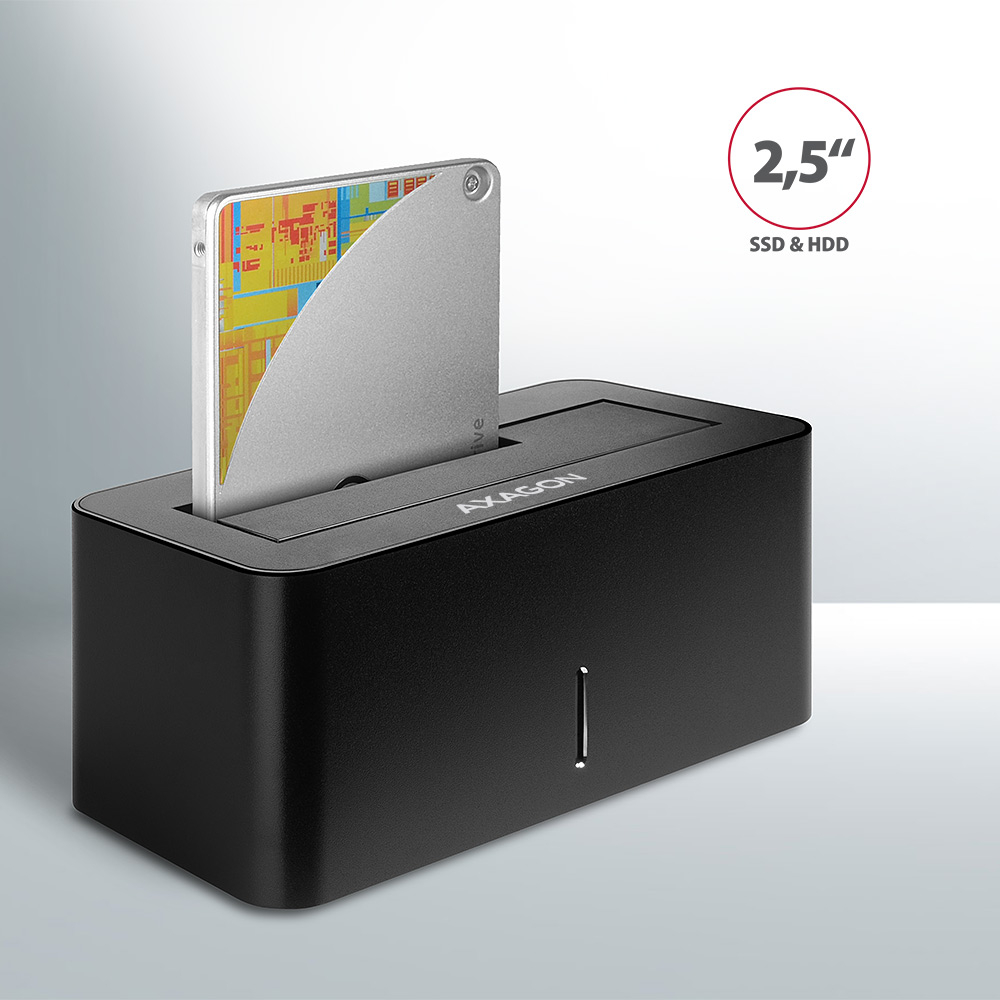
• supports 2.5" HDD/SSD,
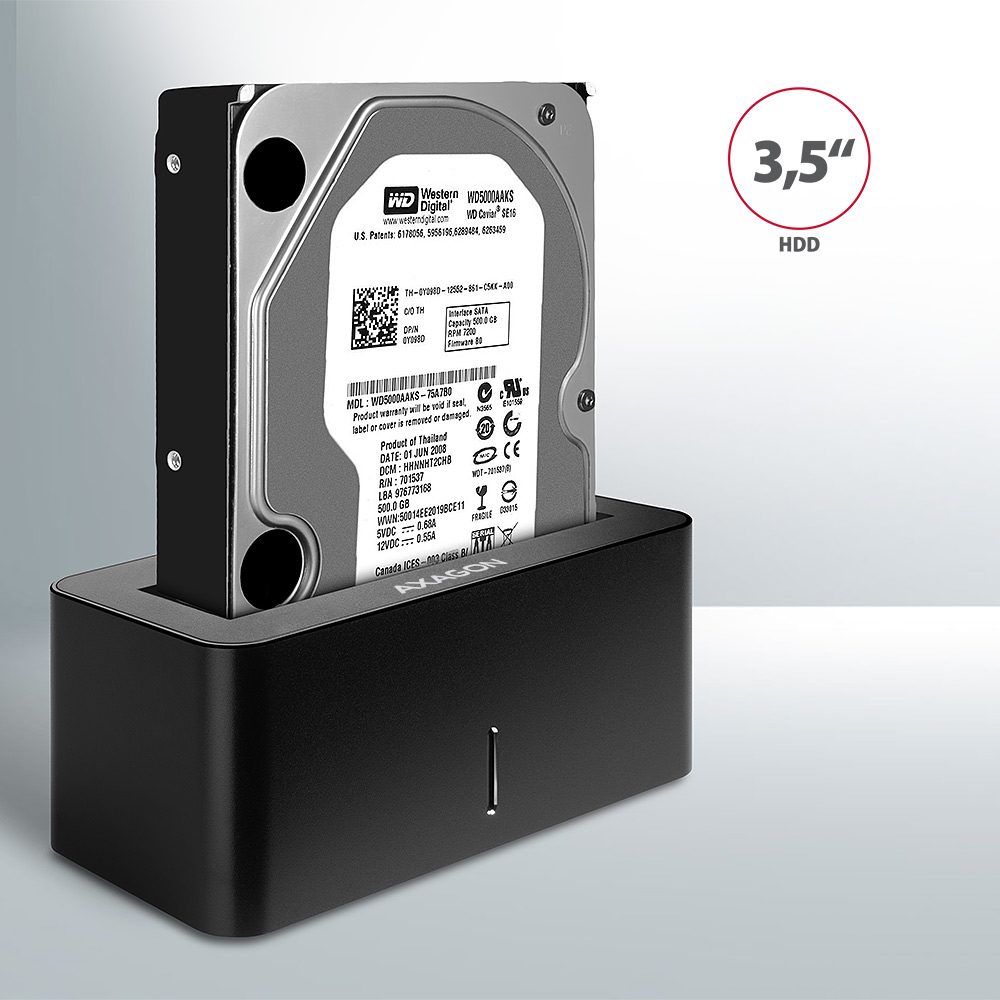
• supports 3.5" HDD,
• max. disk capacity – all without limitation,
• max. 2.5" disk height- all without limitation.
Other features:
• Compatible with USB 3.2 Gen 1 / USB 3.1 Gen 1 / USB 3.0, backward compatible with USB 2.0.
• Supports transmission rates 5000 / 480 Mbit/s (SuperSpeed / HighSpeed).
• Compliant with Serial ATA 3.0 specification (SATA/600), transmission rates of up to 6 Gb/s (600 MB/s).
• Compliant with Serial ATA 2.0 specification (SATA/300), transmission rates of up to 3 Gb/s (300 MB/s).
• Compliant with Serial ATA 1.0 specification (SATA/150), transmission rates of up to 1.5 Gb/s (150 MB/s).
• The total bandwidth / transmission rate of the station is determined by the USB interface used (theor. 5 Gbit/s).
• Supports UASP (USB Attached SCSI Protocol) and BOT (Bulk-Only Transport).
• SSD/HDD boot support in docking station.
• Possibility to connect your device while running thanks to the Hot Plug support.
• Full Plug and Play support.
• HDD Auto Spindown - automatic spinning down after period of inactivity lasting 15 minutes.
• HDD Turn Off - turns off the drive after removing the device or spinning down the PC.
• cable micro USB-B / USB-A 80 cm long is included.
• A decent blue LED indicating the connection to the computer's USB port (permanent light) and data transmission (blinking).
• Power switch.
• Power supply via a compact external AC/DC adapter 12V - 2A (24 W) with a 150 cm long supply cable.
• Station dimensions 130 x 65 x 59 mm.
• Weight 190 g.
Supported OSs:
• MS Windows XP / Vista / 7 / 8 / 8.1 / 10 and later, Windows Server 2008 / 2012 / 2016 and later (supported are all 32- and 64-bit Windows OS versions), Mac OS X 10.x and higher, Linux with kernel 2.6.x and above.
Note: Drivers are included with supported operating systems and are installed completely automatically. No other drivers need to be installed and are not even available.
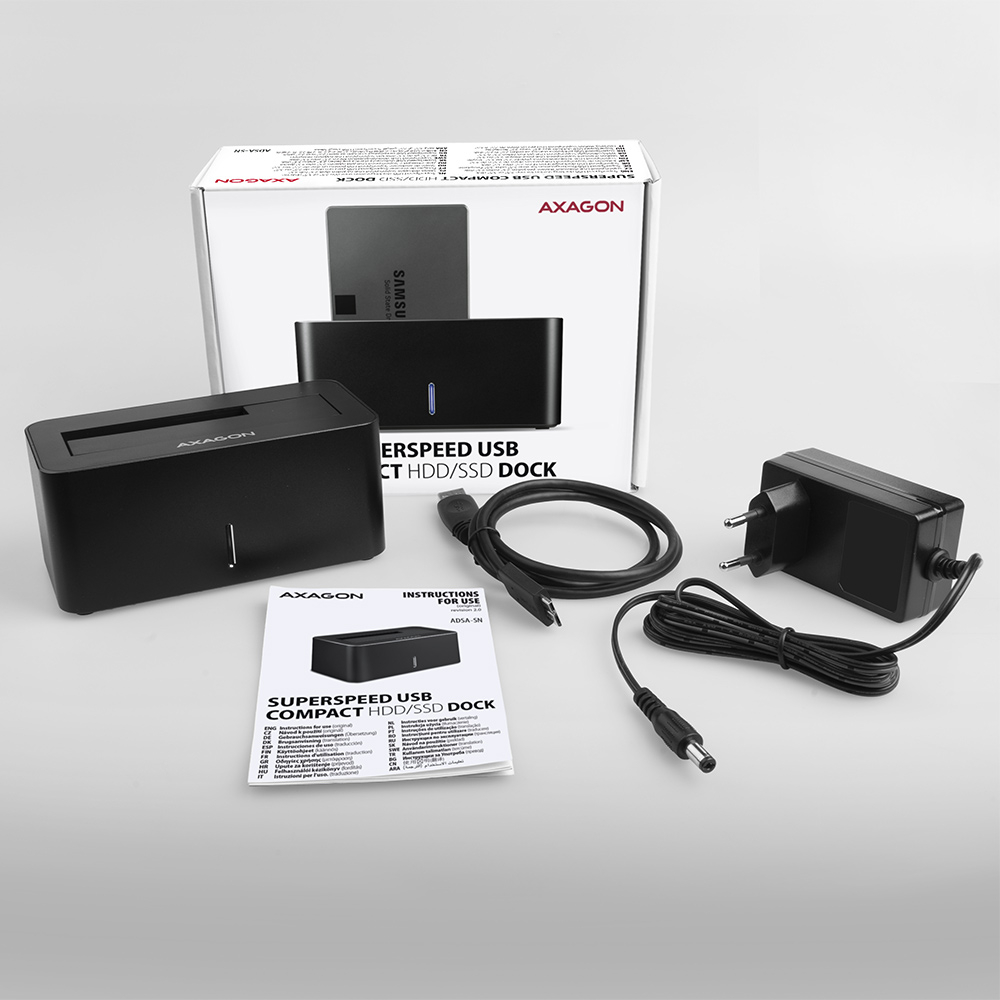
Package contains:
• USB 3.2 Gen 1 HDD dock,
• micro USB-B - USB-A cable 80 cm long,
• power adapter 100-240V / 12V-2A,
• multilingual manual CZ / DE / DK / ENG / ESP / FIN / FR / GR / HR / HU / IT / NL / PL / PT / RO / RU / SK / SWE / TR / BG / CN / ARA,
• packed in a cardboard box with clearly indicated parameters.
- USB 3.2 Gen 1 HDD dock
- micro USB-B - USB-A cable 80 cm
- power adapter
- installation guide
- printed installation manual CZ / DE / DK / ENG / ESP / FIN / FR / GR / HR / HU / IT / NL / PL / PT / RO / RU / SK / SWE / TR / BG / CN / ARA
- cardboard box
- package dimensions 19 x 14 x 6 cm
- weight of 1 pc package 440 g
- EAN 8595247905383
- number of pieces in the box: 40
- total weight of the box: 18.45 kg G.W.
- box dimensions: 65 x 40 x 30 cm
ADSA-SN - installation instructions - CZ / DE / DK / ENG / ESP / FIN / FR / GR / HR / HU / IT / NL / PL / PT / RO / RU / SK / SWE / TR / BG / CN / ARA
A): Drivers are included with operating systems and are installed completely automatically. The external box (adapter / docking station) is detected as a standard storage device, such as a USB flash disk, no additional drivers are needed.
B): No other drivers need to be installed and are not even available. If you continue to have problems with your external box (adapter / docking station), check out more tips that can help you troubleshoot problems.
A): If the external box (adapter / docking station) is not displayed in "Device Manager", there may be a USB port malfunction. It is also possible that your computer has a poor power supply to USB ports and the power is not sufficient to operate an external box (you can detect by listening that HDD is not spinning). This is a problem especially for older computers, where the source part already works at the limit of its parameters. In this case, it would help to use a USB hub, with an auxiliary power supply, by which the external box (adapter / docking station) would be connected to the computer.
B): Try plugging the external box (adapter / docking station) into another USB port, preferably on the back of your PC. The external box (adapter / docking station) should be detected and the drivers loaded automatically. If the problem persists, plug the external box (adapter / docking station) into the USB port of another computer to verify its functionality.
A): If this happens, it means that the operating system failed to get the necessary information to install the drivers.
B): The cause may be a defective USB cable or damaged device. If the problem persists, plug the external box (adapter / docking station) into the USB port of another computer to verify its functionality.
A): If this happens, it means that the Windows operating system did not assign a drive letter to the new storage device.
B): If the drive letter is not assigned, open "Disk Management", right-click on the desired drive and manually assign the drive letter. If the drive letter can not be assigned to the disk, it is possible that the disk is formatted as "dynamic". If you want to keep disk data, connect it to the original device and make a backup of the disk. Then convert it to a normal disk, initialize it to MBR (or GPT, see other points), and then perform Low Level Format (e.g. using the Low Level Format Tool)
A): The newly purchased disk must be initialized before first use.
B): If the new disk is not initialized automatically, open "Disk Management", right-click on the desired disk and initialize it.
A): By initializing the disk, you can set the mode in which the hard disk will work.
B): You can use the partition with the master boot record (MBR) or the GUID partition table (GPT). For disk up to 2TB, use the MBR option, we recommend selecting GPT on a larger disk than 2TB. Subsequently, the initialized disk should be formatted.
A): If the external box (adapter / docking station) with a 3.5“ HDD is not displayed in "Device Manager ", the inserted disk may not be powered.
B): Make sure you have the power supply plugged in and the external box (adapter / docking station) turned on with the power switch. If the disk is properly powered, it should spin (can be detected by listening).
A): The AXAGON external boxes (adapters / docking stations) are always equipped with the latest firmware to support disks of all capacities.
B): The 2TB limit is given as the maximum partition size when initializing a disk with the master boot record (MBR). If you want to create a larger partition on the HDD stored in the external box (e.g. 3TB or more), you must select the GUID partition table (GPT) when initializing the disk. Subsequently, the initialized disk should be formatted.
A): The external AXAGON boxes (adapters / docking stations) support the USB Mass Storage protocol making it easy to connect to TV.
B): When using a disk larger than 2TB, some TVs do not support GPT format. In such case, MBR format must be used when initializing a disk.
AXAGON M.2 SSD disk adapter is let say only HW connector change from M.2 into PCI-Express or SATA. Adapter itself do not have controller electronics and need no drivers. It is necessary to check M.2 disk driver availability for older OS like Windows 7.
Proper M.2 adapter function requires:
- computer mainboard support M.2 disks – SATA disks are more often supported than NVMe disks,
- computer mainboard support booting from PCI-Express bus – in case of OS installation to M.2 NVMe disk,
- driver availability for M.2 SSD disk – apply especially for NVMe disks on Windows 7 OS.
Please contact the motherboard manufacturer's technical support to determine support for motherboard M.2 drives. In some cases updating the BIOS/UEFI is sufficient.
Check the M.2 SSD driver availability on the manufacturer's website or contact the disk manufacturer's technical support.
The disks connected to the SATA motherboard controller are usually displayed In BIOS/UEFI. The NVMe disk is usually displayed in the "Disk Boot Order" menu.
This applies when the requirements of "Prerequisites for proper M.2 function" are met.
A): If the PC does not run with the card or the card is mistakenly detected in “Device Manager”, or if there is a yellow exclamation mark on the driver, or if “Device Manager” reports an error code “Code 10 - The device cannot start”, the card is in conflict with another device in your computer.
B): In most cases, this conflict can be solved by moving the card to another PCI (PCIe) slot, with the BIOS assigning other free resources to the card. If the move does not help, try the card separately, with no additional cards inserted. If the card cannot be moved to another slot, you can reset the BIOS of the computer (by jumper on the board or pulling out the backup battery, we recommend that you note all the original settings and reset everything to the required values). This will cause the IRQ, DMA, and I/O resources to be redistributed.
A): If the network card is not displayed in "Device Manager", a USB port (or a PCIe slot in the event of an internal network card) may be malfunctioning.
B): Try plugging the network card into another USB port (or another PCIe slot on the PC motherboard in the event of an internal network card, or temporarily disconnect all other PCIe cards). The network card should be detected and you should be prompted to install the drivers. If the problem persists, plug the network card into the USB port (PCIe slot) of another computer to verify its functionality.
A): By initializing the disk, you can set the mode in which the hard disk will work
B): You can use the partition with the master boot record (MBR) or the GUID partition table (GPT). For disk up to 2TB, use the MBR option, we recommend selecting GPT on a larger disk than 2TB. Subsequently, the initialized disk should be formatted.
A): The newly purchased disk must be initialized before first use.
B): If the new disk is not initialized automatically, open "Disk Management", right-click on the desired disk and initialize it.
A): If this happens, it means that the operating system failed to get the necessary information to install the drivers.
B): The cause may be a defective USB cable or damaged device. If the problem persists, plug the external box into the USB port of another computer to verify its functionality.
A): The newly purchased disk must be initialized before first use.
B): If the new disk is not initialized automatically, open "Disk Management", right-click on the desired disk and initialize it.
A): By initializing the disk, you can set the mode in which the hard disk will work.
B): You can use the partition with the master boot record (MBR) or the GUID partition table (GPT). For disk up to 2TB, use the MBR option, we recommend selecting GPT on a larger disk than 2TB. Subsequently, the initialized disk should be formatted.
A): Check if the M.2 disk type is NVMe (neither SATA M.2 drives nor mSATA drives are covered by this box)
B): Update the firmware of your NVMe M.2 drive using the manufacturer's utility
C): Update the firmware of the external box - download link